Grp boats are pretty resilient and after a bit of elbow grease is applied you can normally get a satisfying finish, even on a thirty or forty year old hull.
However there comes a time after years of compounding, polishing and scrubbing, not to mention dirty fenders, lifting slings, oh and the dreaded UV when there is just no way to get that shine back.
One option, if the damage is localised, is to re-gel coat.
However the general condition of this hull, though sound, was deemed to be too far gone to make this viable unless we re gel coated all the topsides.
Indeed if it wasn’t for the fact that we have a superb paint sprayer here I would have been tempted as the process takes only a little longer in man hours and gel coat is cheaper than good quality paint.
With spraying, the time is taken with the preparation, whereas with reapplying gel coat, the time is all in the final sanding and polishing.
We spray a lot of boats here at the yard so for us this was the obvious route for this Moody 31.
The process is quite straight forward if a little time consuming.
The first job is to take lots of photographs from every conceivable angle.
These will provide a reference for the exact position of vinyl stripes, logos and names that all need to be removed and replaced.
The removal of these vinyl decals can often take much longer than you would expect.
The stripes in good condition will simply peel away given a little persuasion with a heat gun or even better a steam gun but where there are nicks or its worn thin other techniques using a mix of white spirit, Stanley blades and wet and dry sandpaper.
Every last trace of adhesive needs to be removed which is why we try to steer clear of aggressive solvents like acetone which dissolves the glue but with a high risk of spreading a thin layer of glue about when wiping clean.
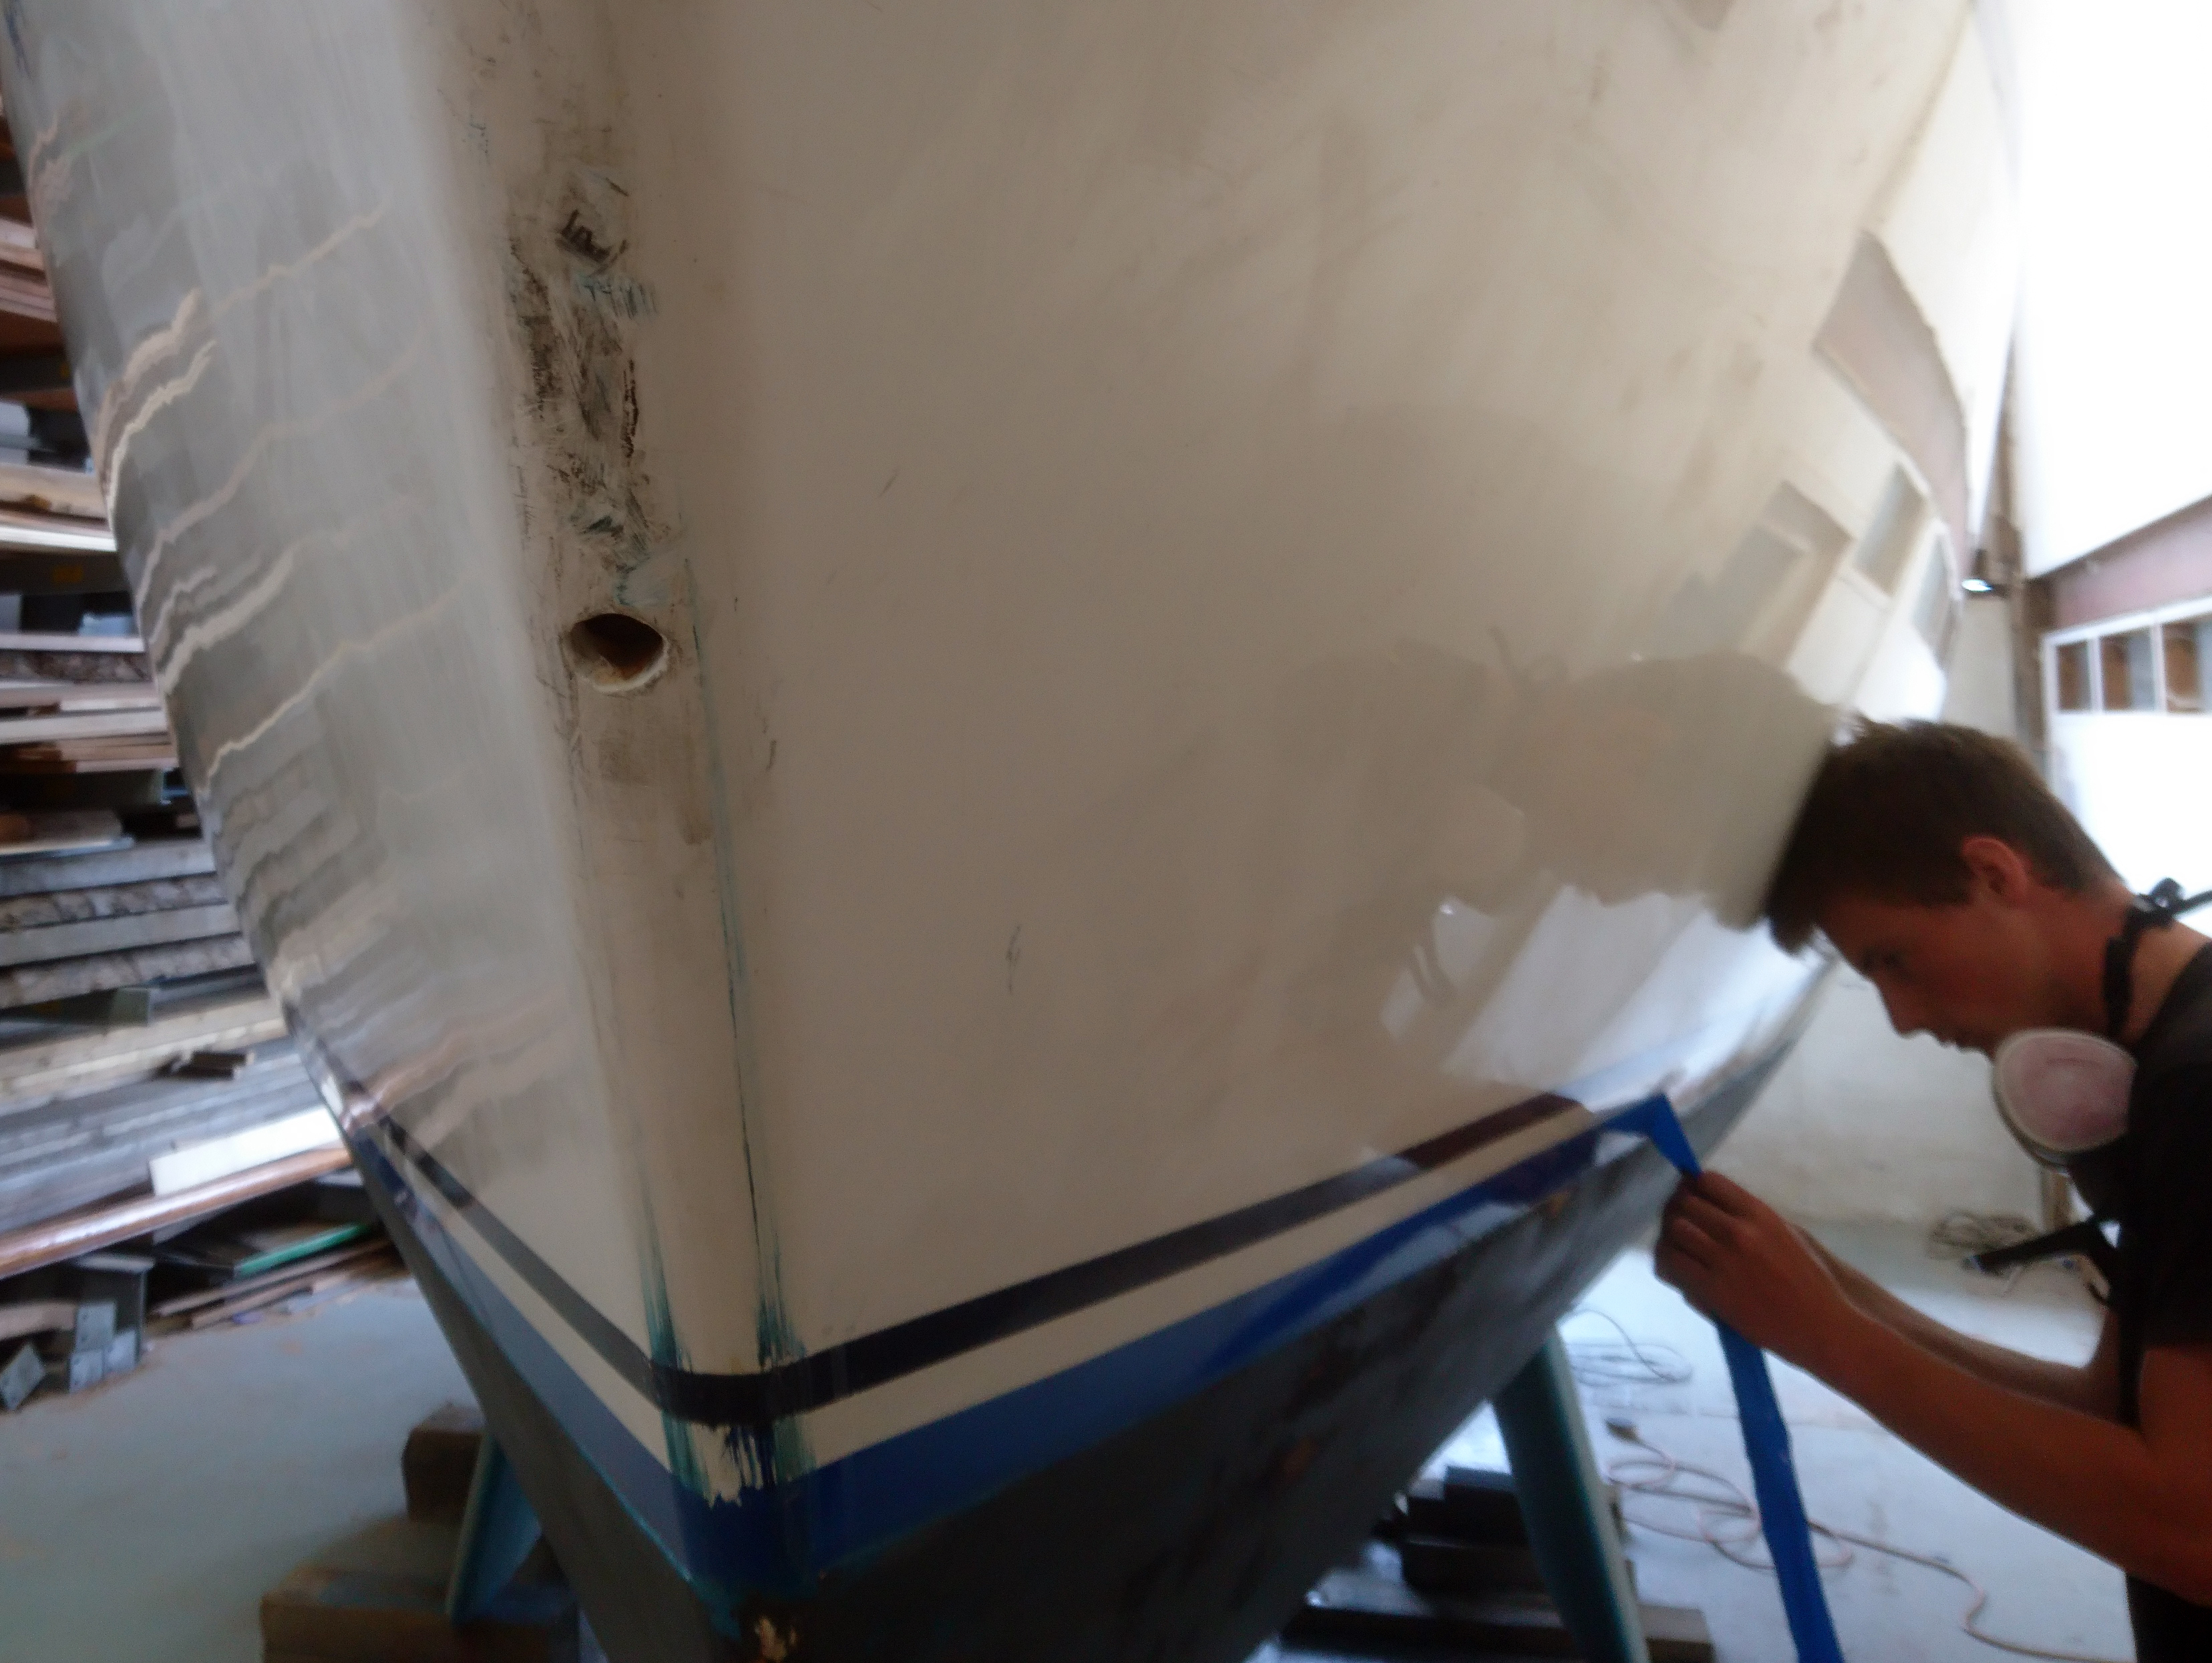
If you’re lucky the old vinyl stripes will simply peel off with care, if not a heat gun or steam will help.
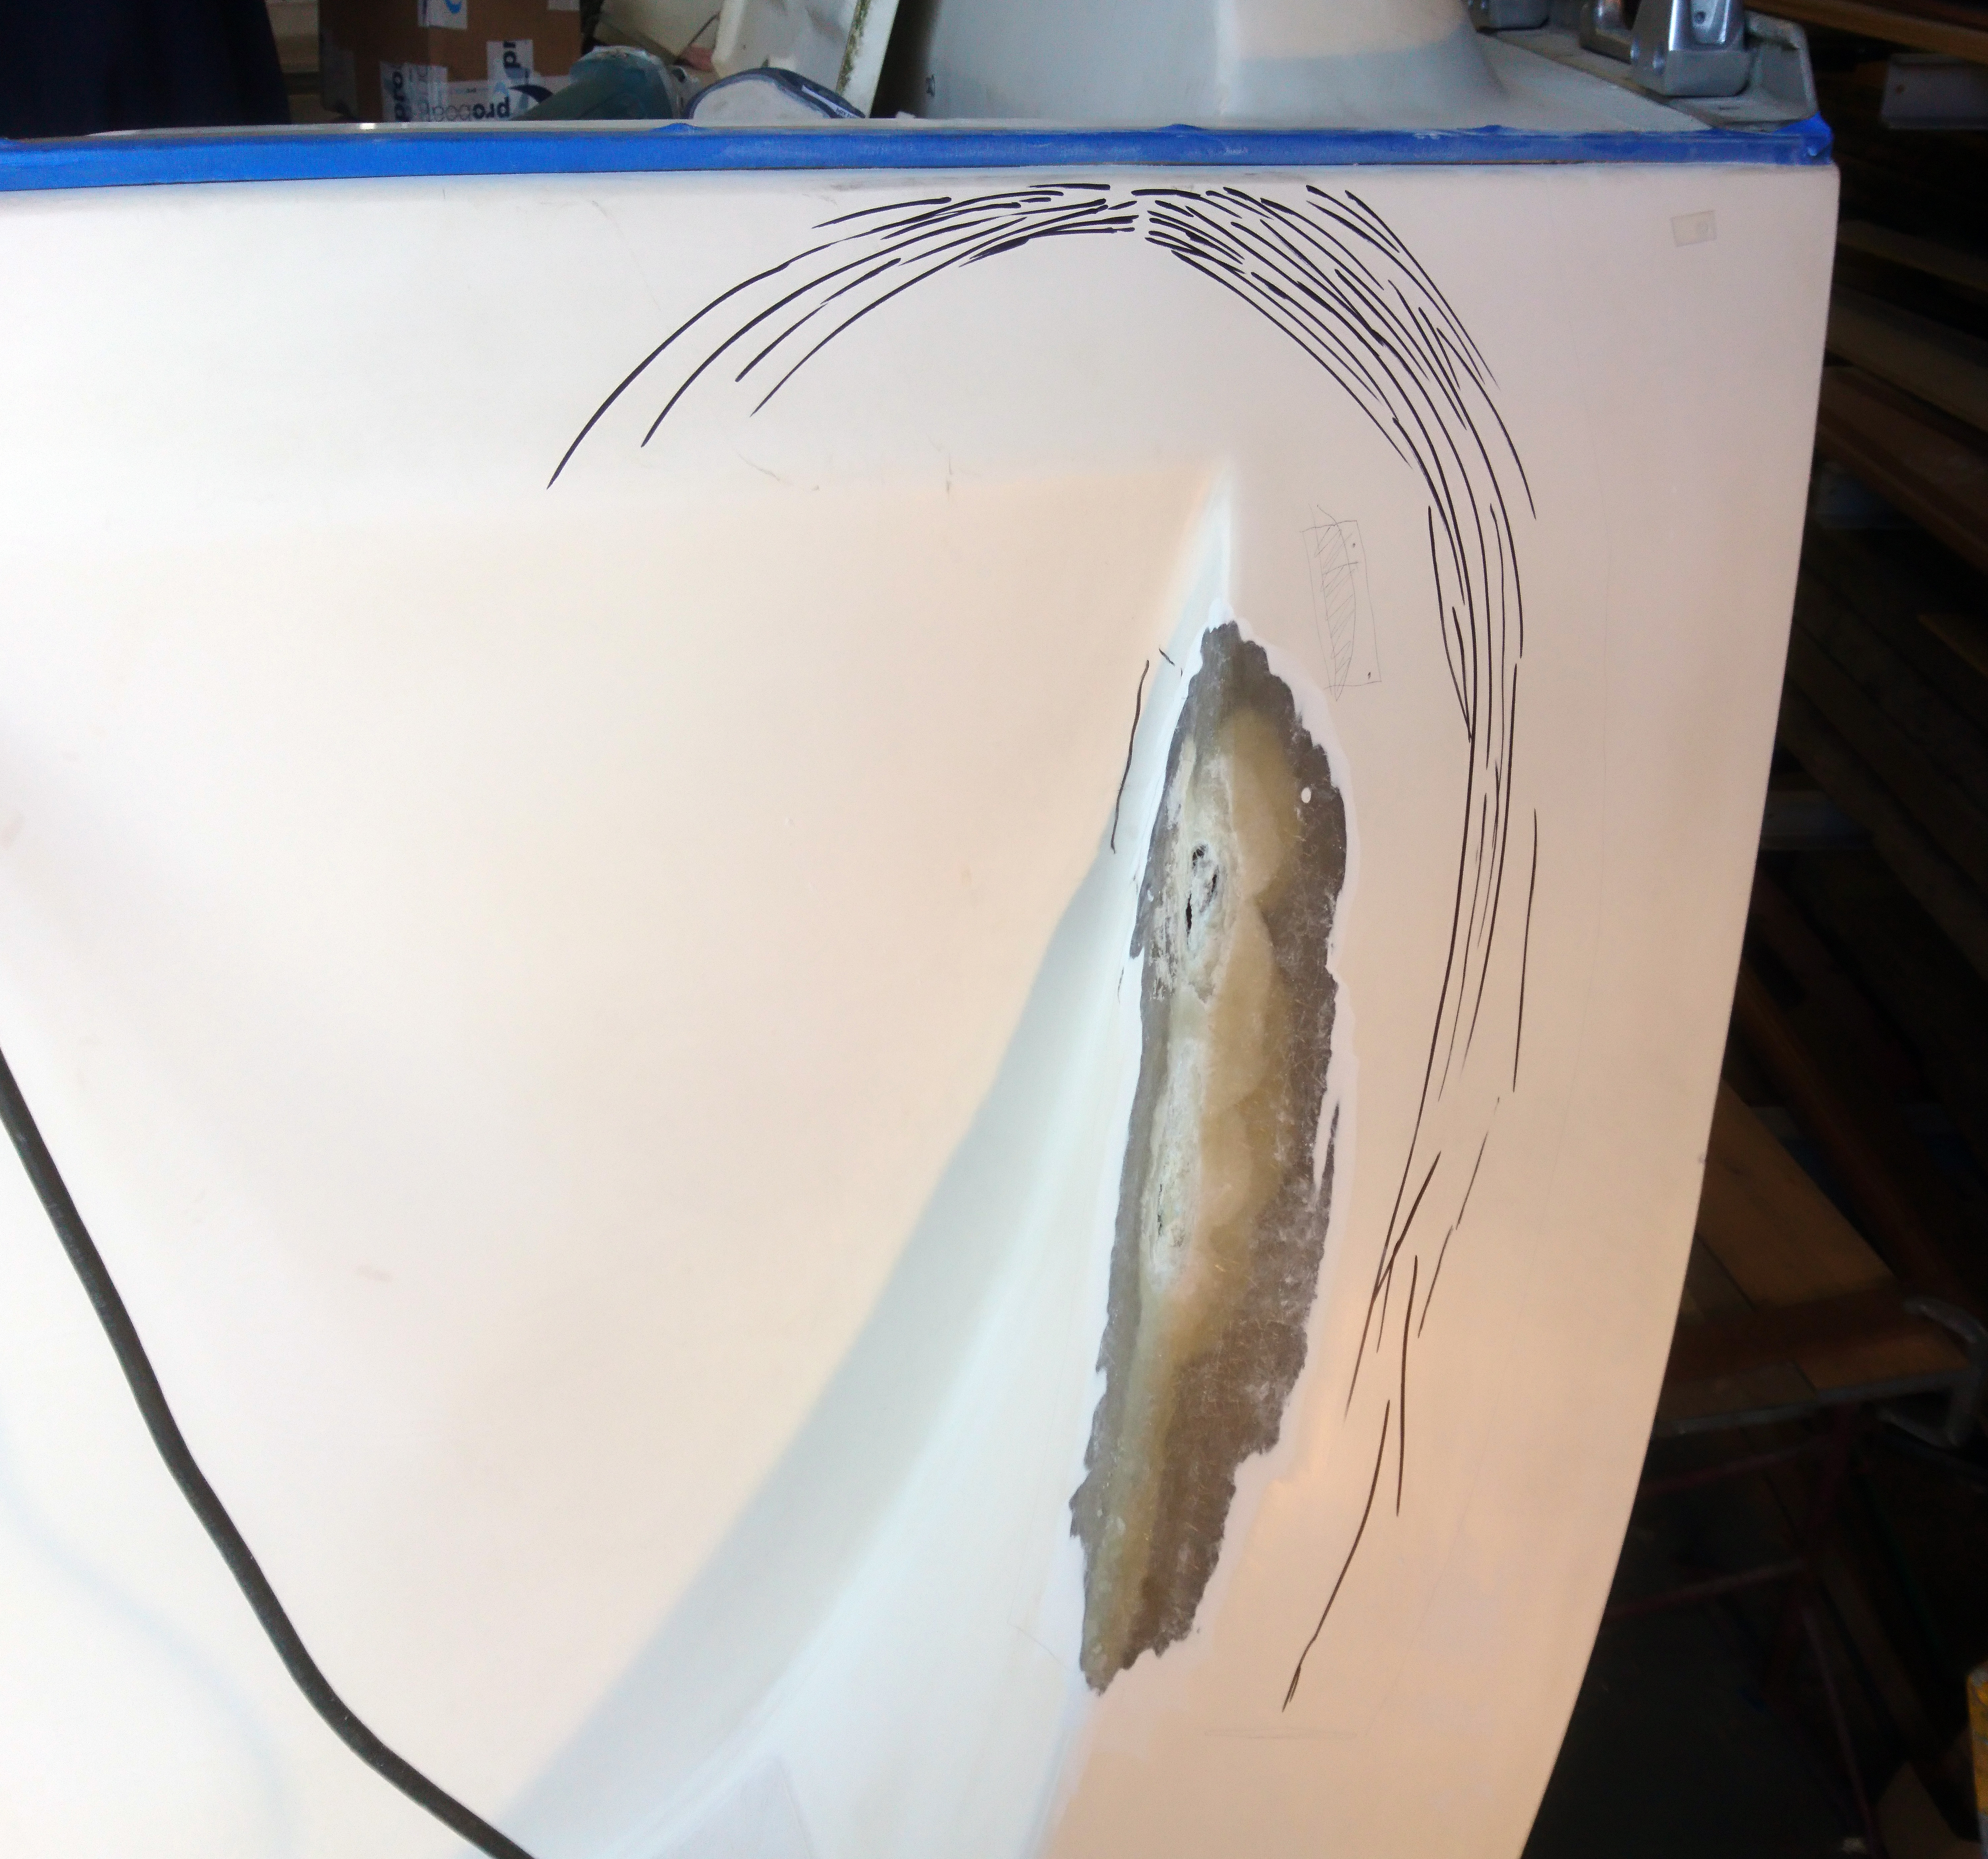
Obvious damage is one thing but its important to track and crazing with a pen so you can get it all ground away.
Any cracks missed will show through the paint in time.
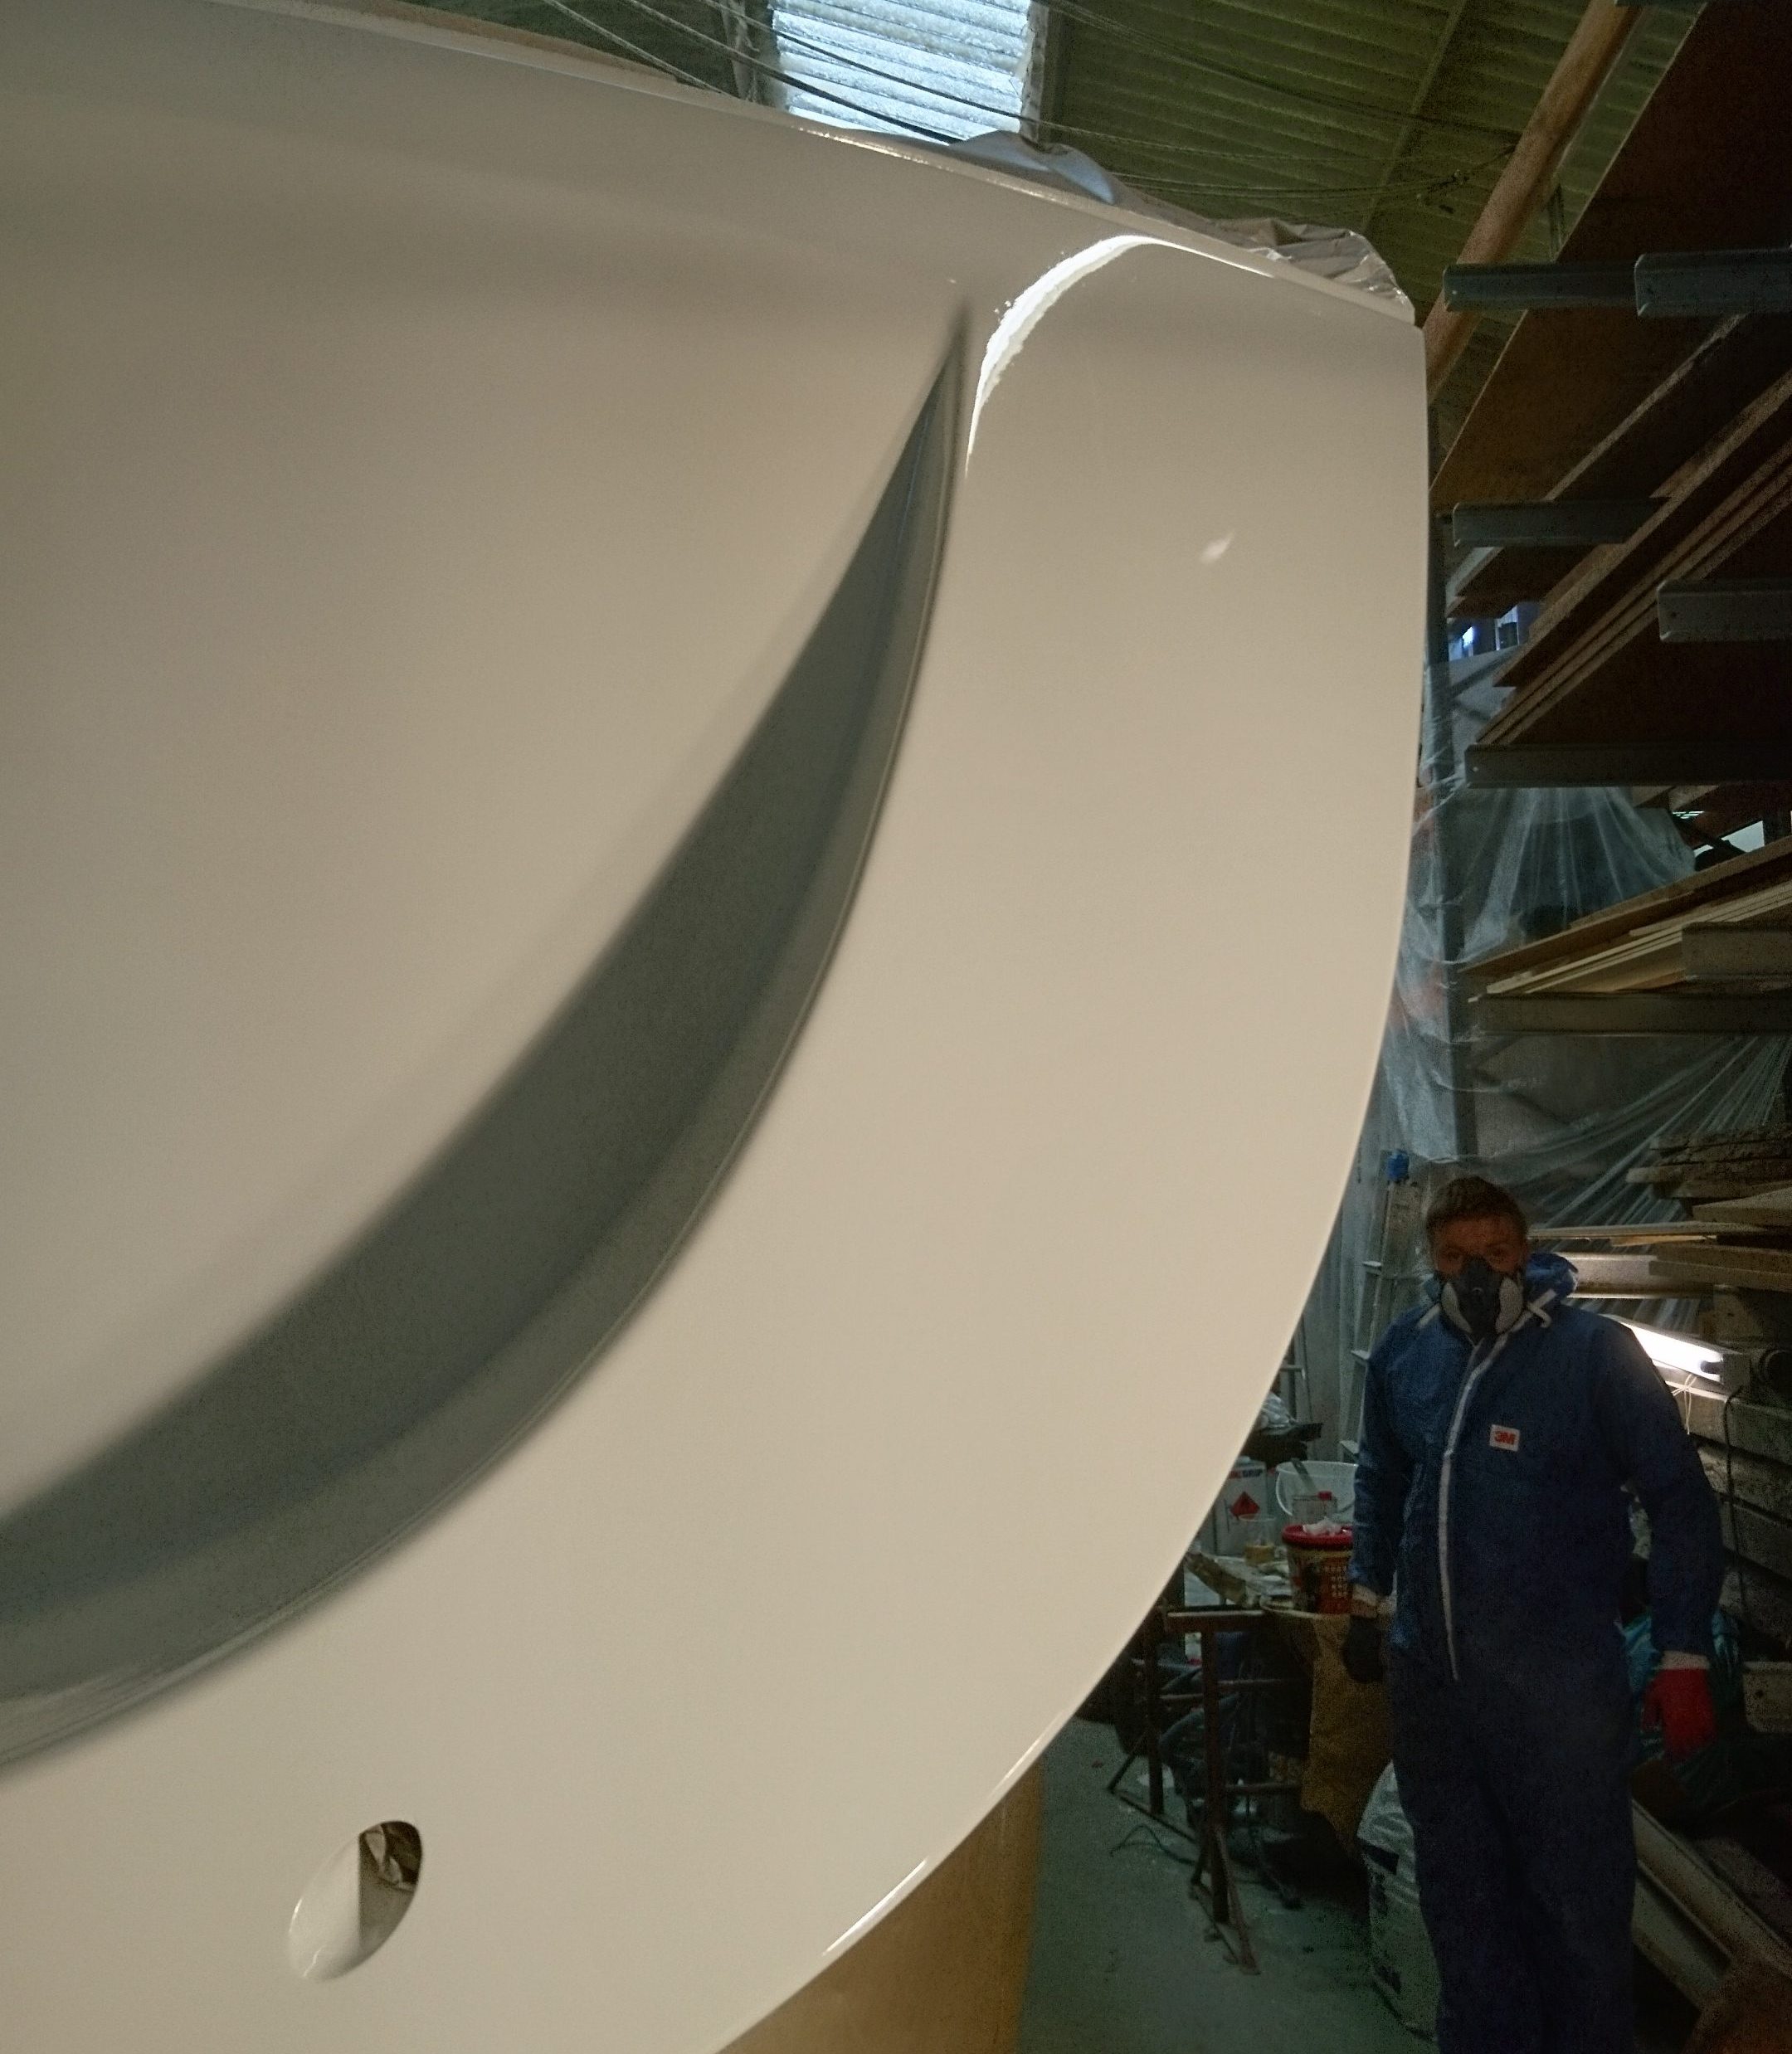
Good lighting and even better eyes are now required to spot all the dings, chips and star crazing so that these can be treated next.
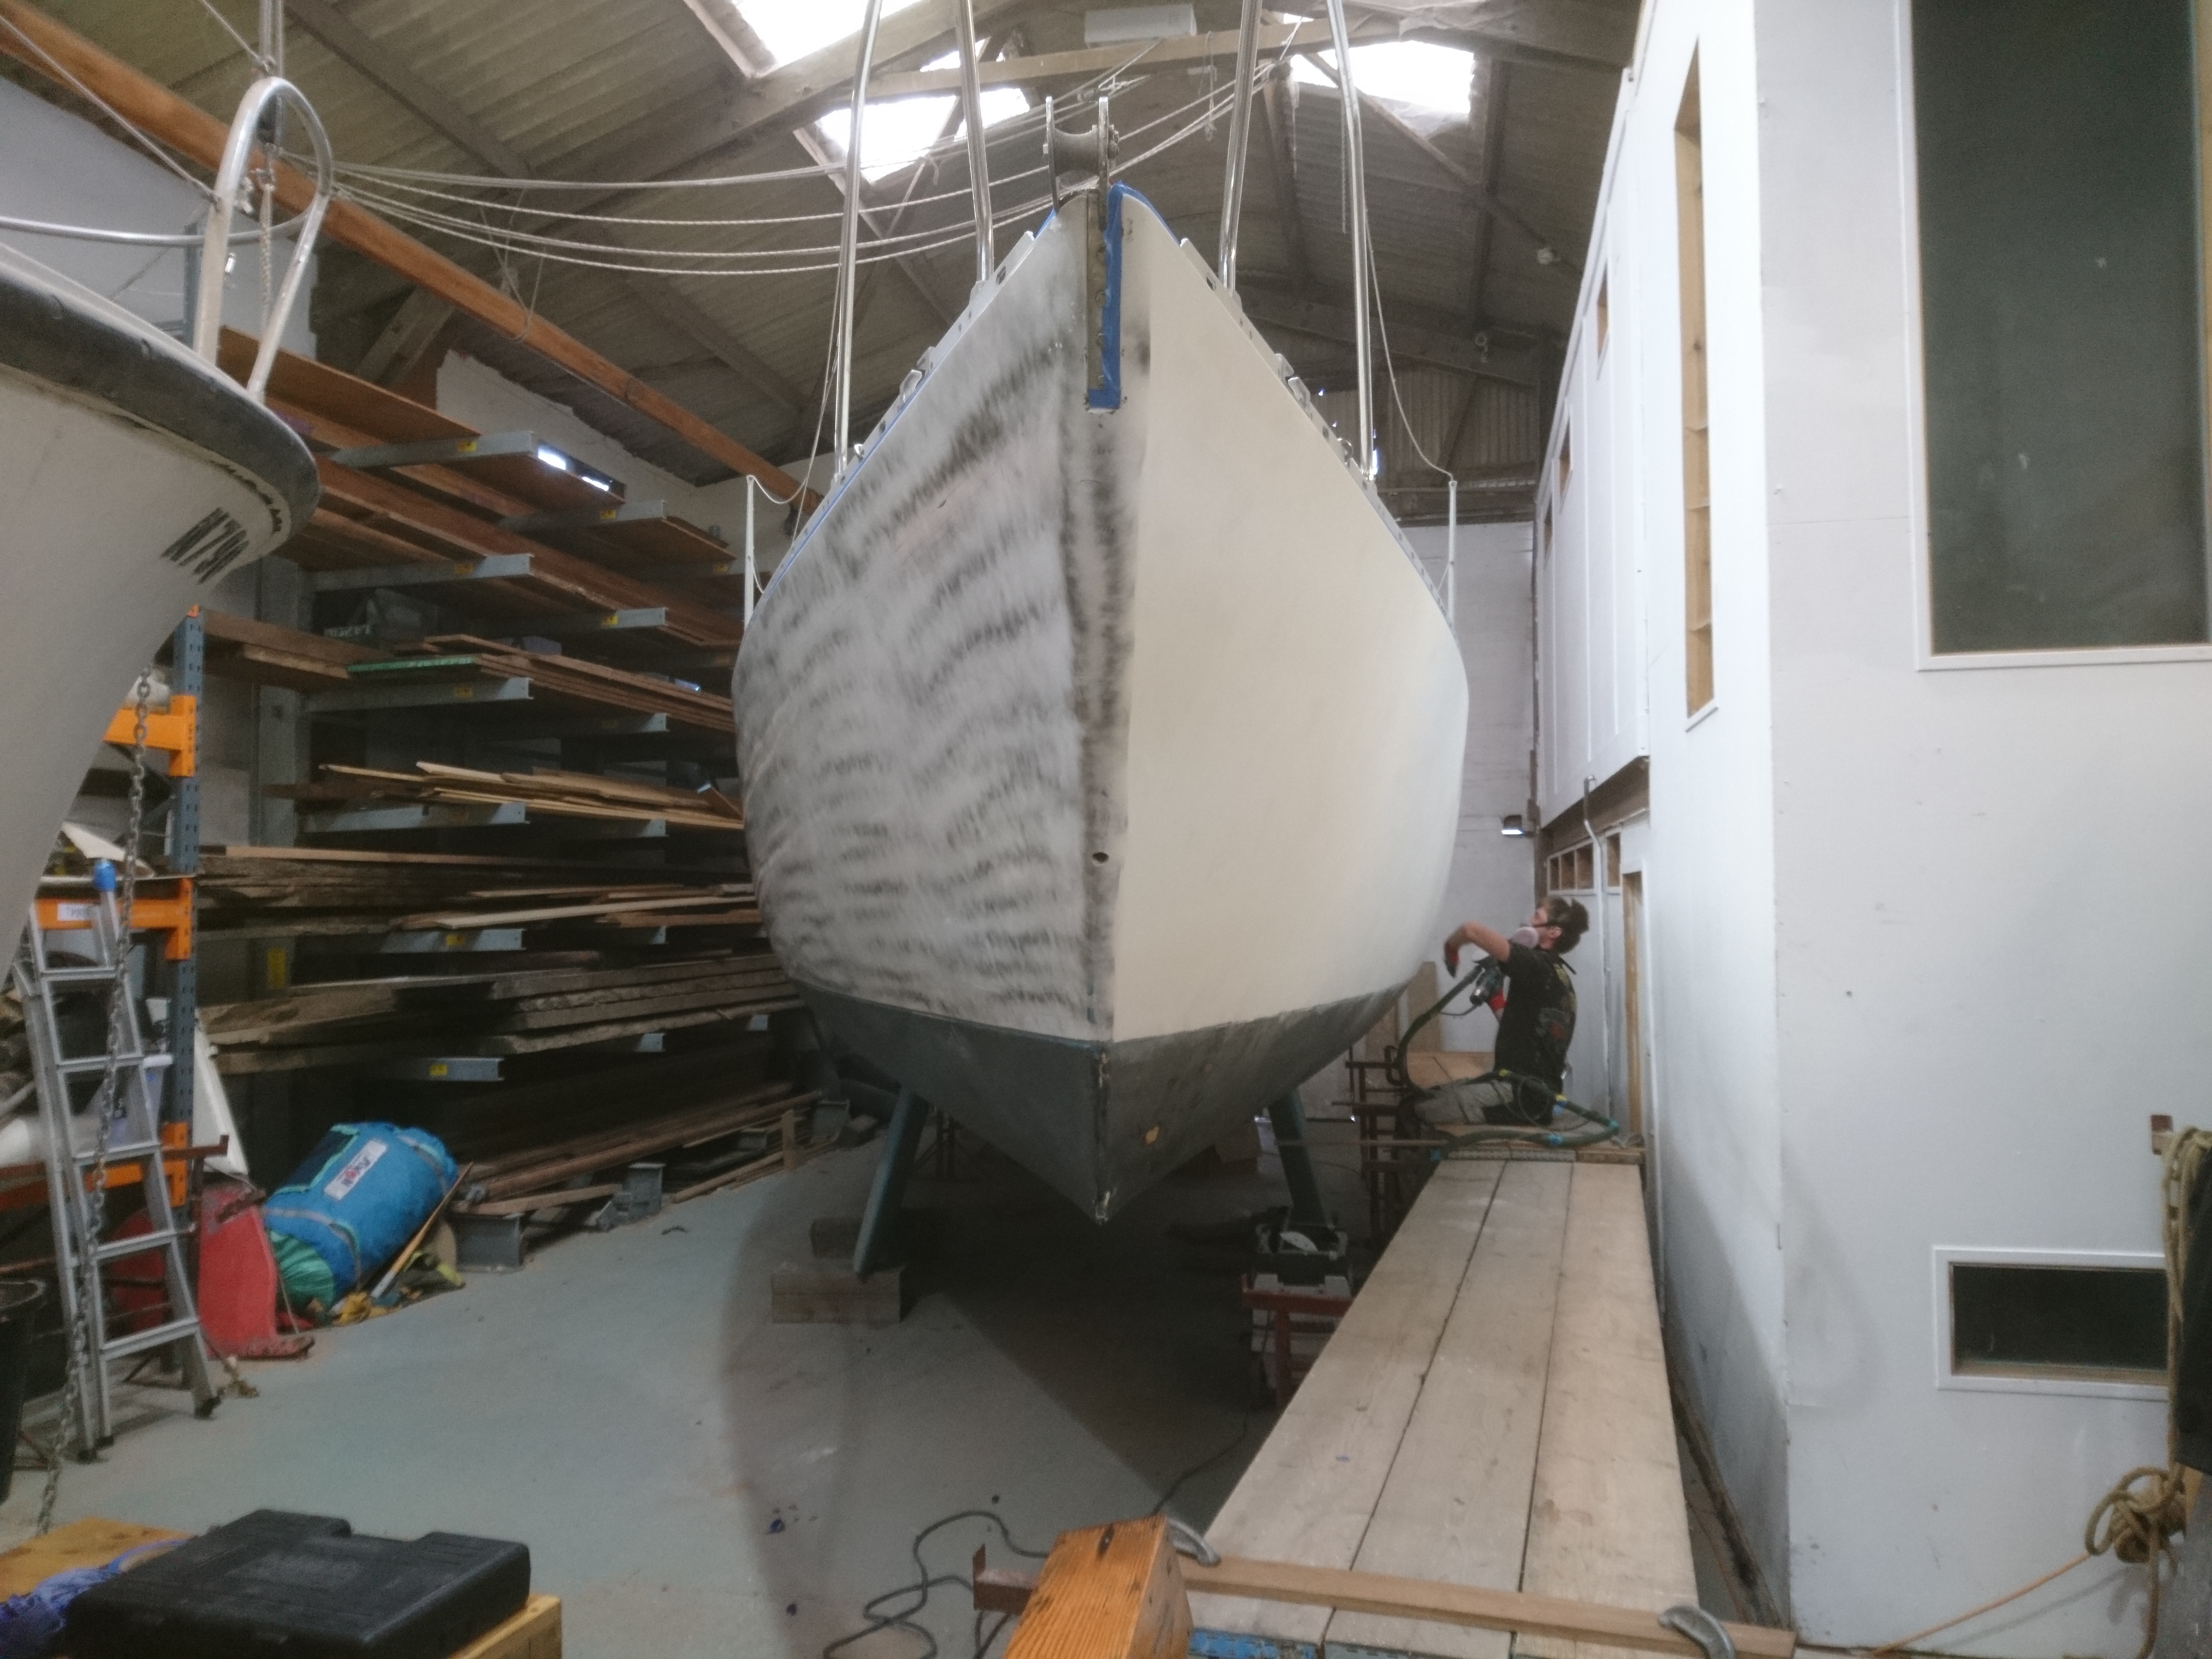
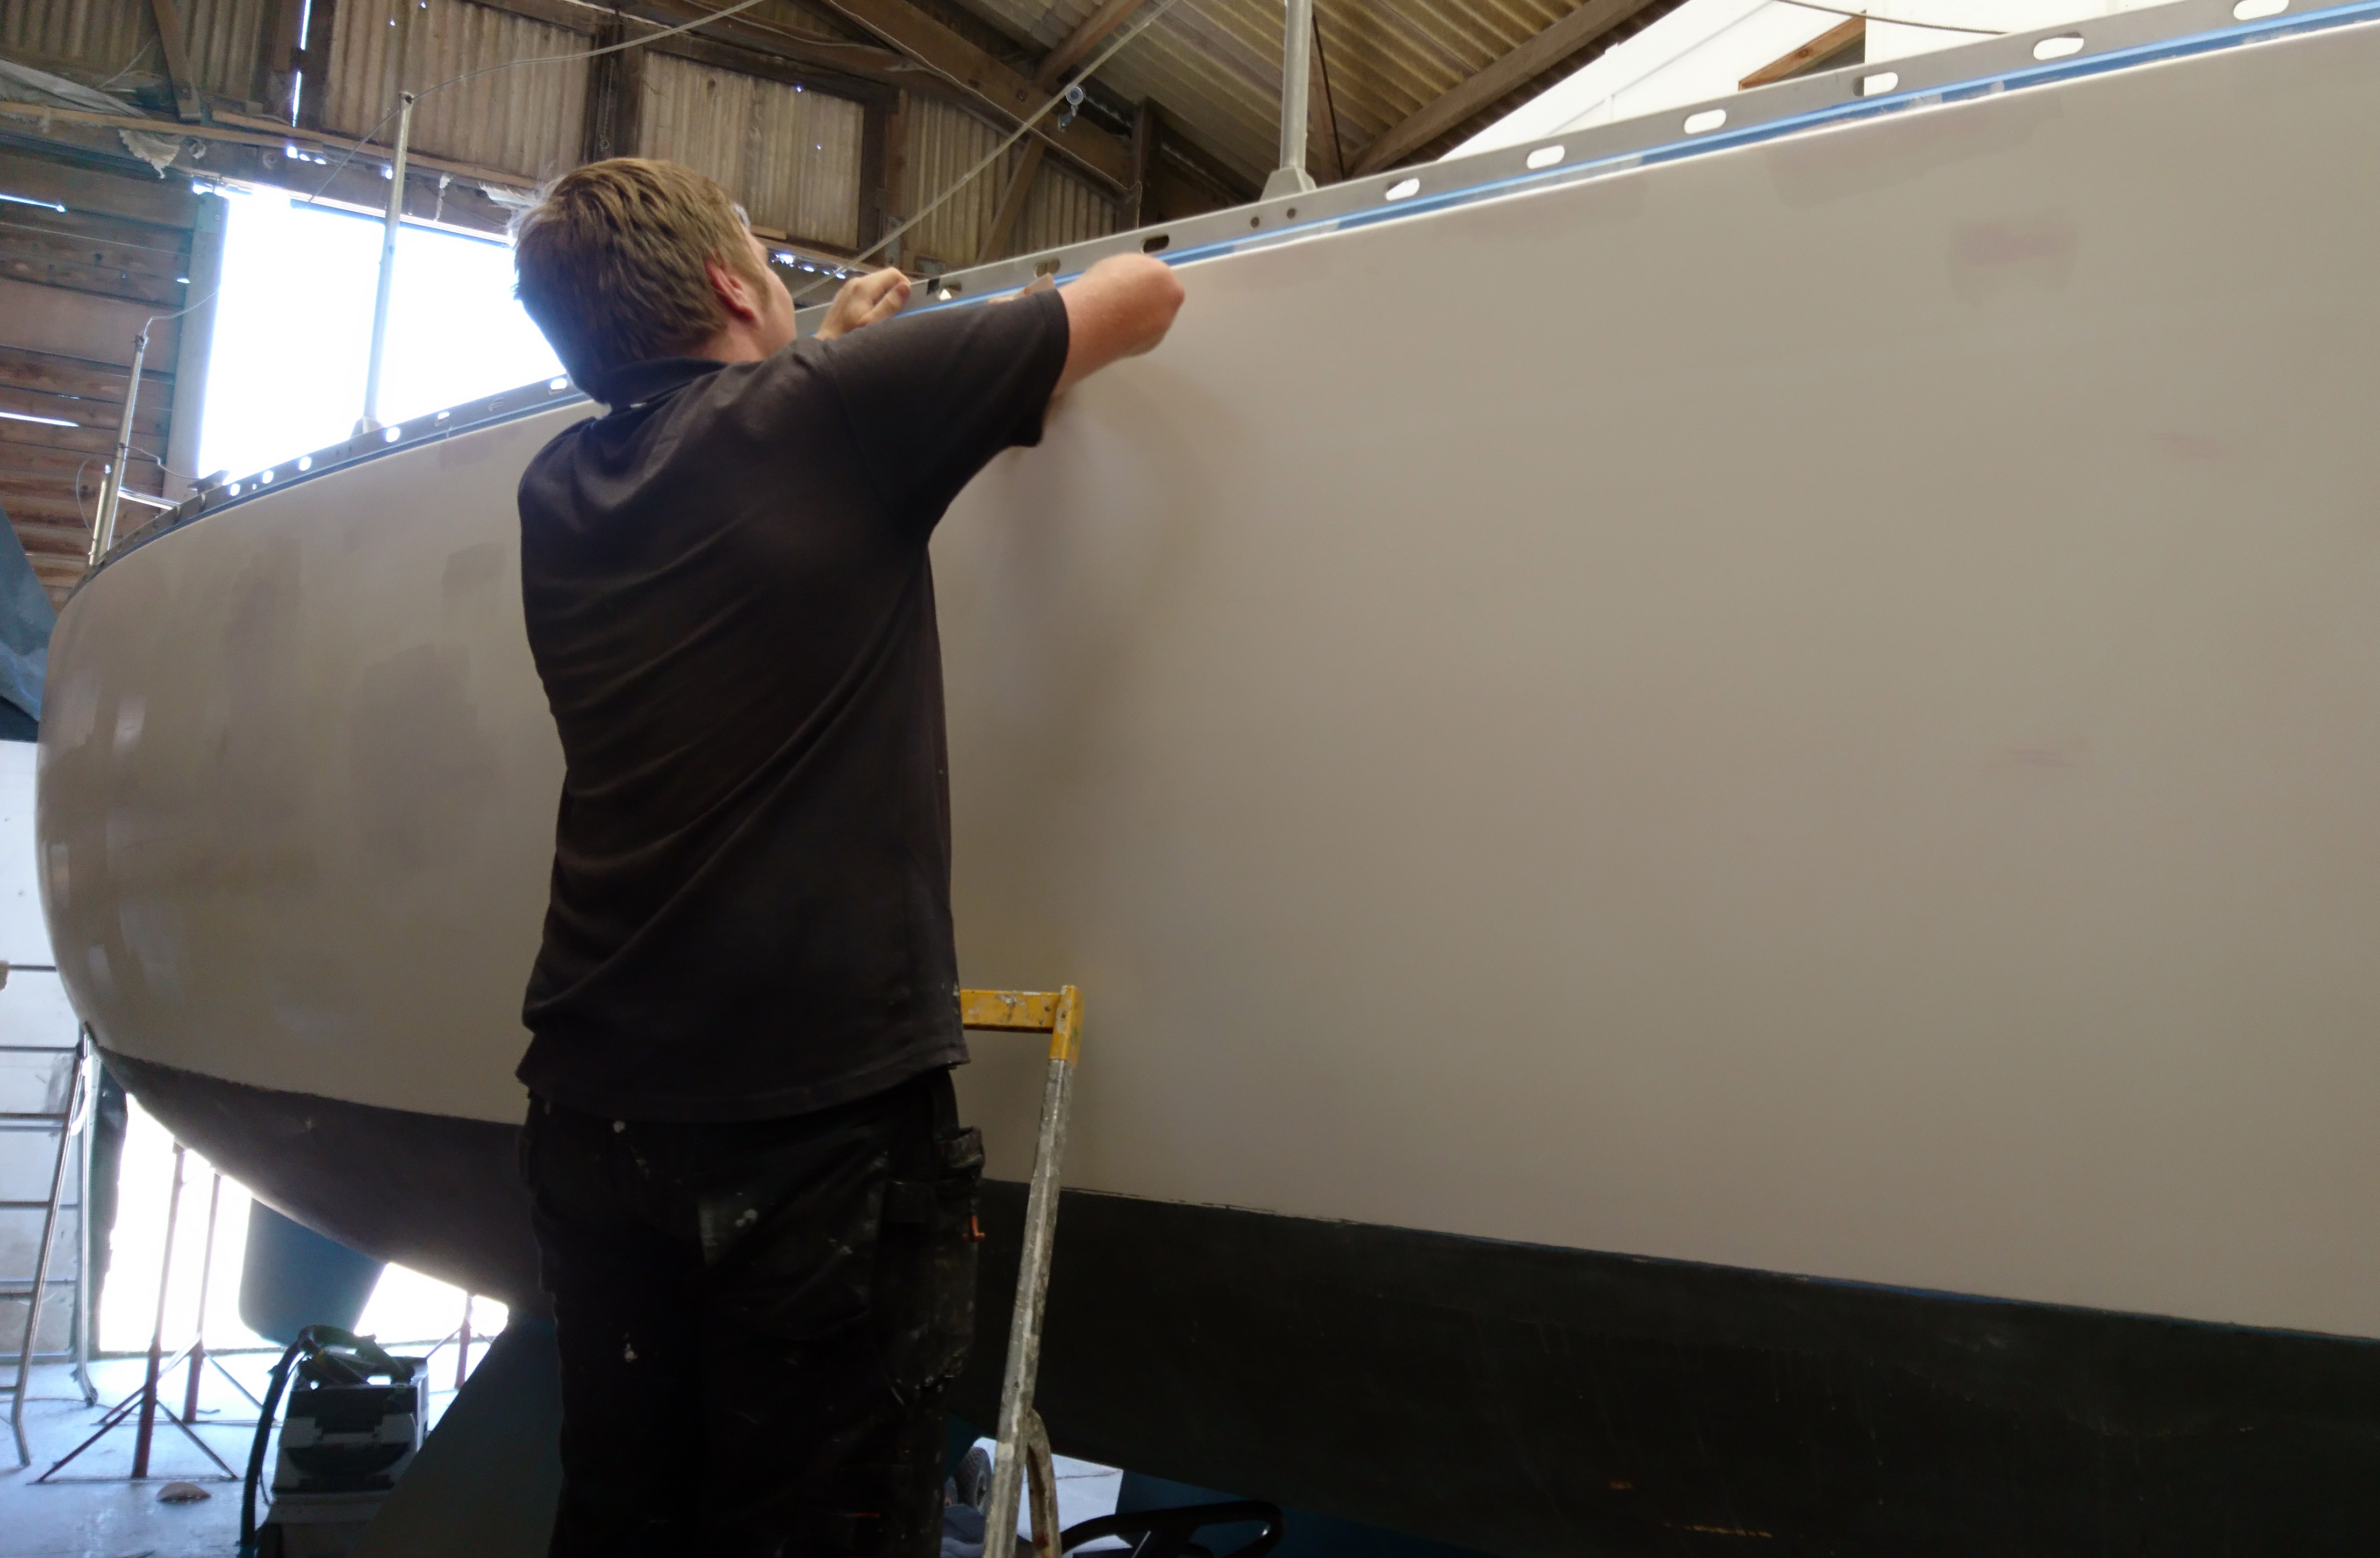
Often the best way is to sand down the entire topsides area using 150grit on a dual action (da) sander, though from this point on you need to employ very good dust extraction.
Dust is the make it or break it of a good spray job so we use dust extractors on each da and wash down at least twice a day.
Also the deck and lower hull is taped up with a mix of plastic sheeting and brown paper.
During the course of the project the boat will be taped and re-taped a number of times.
The damaged areas are sanded hard and the remaining gel coat is removed from the area.
This is especially true in crazed areas so we can also check the condition of the laminate.
We use the two pack Nautix epoxy fillers to fair and build up the damaged areas.
A long board is used to sand and fair in order to ensure we get a perfectly fair shape as once the top coat is applied any irregularities will stick out like a sore thumb.
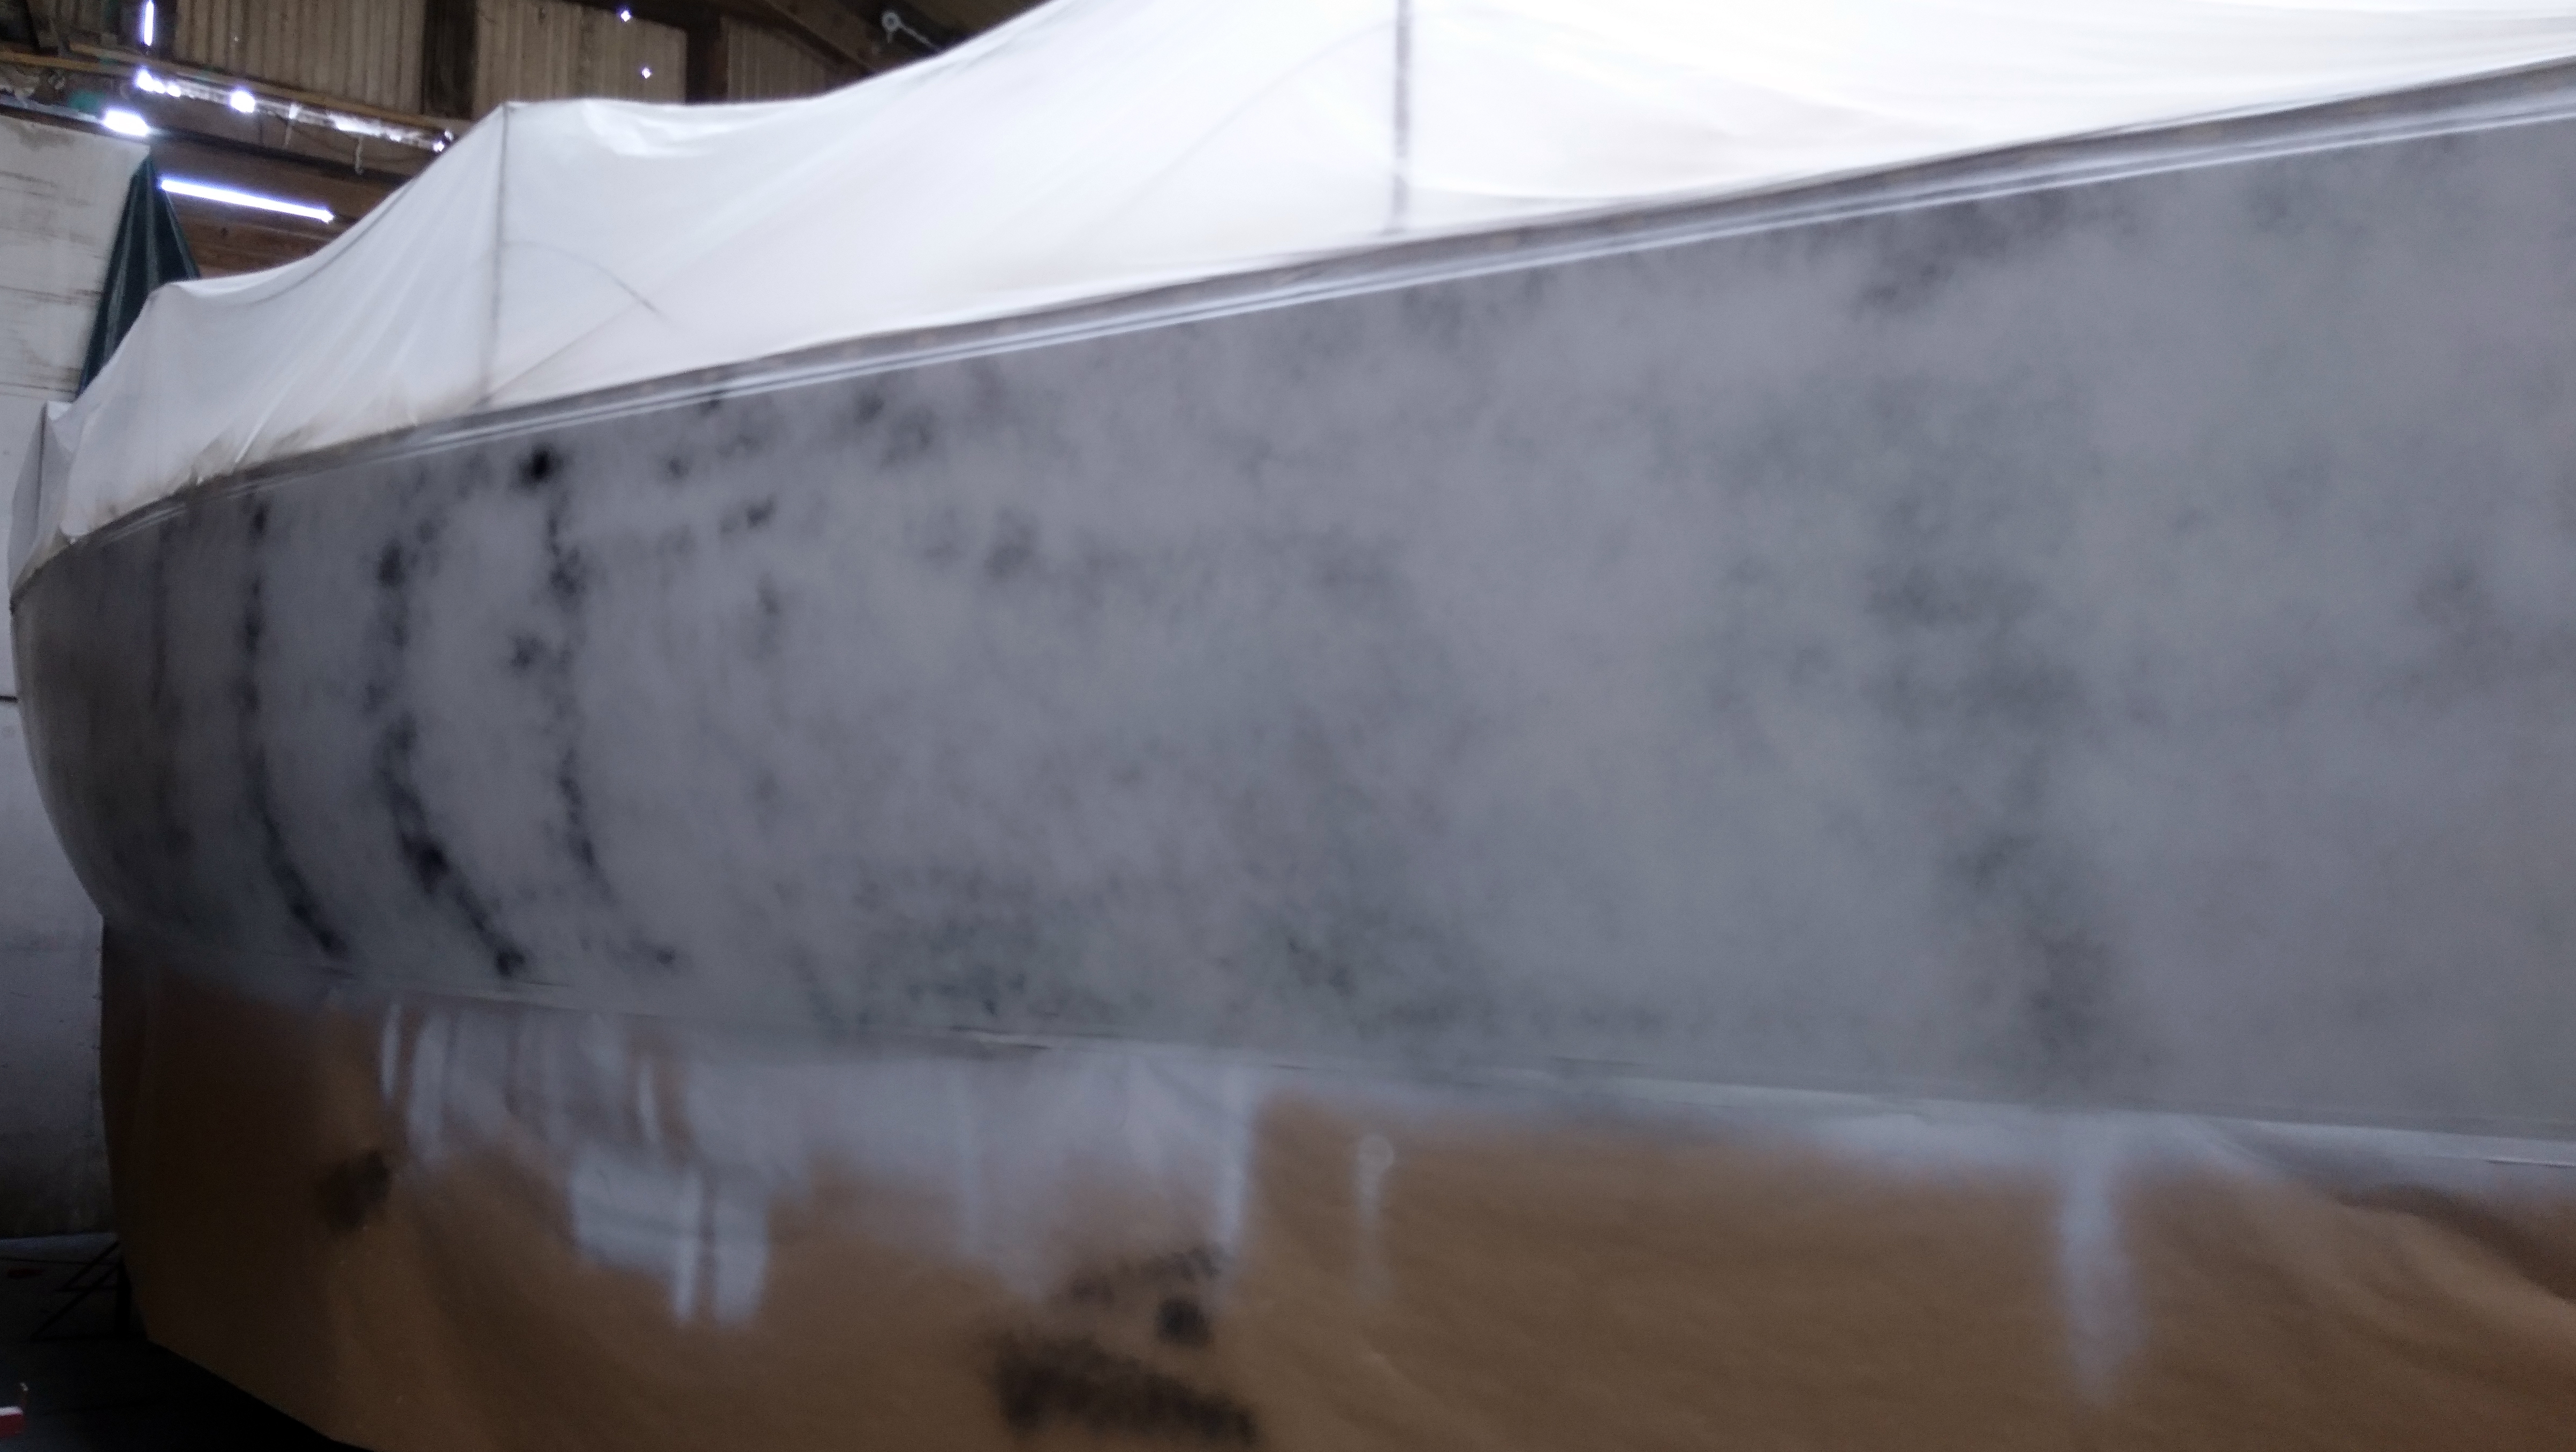
White is a difficult colour to work with so we use a contrasting guide coat which helps us identify the highs and lows.
Dings, chips and grazes are ground away, filled and sanded.
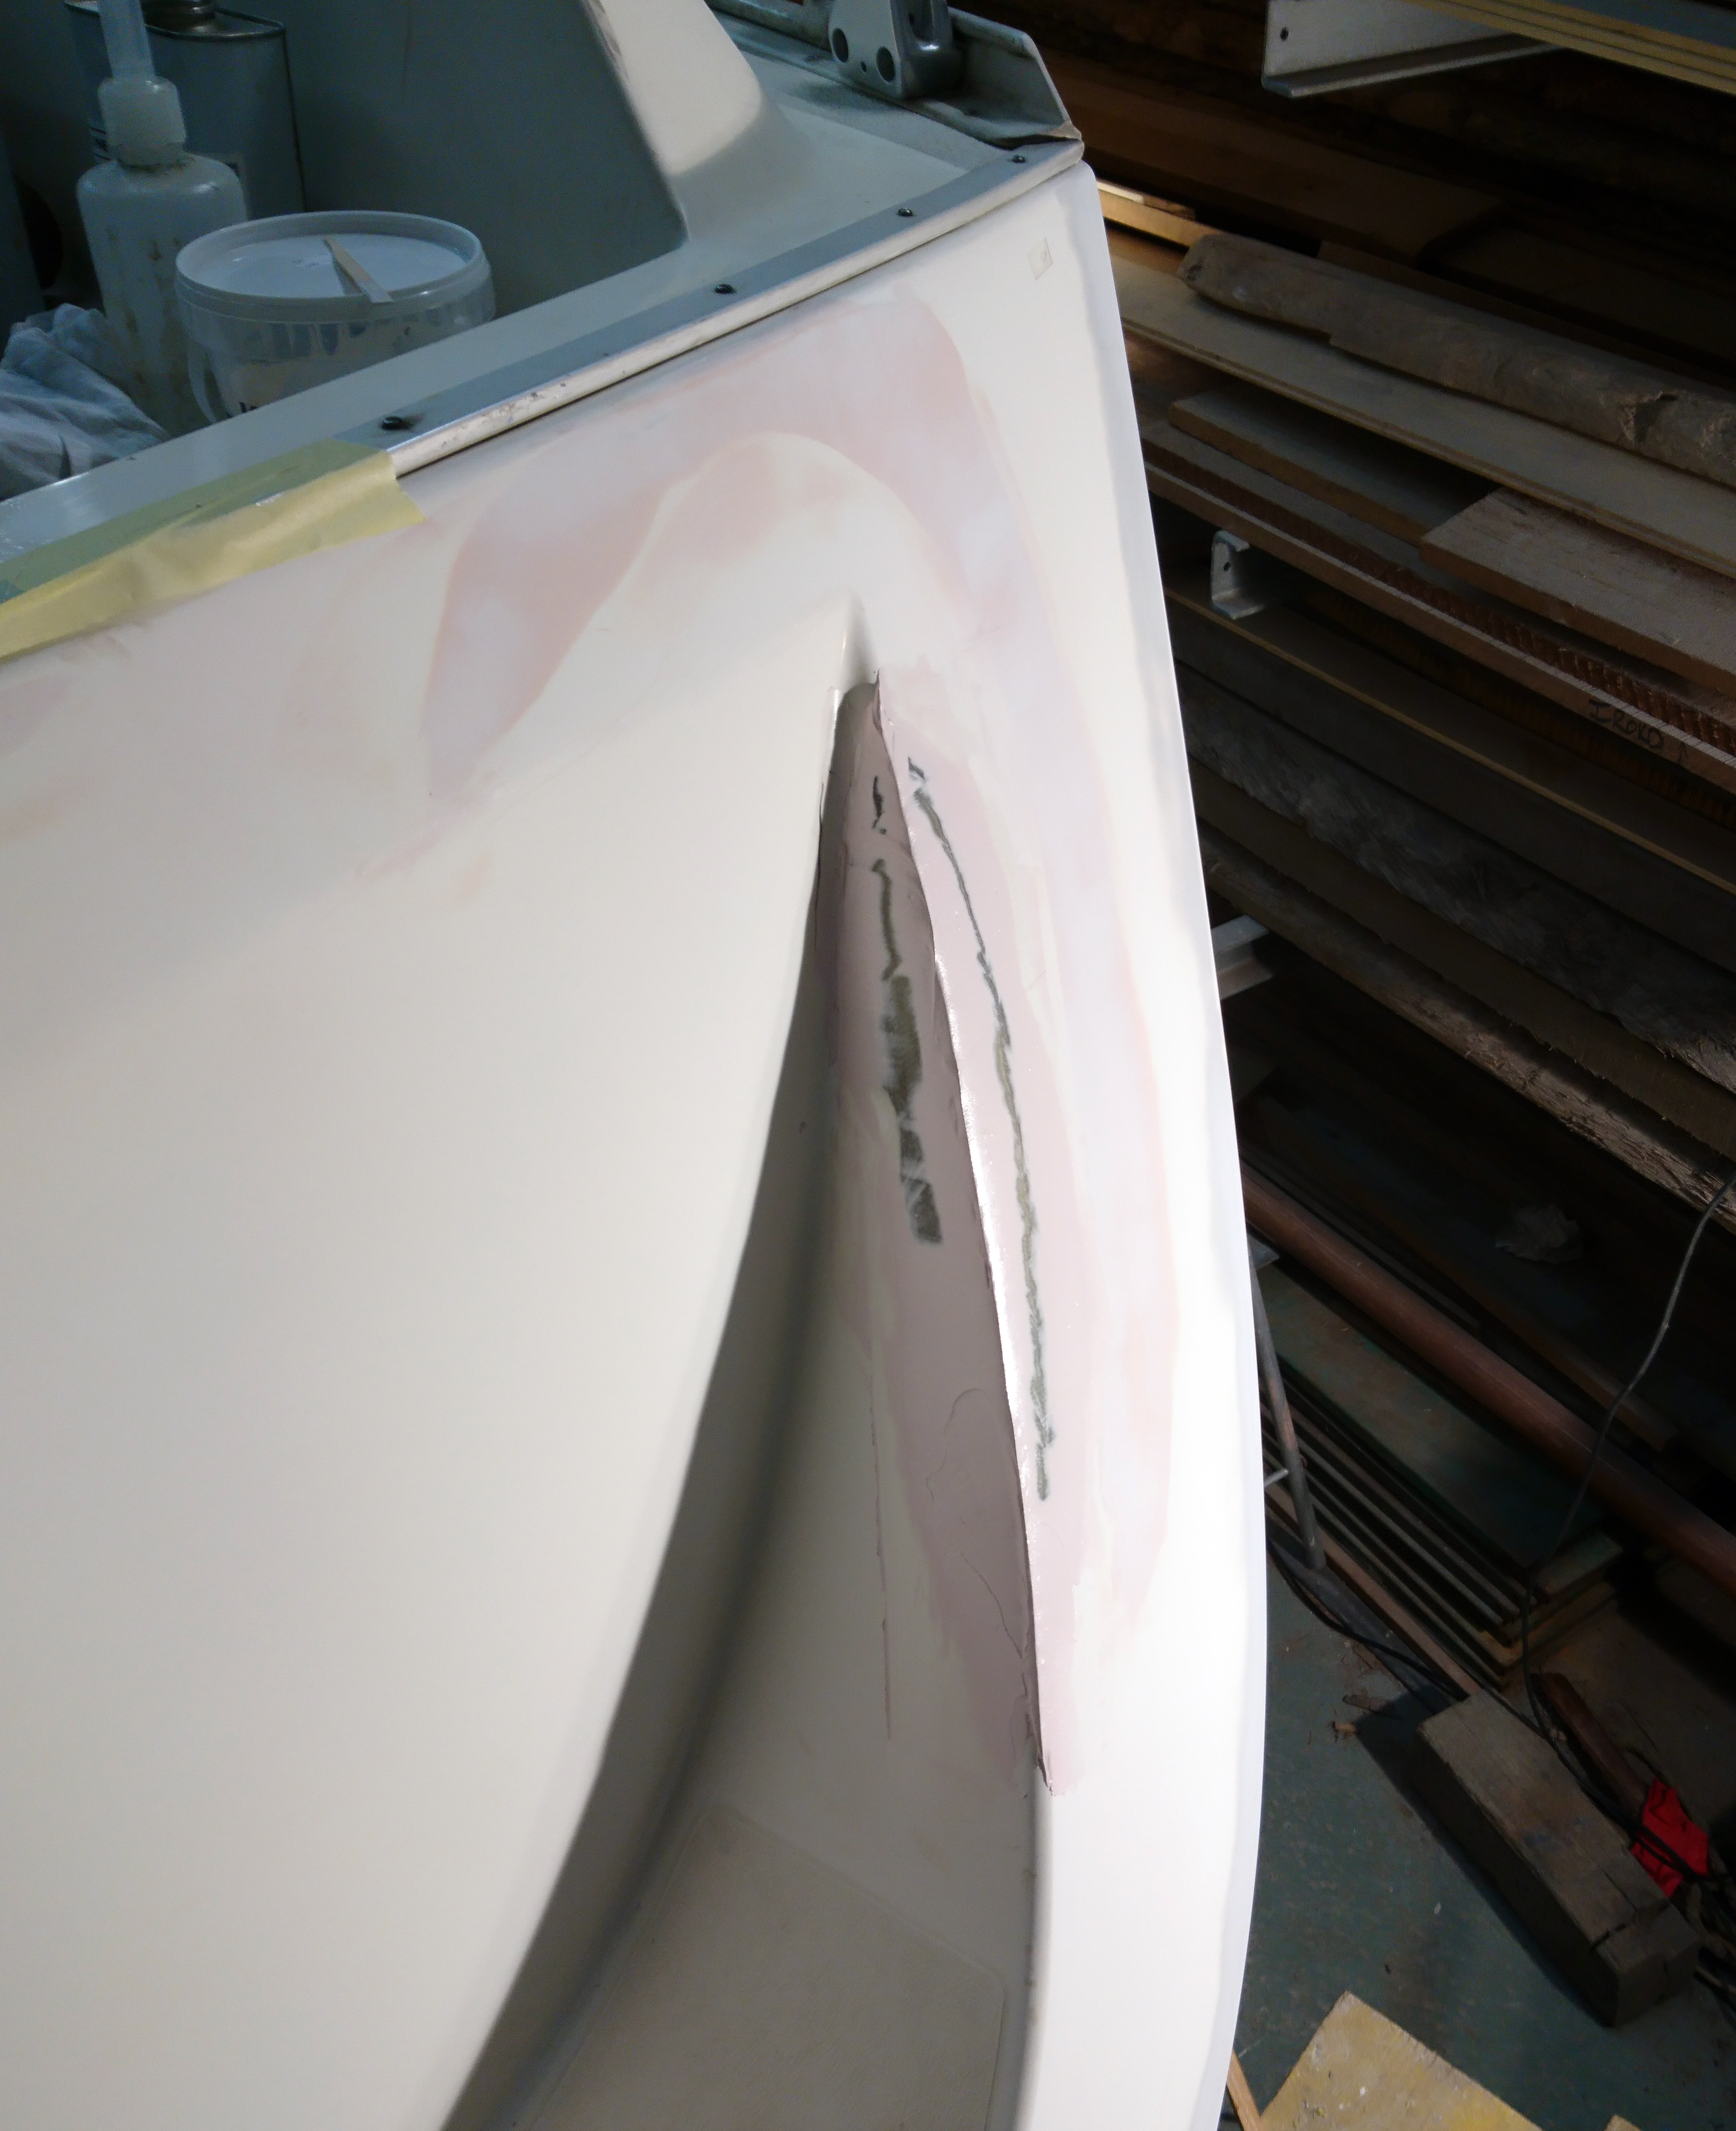
Crazing ground away and filled with epoxy whilst the laminate was repaired and strengthened from the inside.
We’ve had excellent and long lasting results using Awlgrip paints over the years and have got to know the system pretty well.
Once the major damaged areas have been dealt with the topsides are coated with the first of three coats of Awlgrip 545 epoxy primer.
This effectively seals the fairing and filled areas as well as providing a good base for top coats.
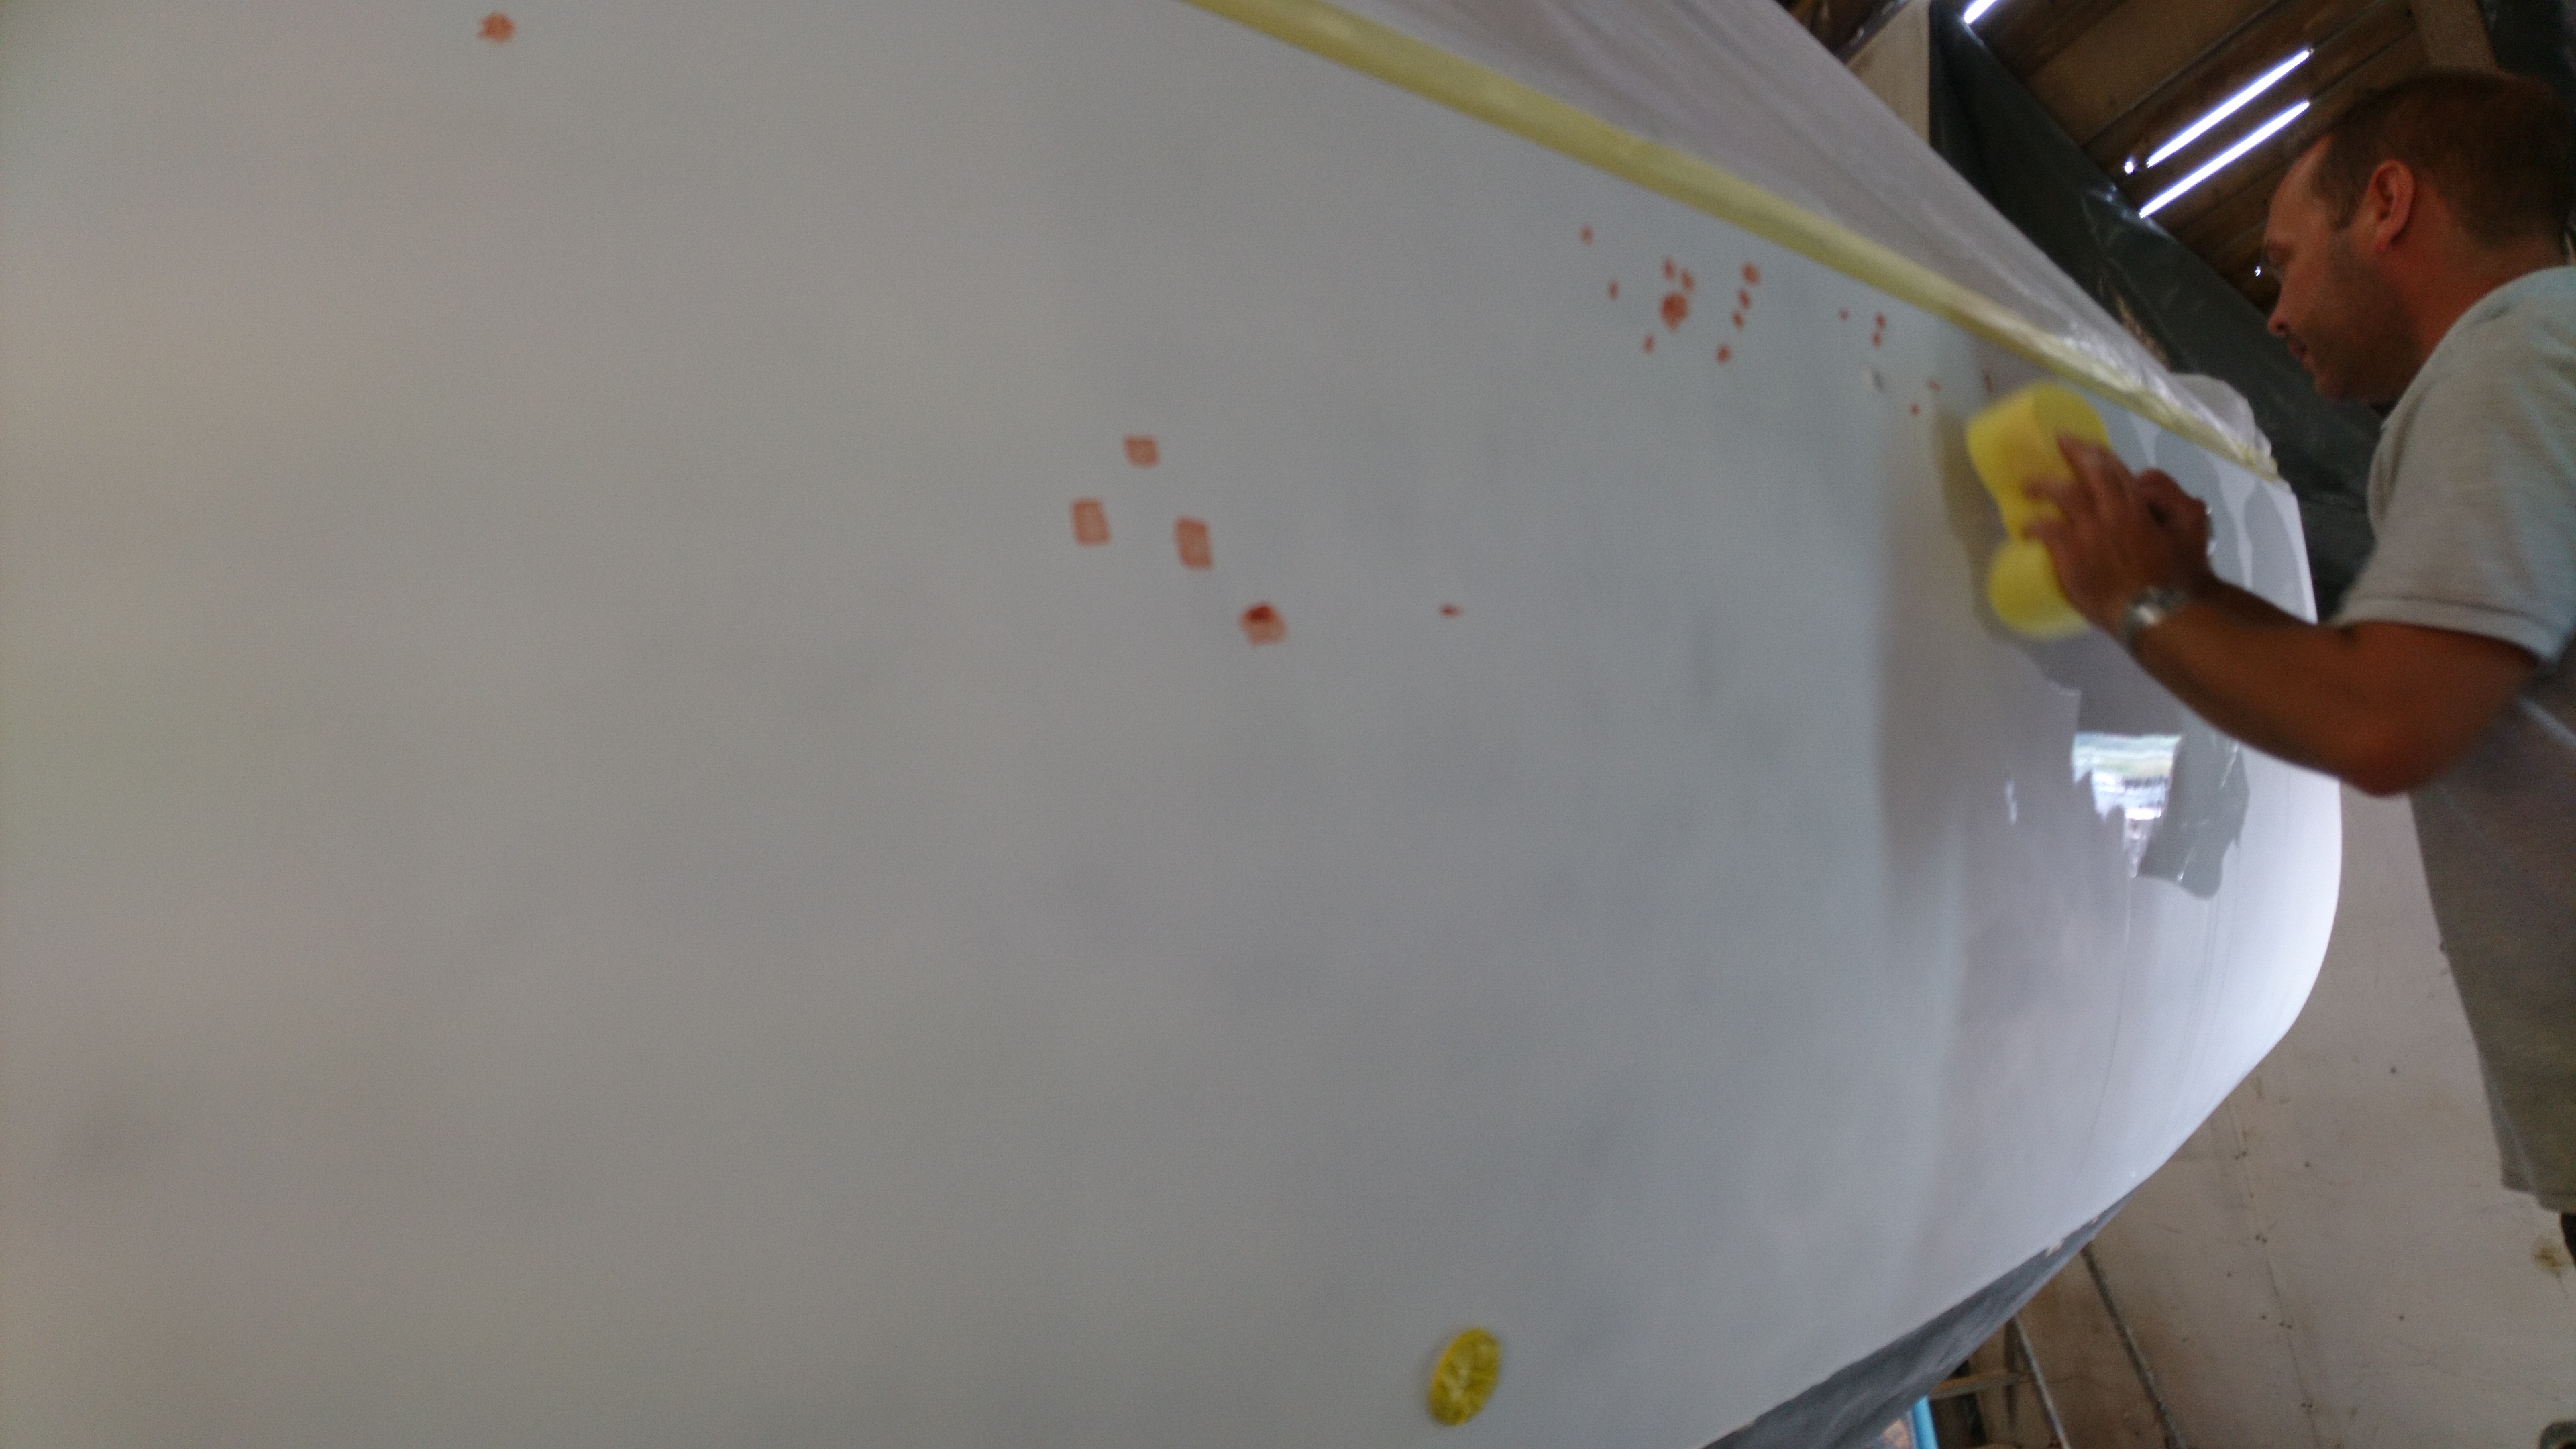
After the coat is dry we lightly spray a contrasting colour to act as a guide coat and sand back.
The guide coat will quickly show any high spots or valleys which can then be spot filled.
This process is repeated another couple of times until we are 100% happy that the topsides are true and fair.
Filler and fairing repairs can just be seen under the first coat of 545 epoxy primer.
Attention to detail is vital at this stage as any inferfections will show up through the top coats.
The guide coat is applied slightly heavier in areas that have been filled so we can check for any filler shrinkage which can happen over a few days.
Glassed on the inside epoxy filled and fared on the outside having had third coat of 545 primer.
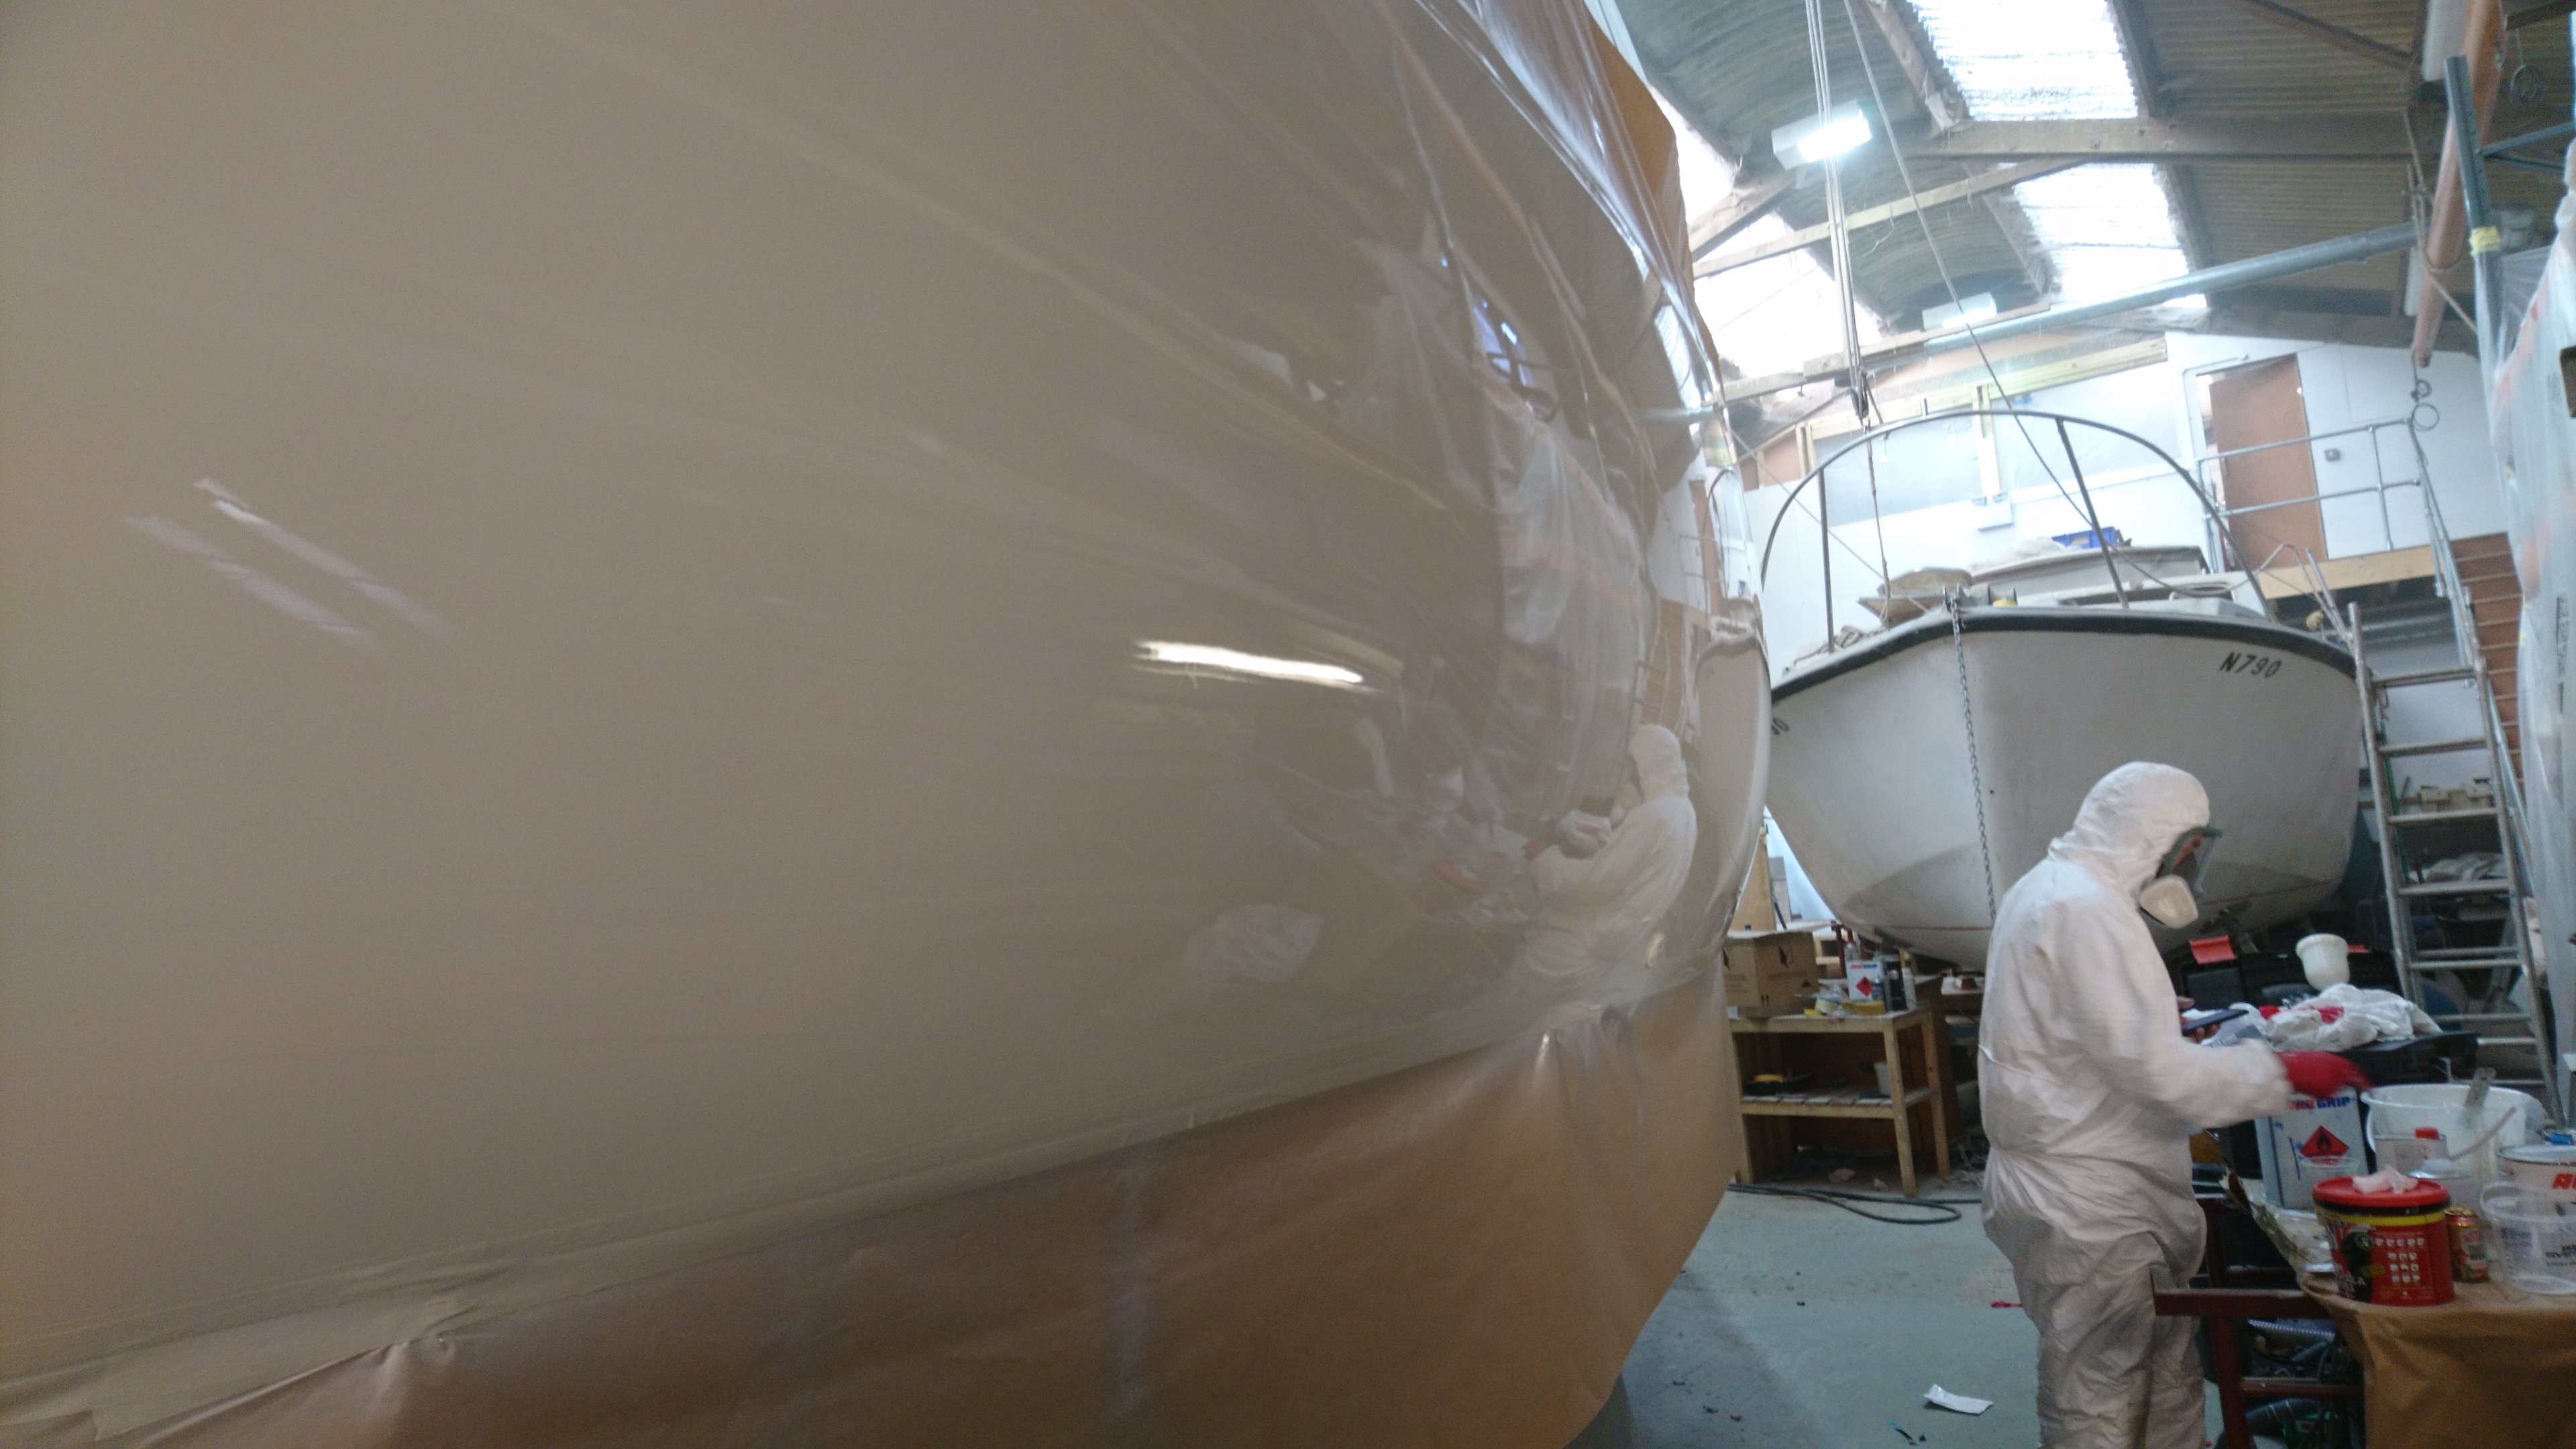
Everything is now washed, re-taped and a ban on entering the shed so we don’t get any errant airflow from opening doors disturbing unseen dust.
The first of three coats of Awlcraft 2000 topcoat can be applied.
This paint is a two part acrylic urethane high gloss which dries fast and seems to keep its shine for a long time.
Its also buffable so if/when you’re a bit late getting a fender in place you have half a chance to buff out the marks.
Three coats were applied over a 4 hour period. The best time for us to spray is on a Friday so it gets almost three days to semi cure.
Full cure takes a couple of weeks.
After the second of three top coats, things are looking good but its still a stressful time.
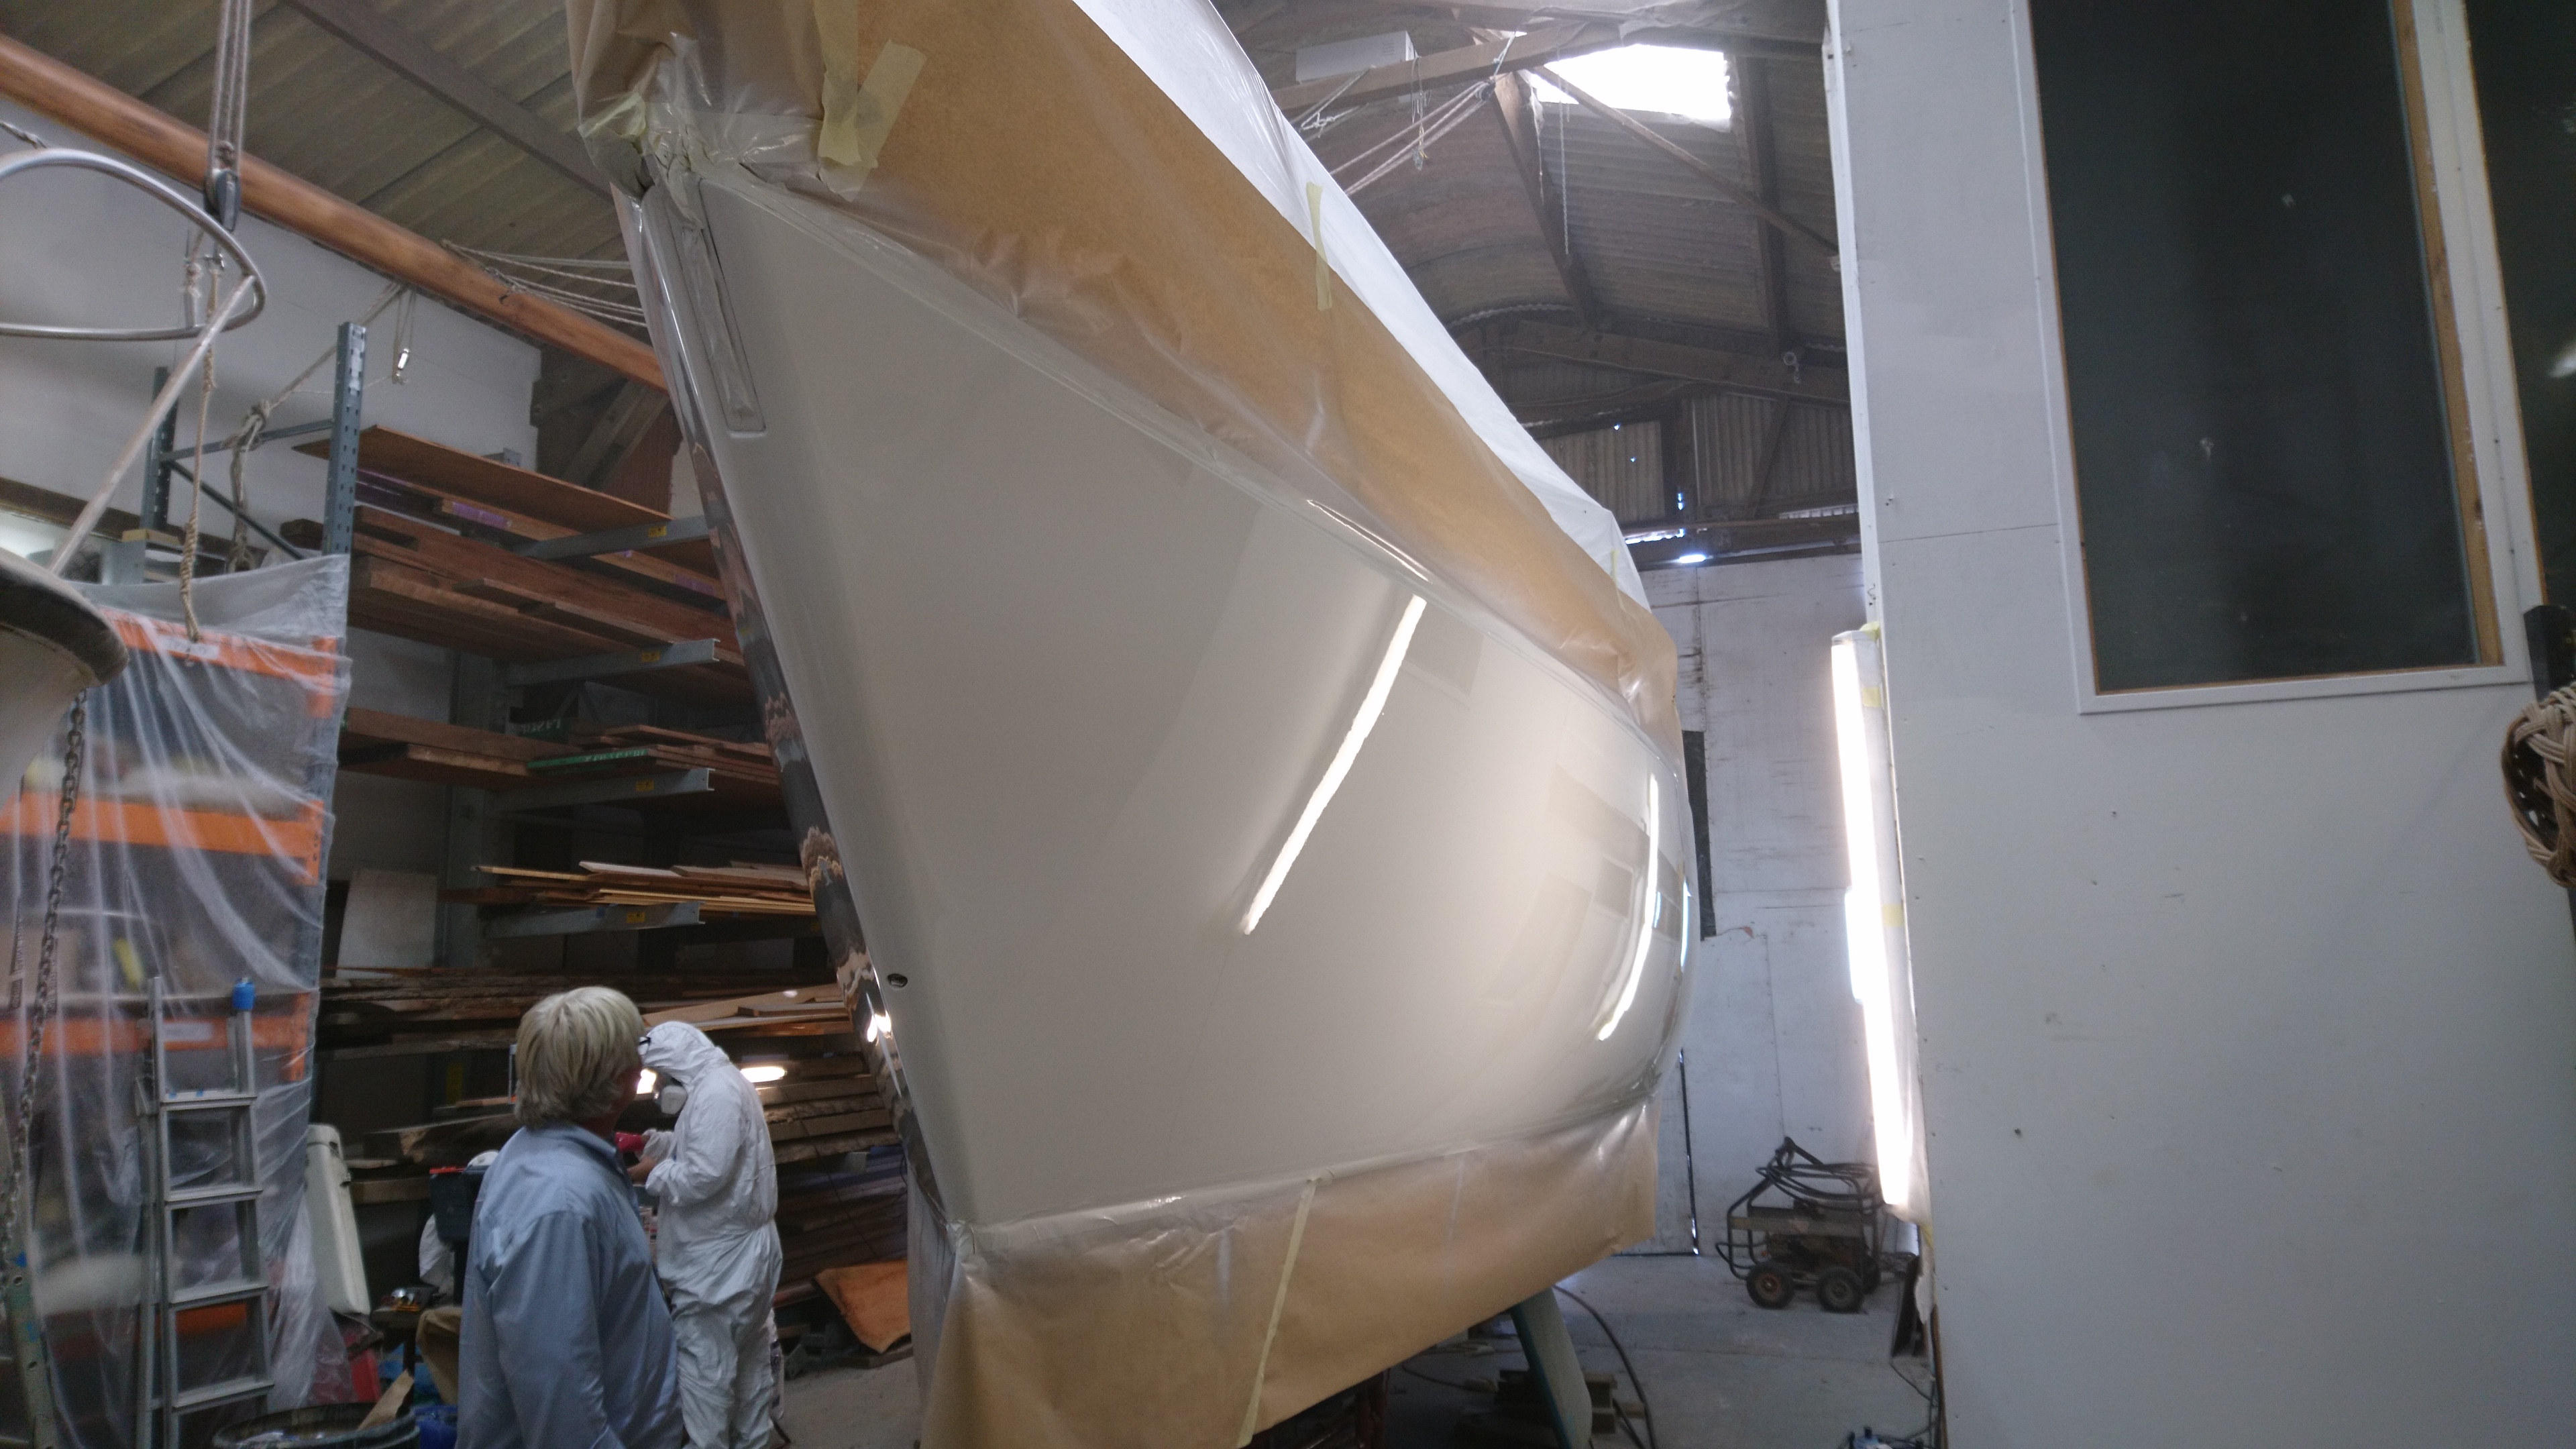
Third coat completed, the boss comes out to inspect.
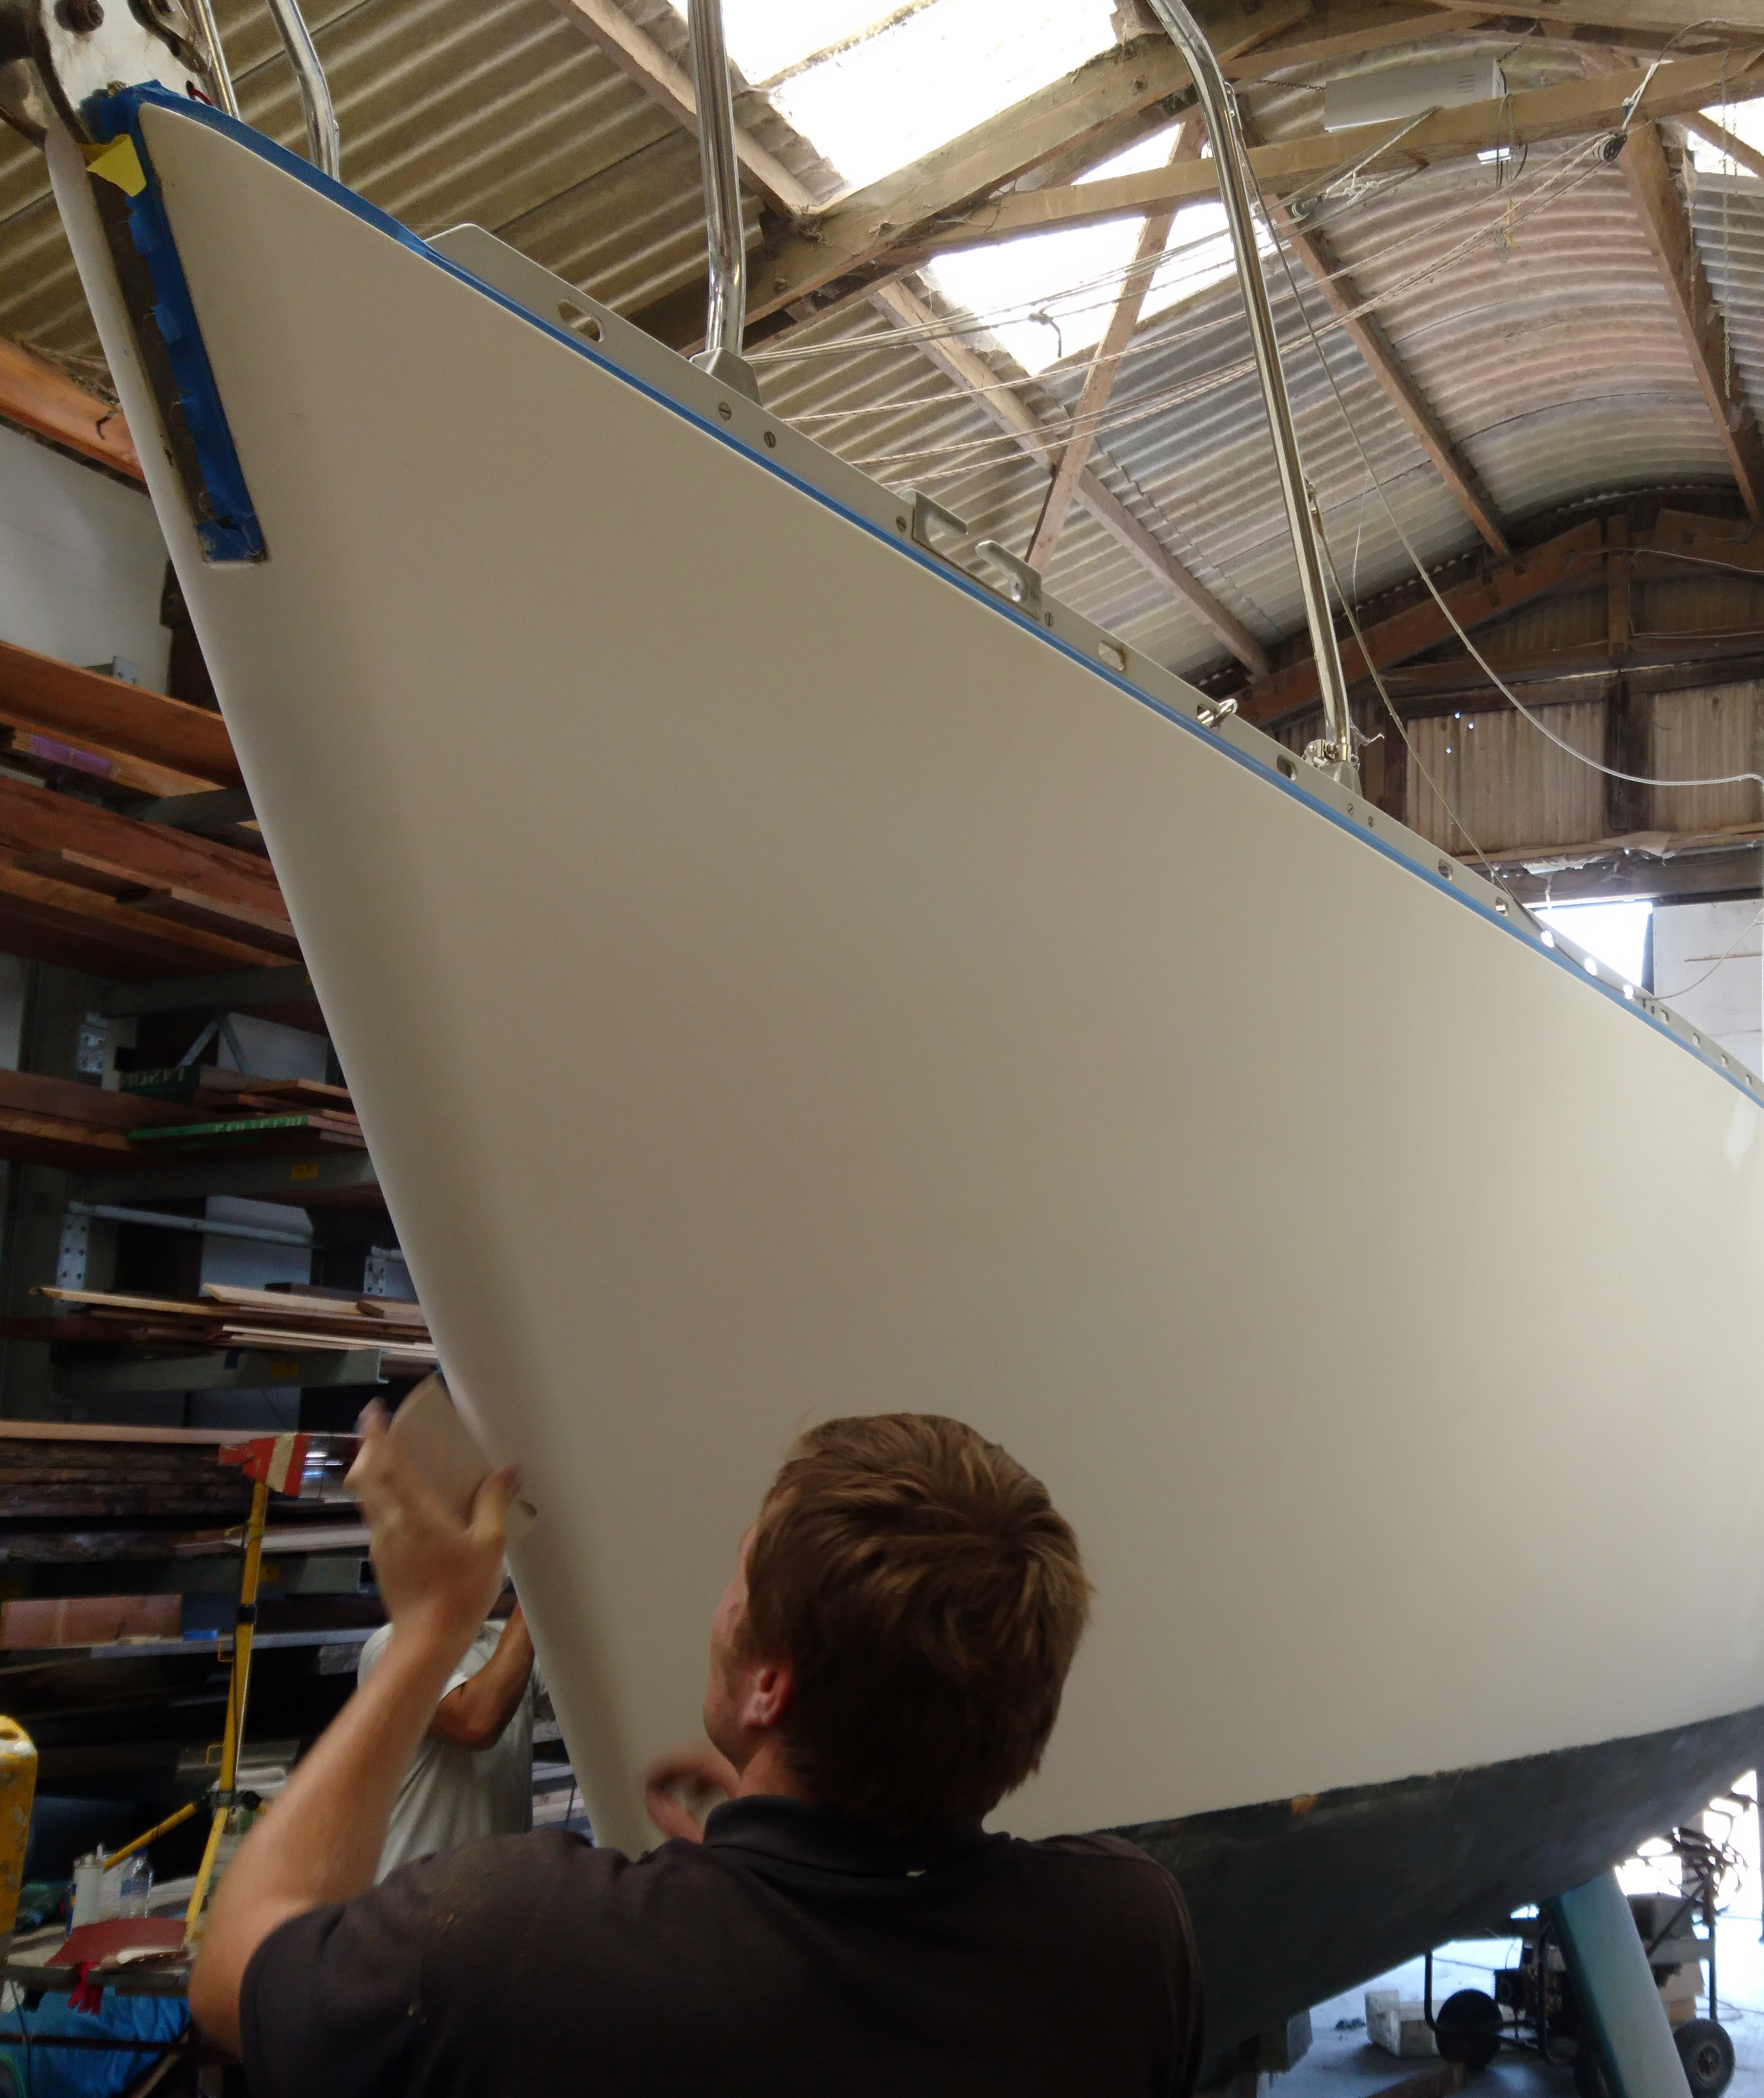
Its just a matter of applying the new vinyl stripes and decals and bolting back fittings like boarding ladders and getting her out of shed 3 in one piece.
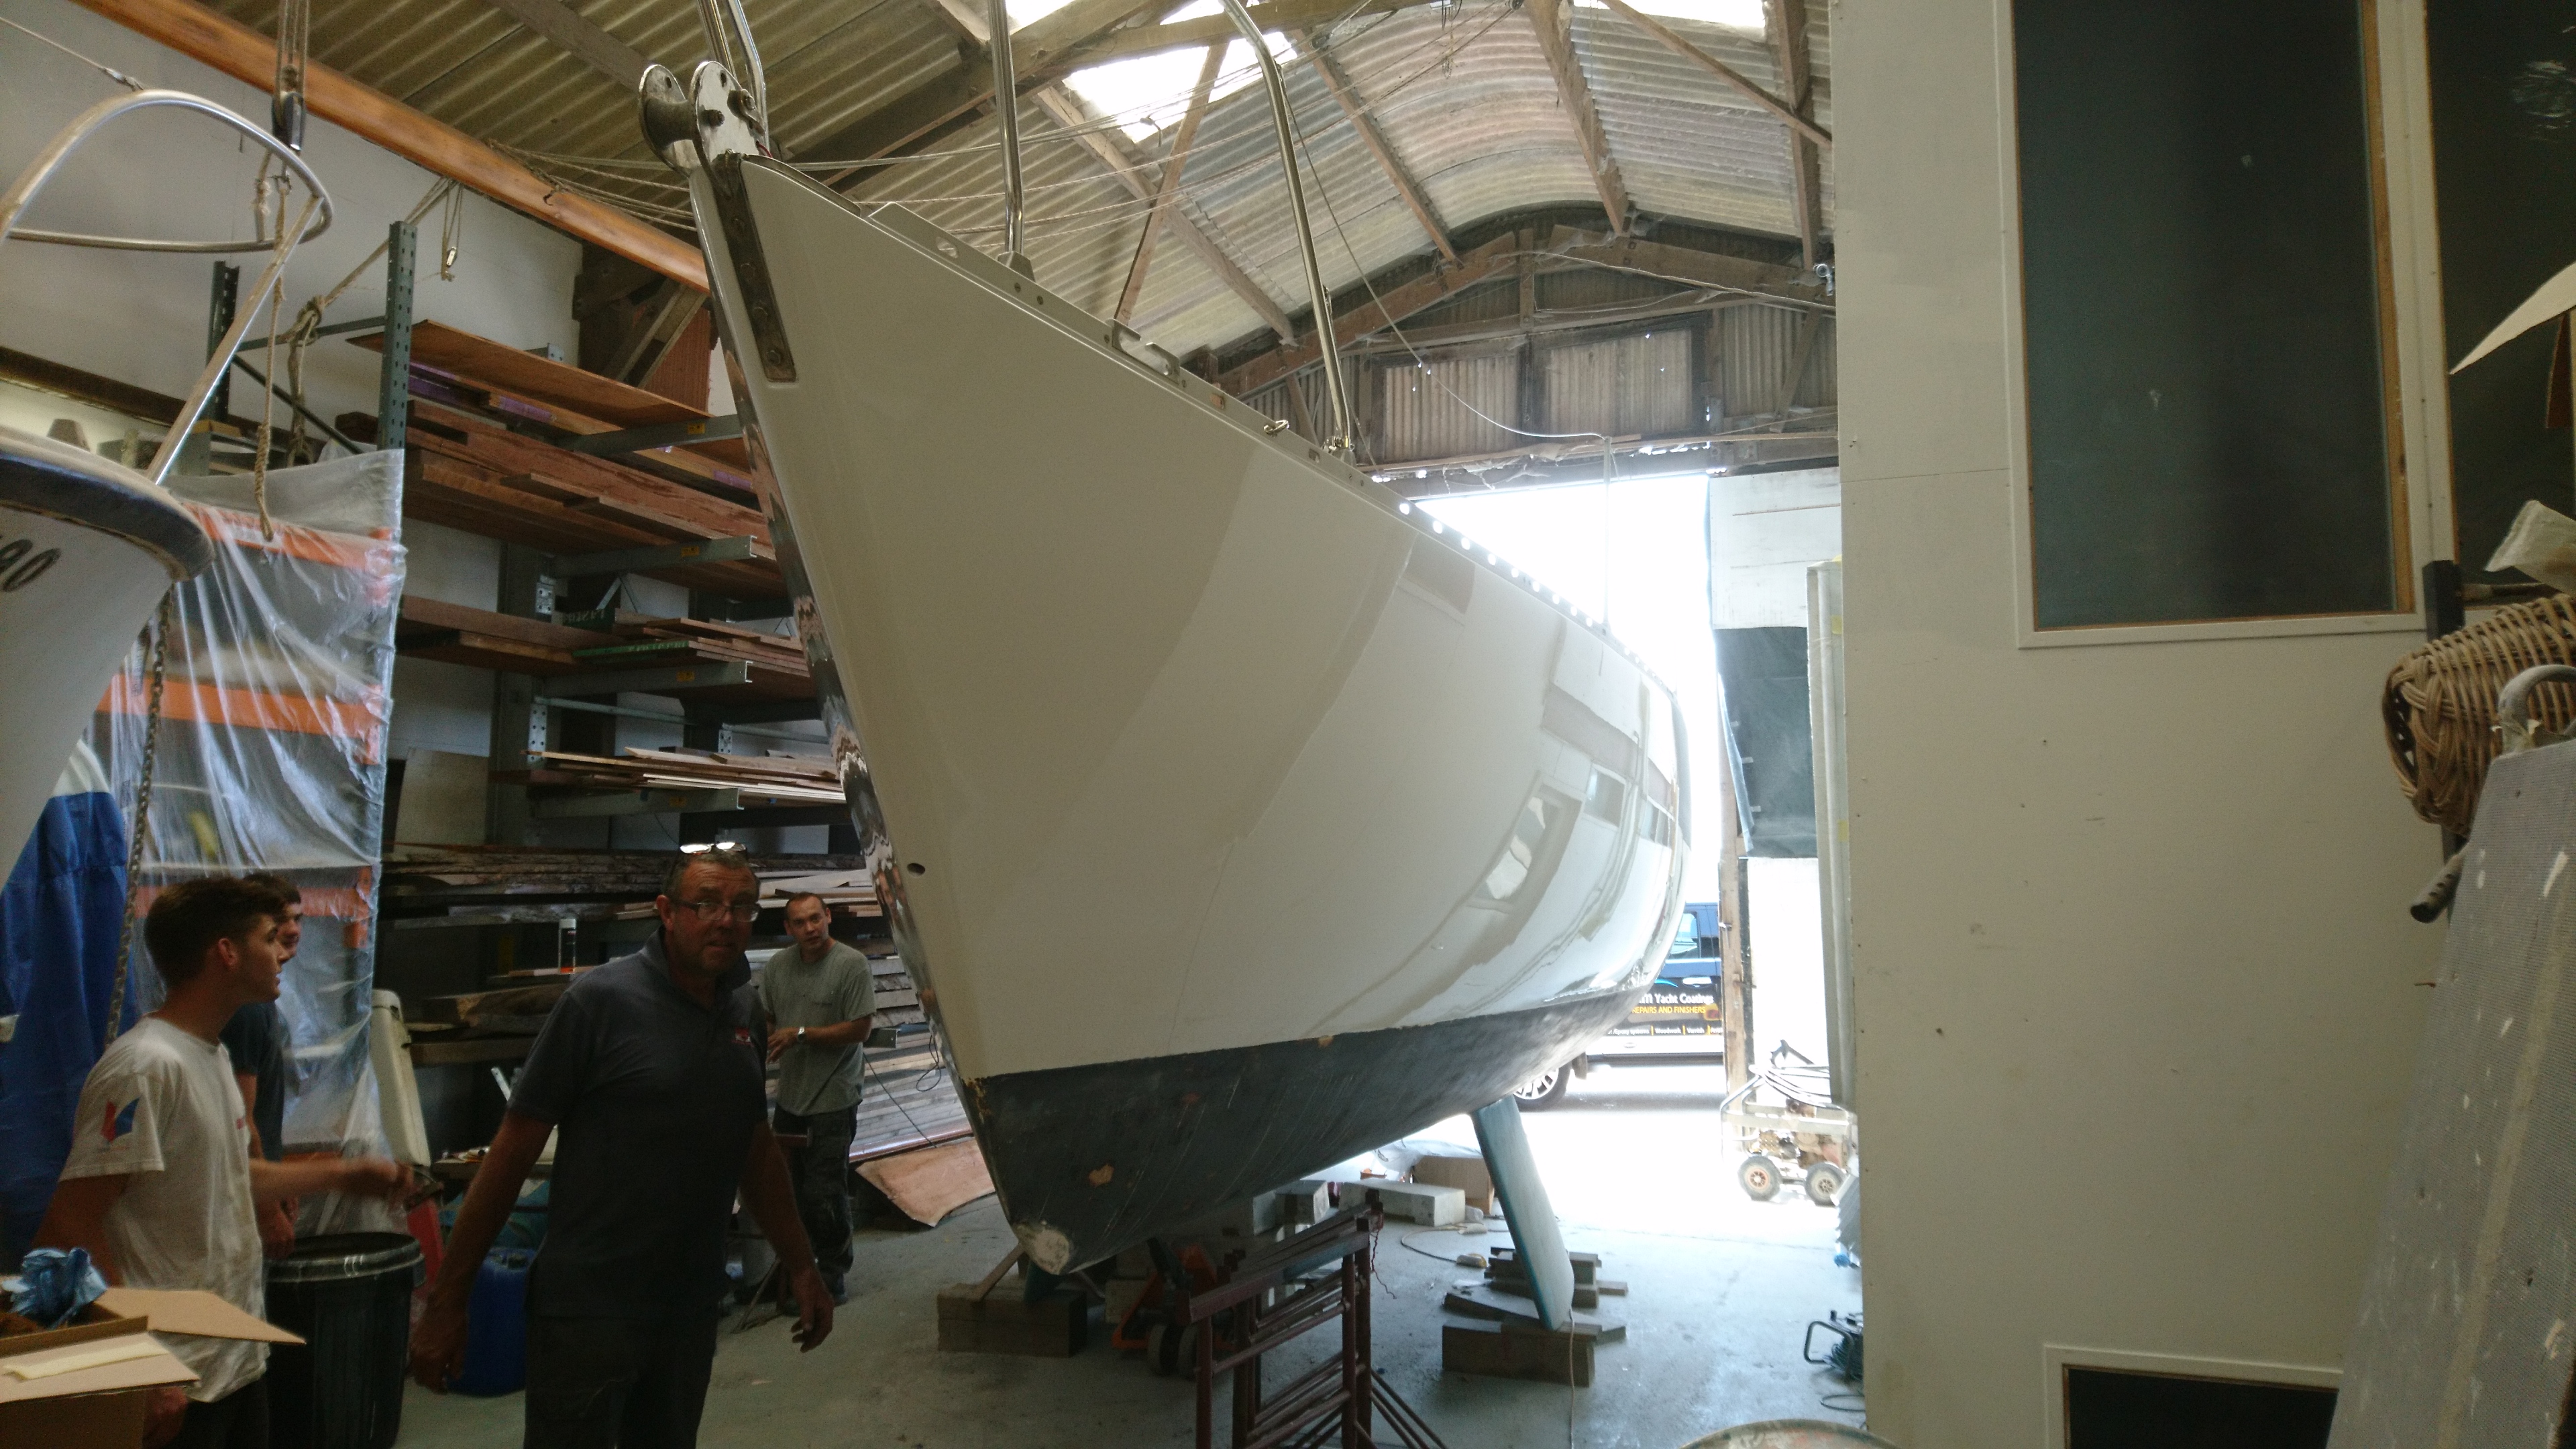
A steady stream of our guys arrive to check out the new spray job.
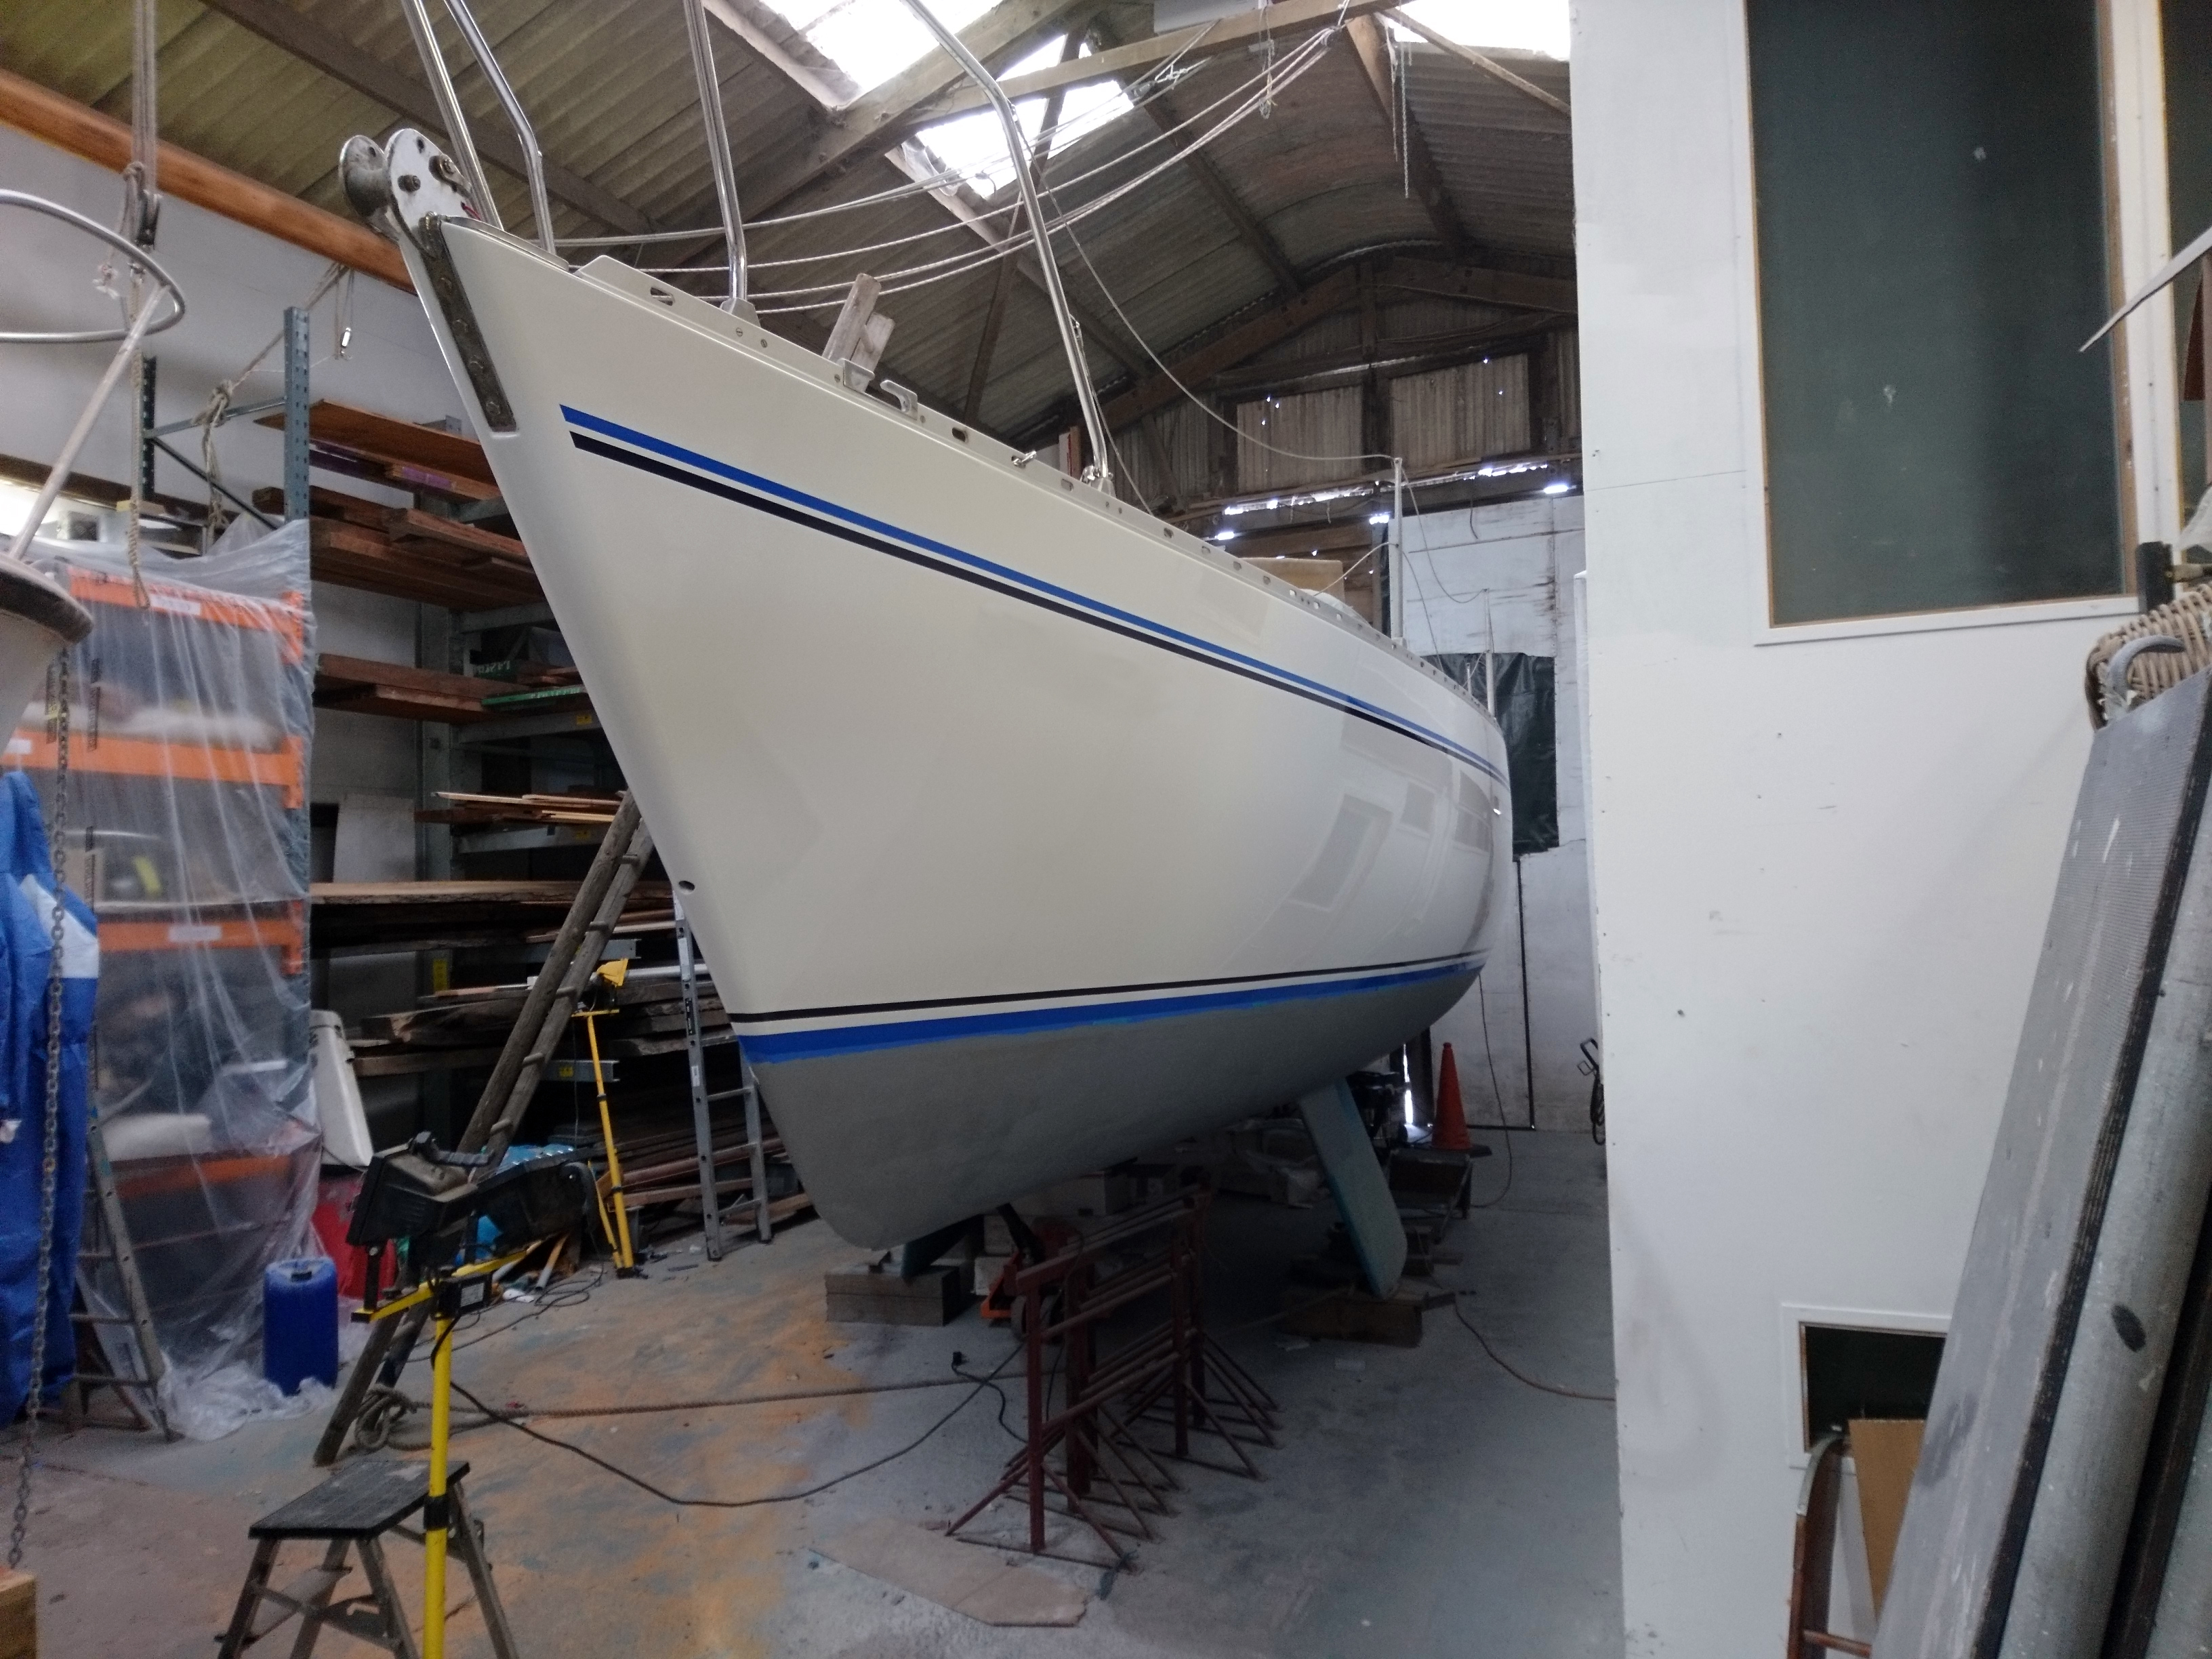
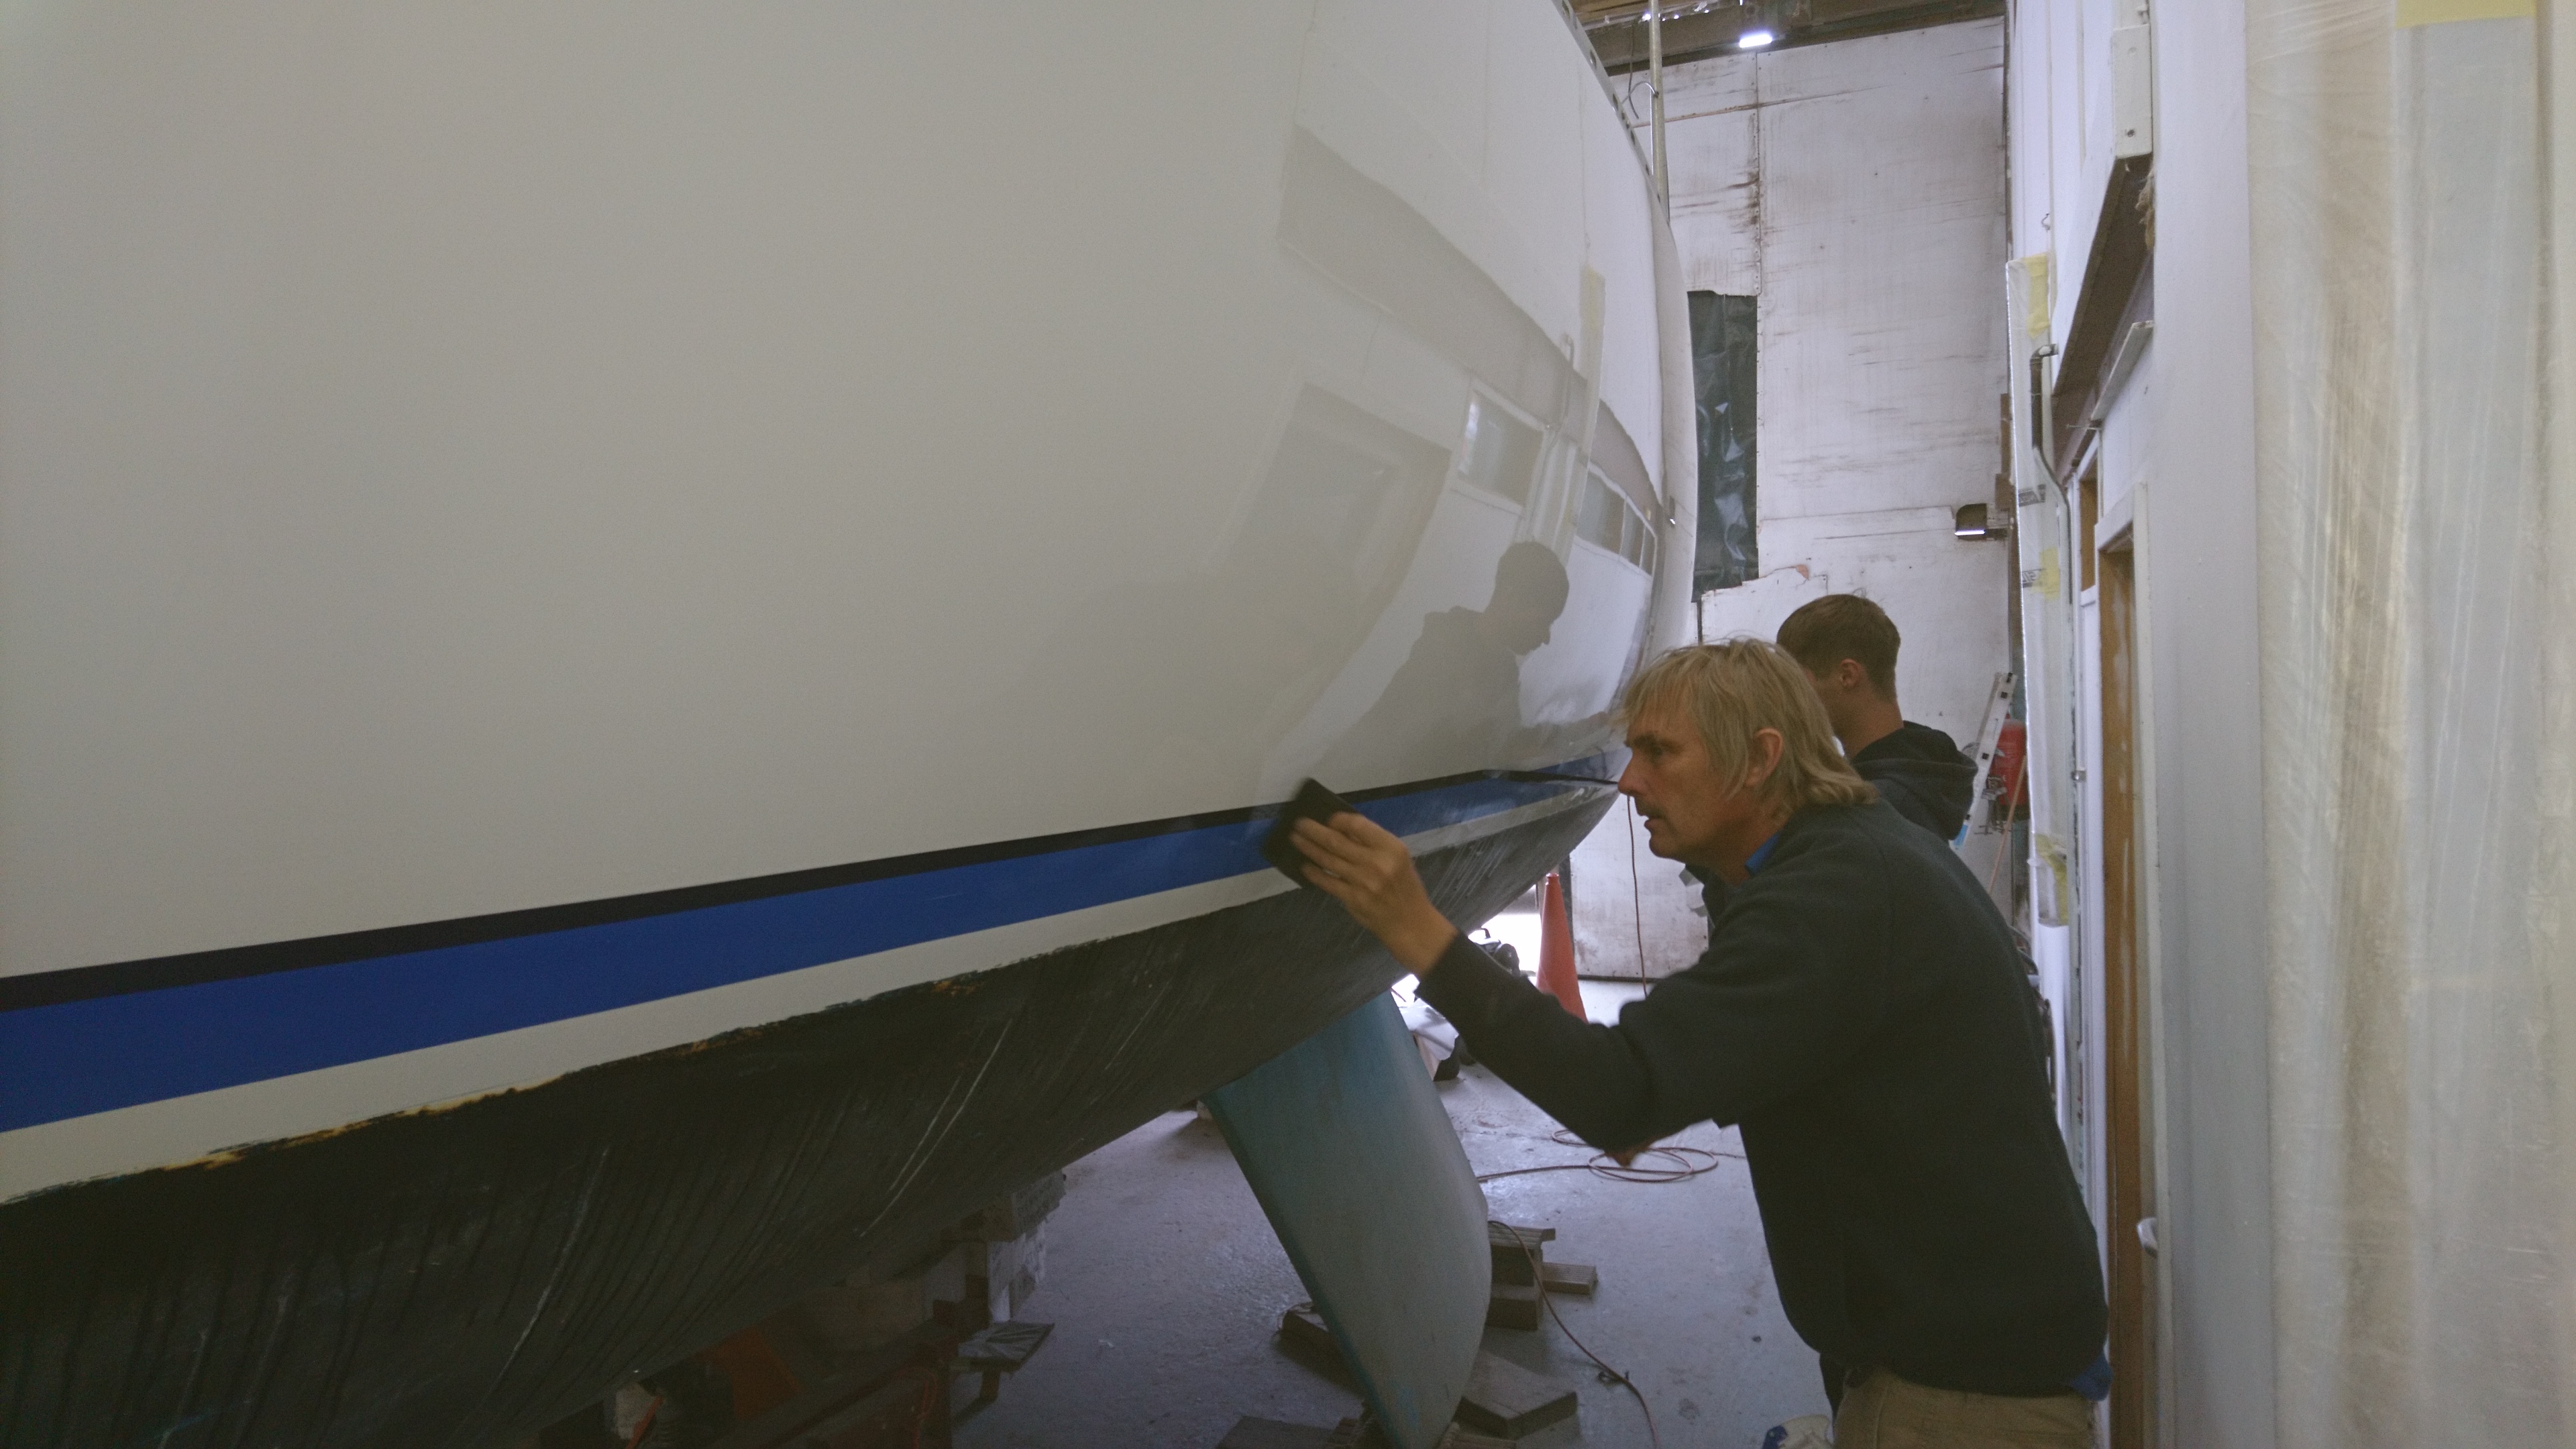
New vinyls being applied.
