Small project to fair in the deadwood on a Colvic Watson and installation of a smaller prop
Updated – 20/3/17
We recently carried out an engine change on a Colvic Watson. All went well, however the original huge prop has now become a little too huge when under power.
In gear at tick over the North Sea visibly increases speed through the Dover straits and the new engine would only rev to around 1500.
So we need to reduce size of the prop and possibly increase the pitch.
On the positive side reducing the size will reduce sailing drag but there isn’t enough in the owners budget to stretch for a feathering or folding prop.
There’s no doubt that a big three bladed prop causes drag, especially one coupled to a hydraulic gearbox that cannot be left to freewheel and a smaller prop will cause less drag but the danger of reducing the prop size on this design is that so much of the prop is hidden in the shadow of the keel.
We could keep the prop the same size and just increase the pitch but the owners like to sail so improving efficiency by reducing drag is the best option and given the budget constraints a smaller prop is the way to go.
So the task is to improve the flow round the back of the keel and give the smaller prop half a chance and at the same time it will vastly improve the flow over the rudder.
The initial plan of a short fairing just didn’t look or feel right to me.
My rule of thumb is to look at an underwater obstruction and times the size by 3 to gain an idea of when the flow might start to get itself sorted out.
So a 5″ wide trailing edge will be casting a shadow at least 15″ aft.
There’s no way I can get 15″ of fairing so I’m just working on getting as much as I can.
A few more chunks of celotex and a glue gun gave me something to work with to get a reasonable shape.
I shaped it by eye rather than spending a lot of time making templates which kept the costs down.
A good 10″ of existing keel was ground back to provide a good key and anchor for the fairing.
The keel and foam was then tied together with a four layers of 450g chopped strand mat and polyester resin.
Three layers of gelcoat was then applied and a final coat of gelcoat with added Wax in Styrene which acts as a top coat.
Whilst a great gelcoat finish isn’t really required in an area soon to be covered in layers of primer and antifoul I advise you still apply multiple thin layers of gelcoat rather than slapping on a thick coat.
The issue is that during the mixing phase you will inevitably introduce air into the mix.
Applying the gelcoat in a thick layer will trap these tiny air bubbles which can make the gelcoat porous and if you cut back to get a really shiny finish you will get tens of tiny holes that are impossible to fill. Cutting back more just exposes more holes and so on.
Gelcoat will not cure in air, it gels and stays sticky.
When applied to a mold and then glassed over the air is eliminated and the gelcoat will set hard.
So when applying on top of glass without a mold we need to eliminate the air somehow.
To do this we add wax in styrene in roughly the same quantity as you add the catalyst.
During the curing process the wax comes to the surface effectively sealing the gelcoat from the air and allowing the gelcoat to set hard.
It should be noted that if you need to add any additional layers of gelcoat you will need to remove this wax by keying well with wet and dry sand paper or similar.
Once completed our sea trail proved we had chosen the right size prop as the boat top speed is unchanged but the engine now revs to 2500.
The biggest change was at slow speeds where the slow handling has been transformed for the better.
We await reports back from the owners on sailing performance.
Next time she’s out of the water I need to convince the owners that the barn door they use for steering needs some matching hydrodynamic help.
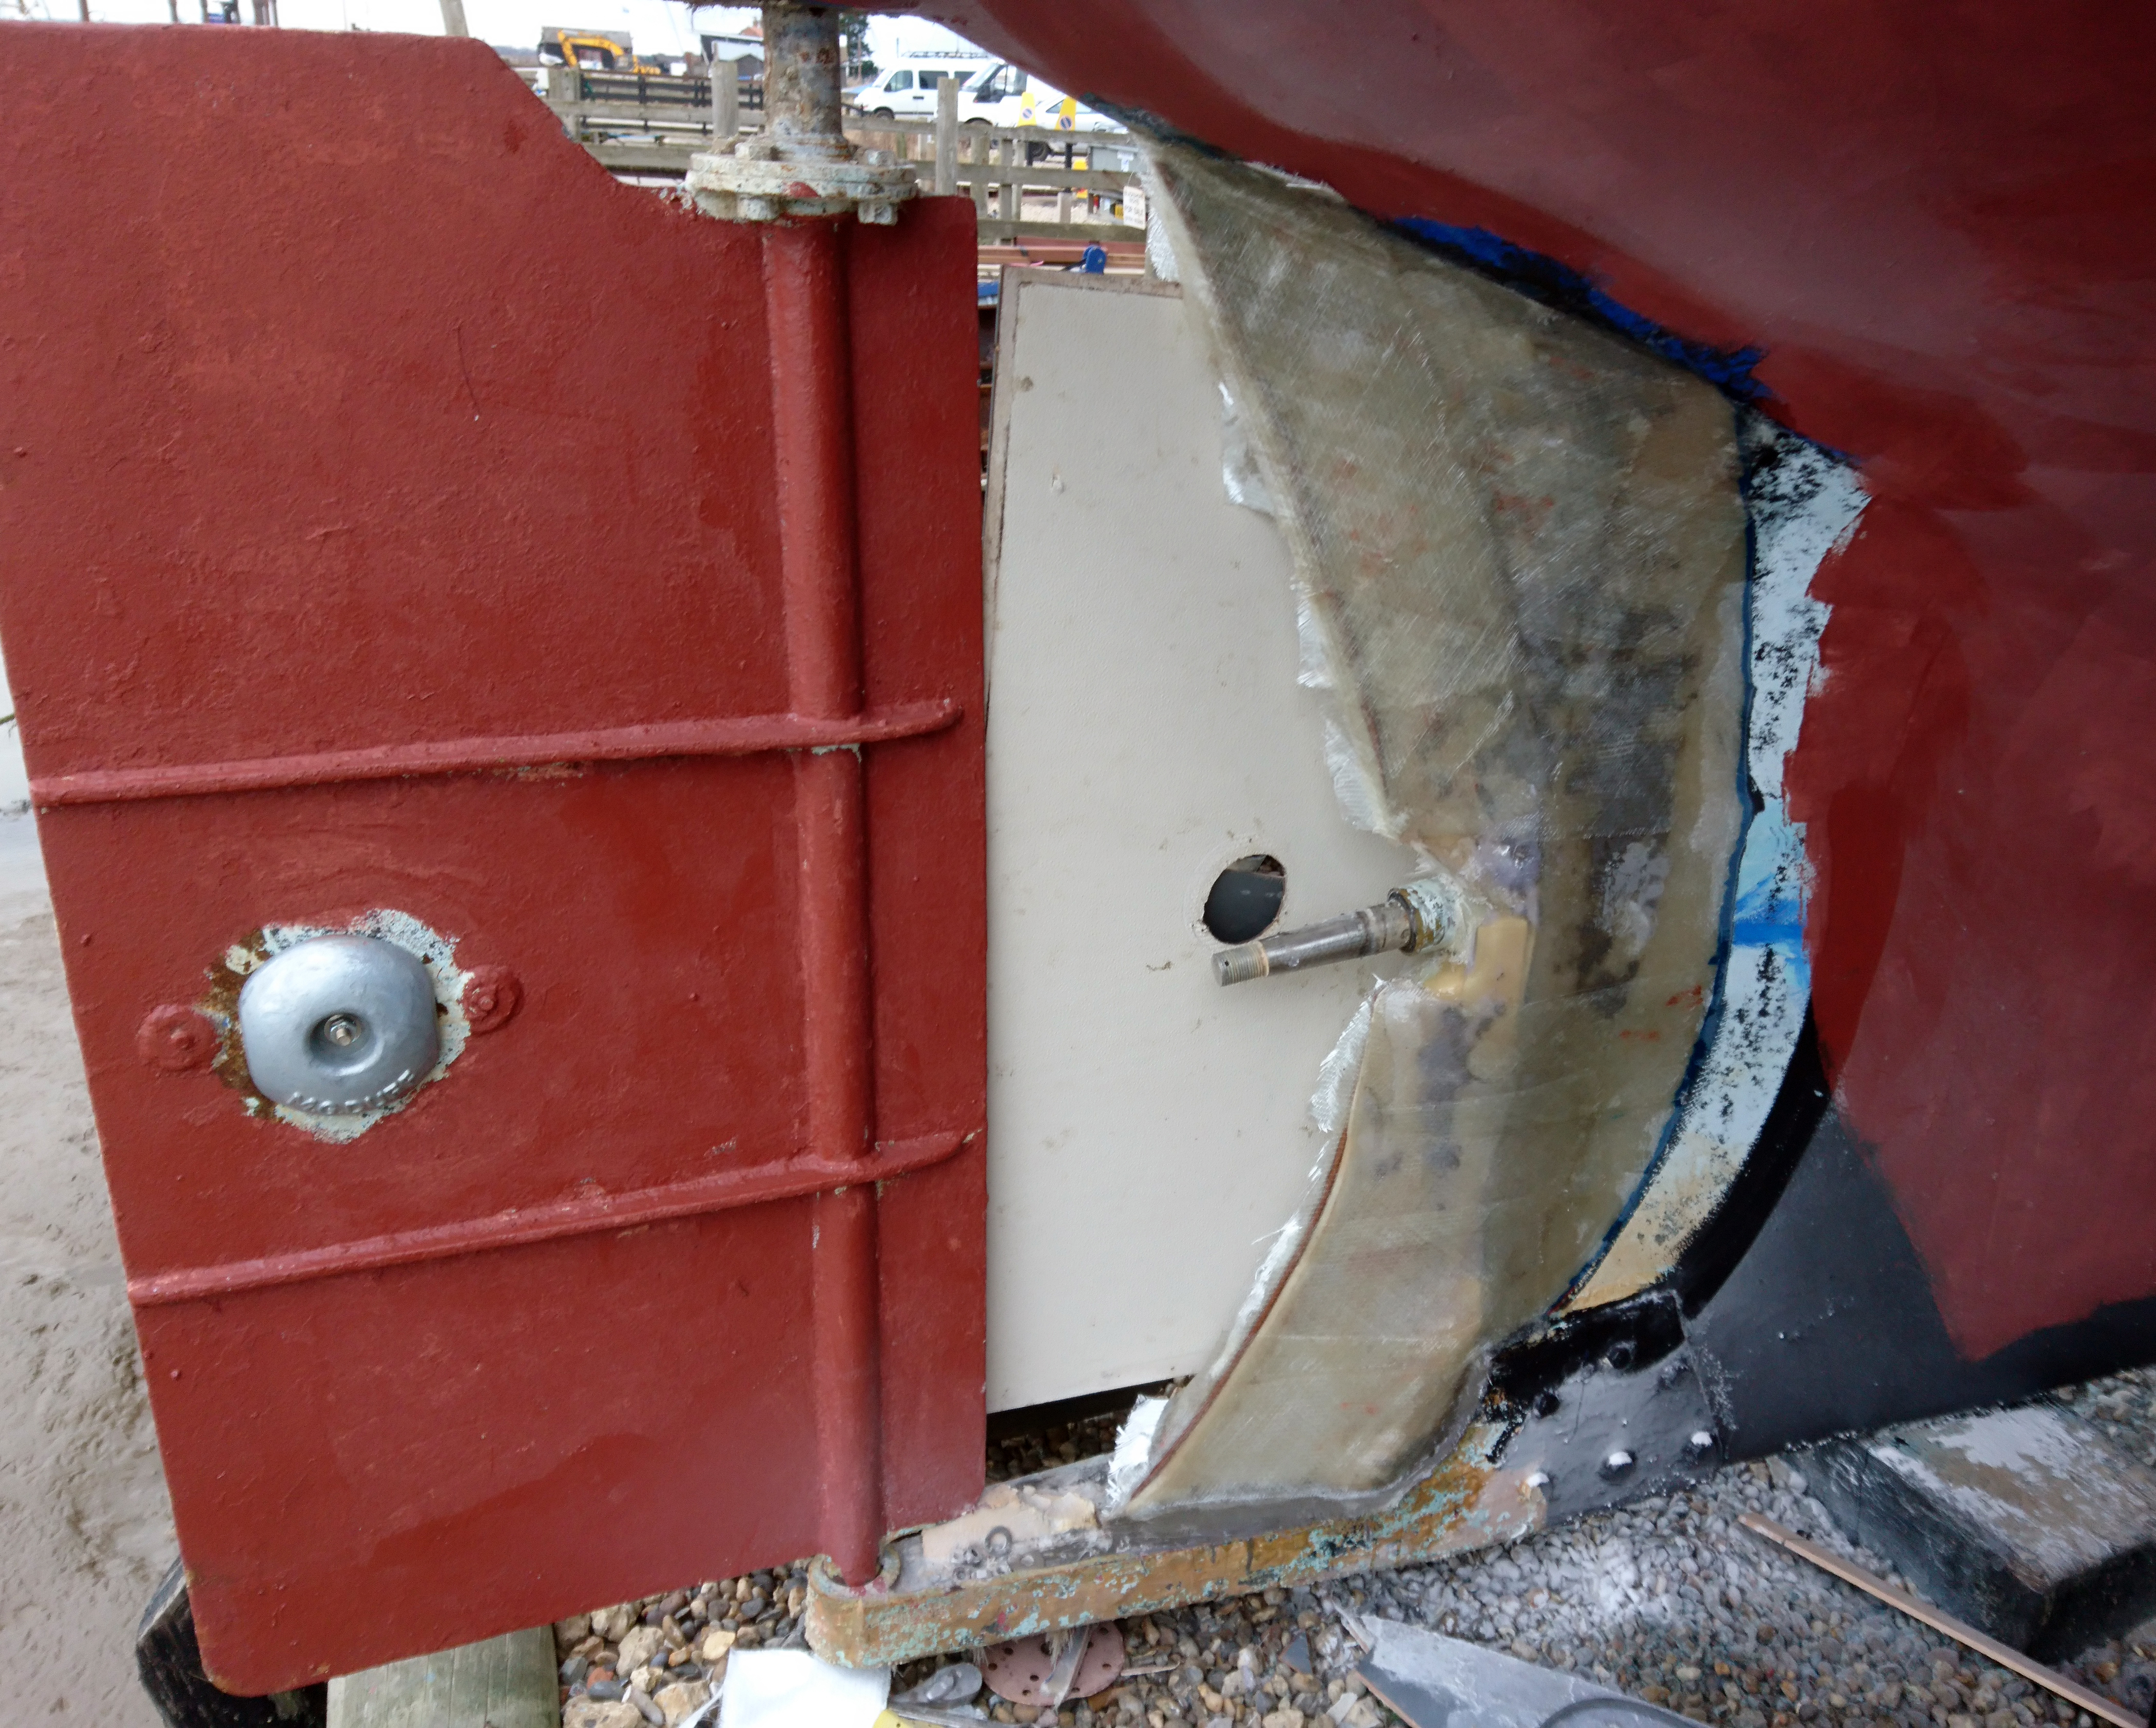
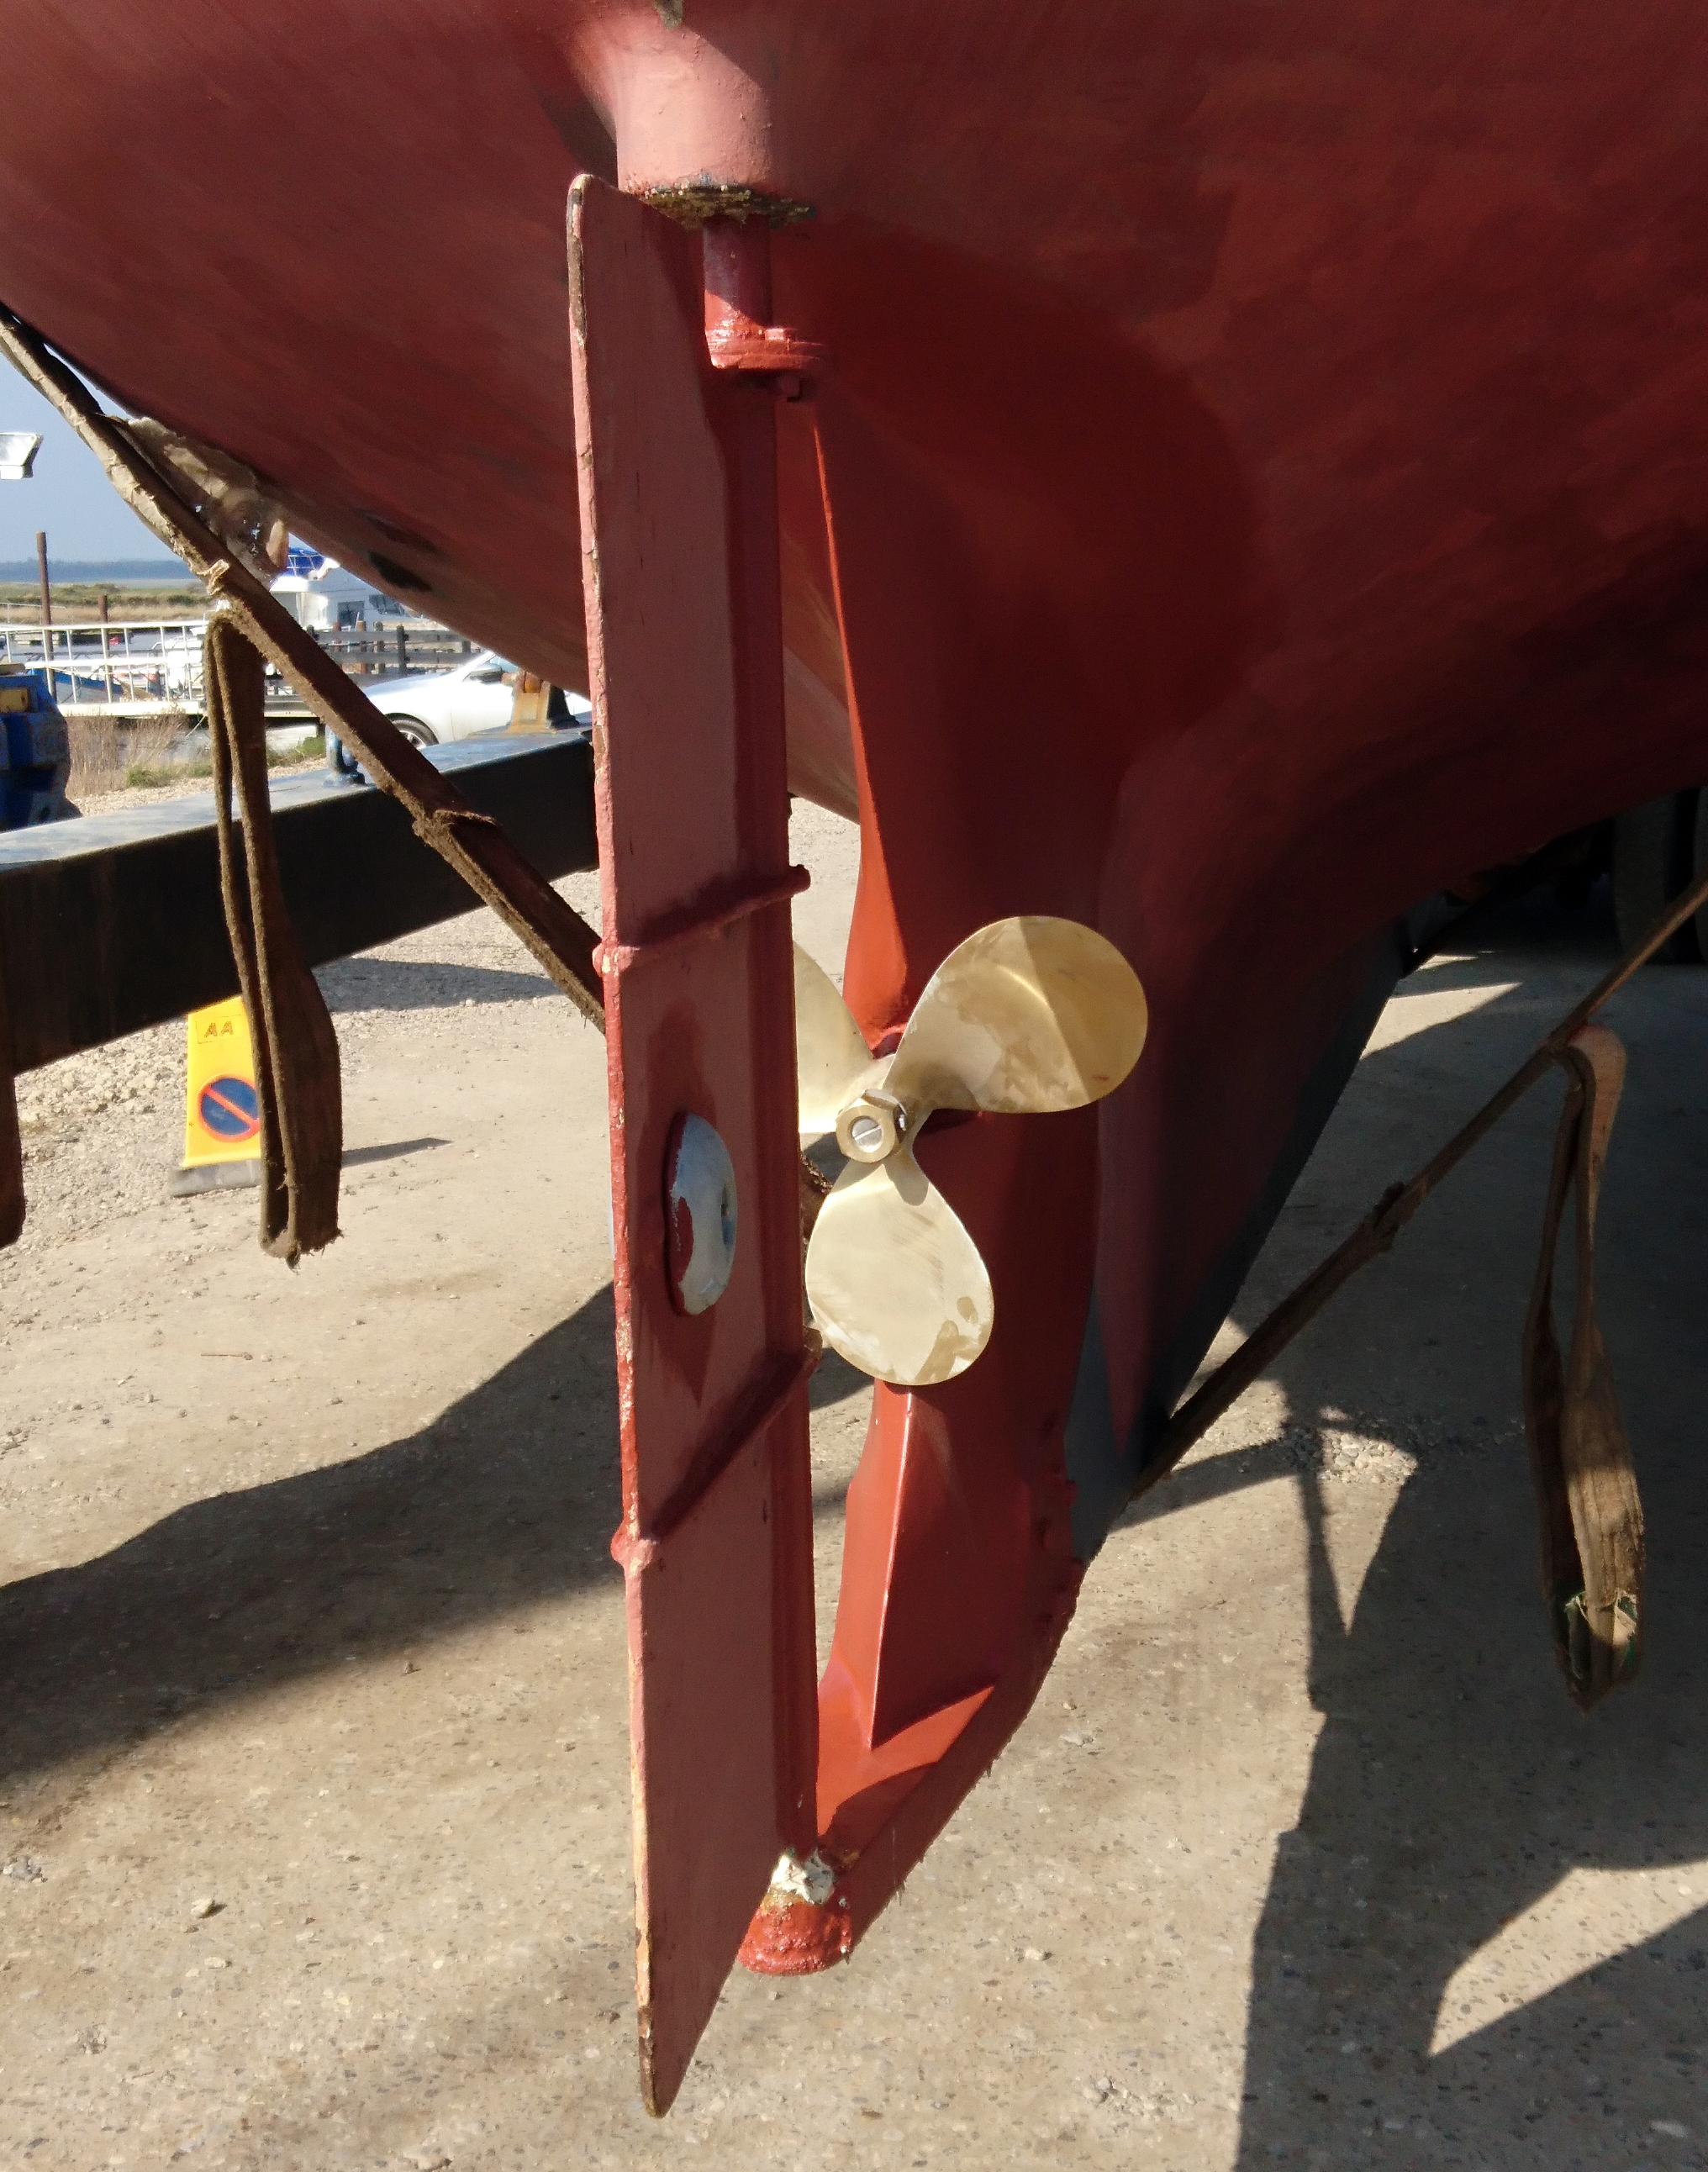
The trailing edge of the Colvic Watson is not the mostt hydro dynamically friendly design.
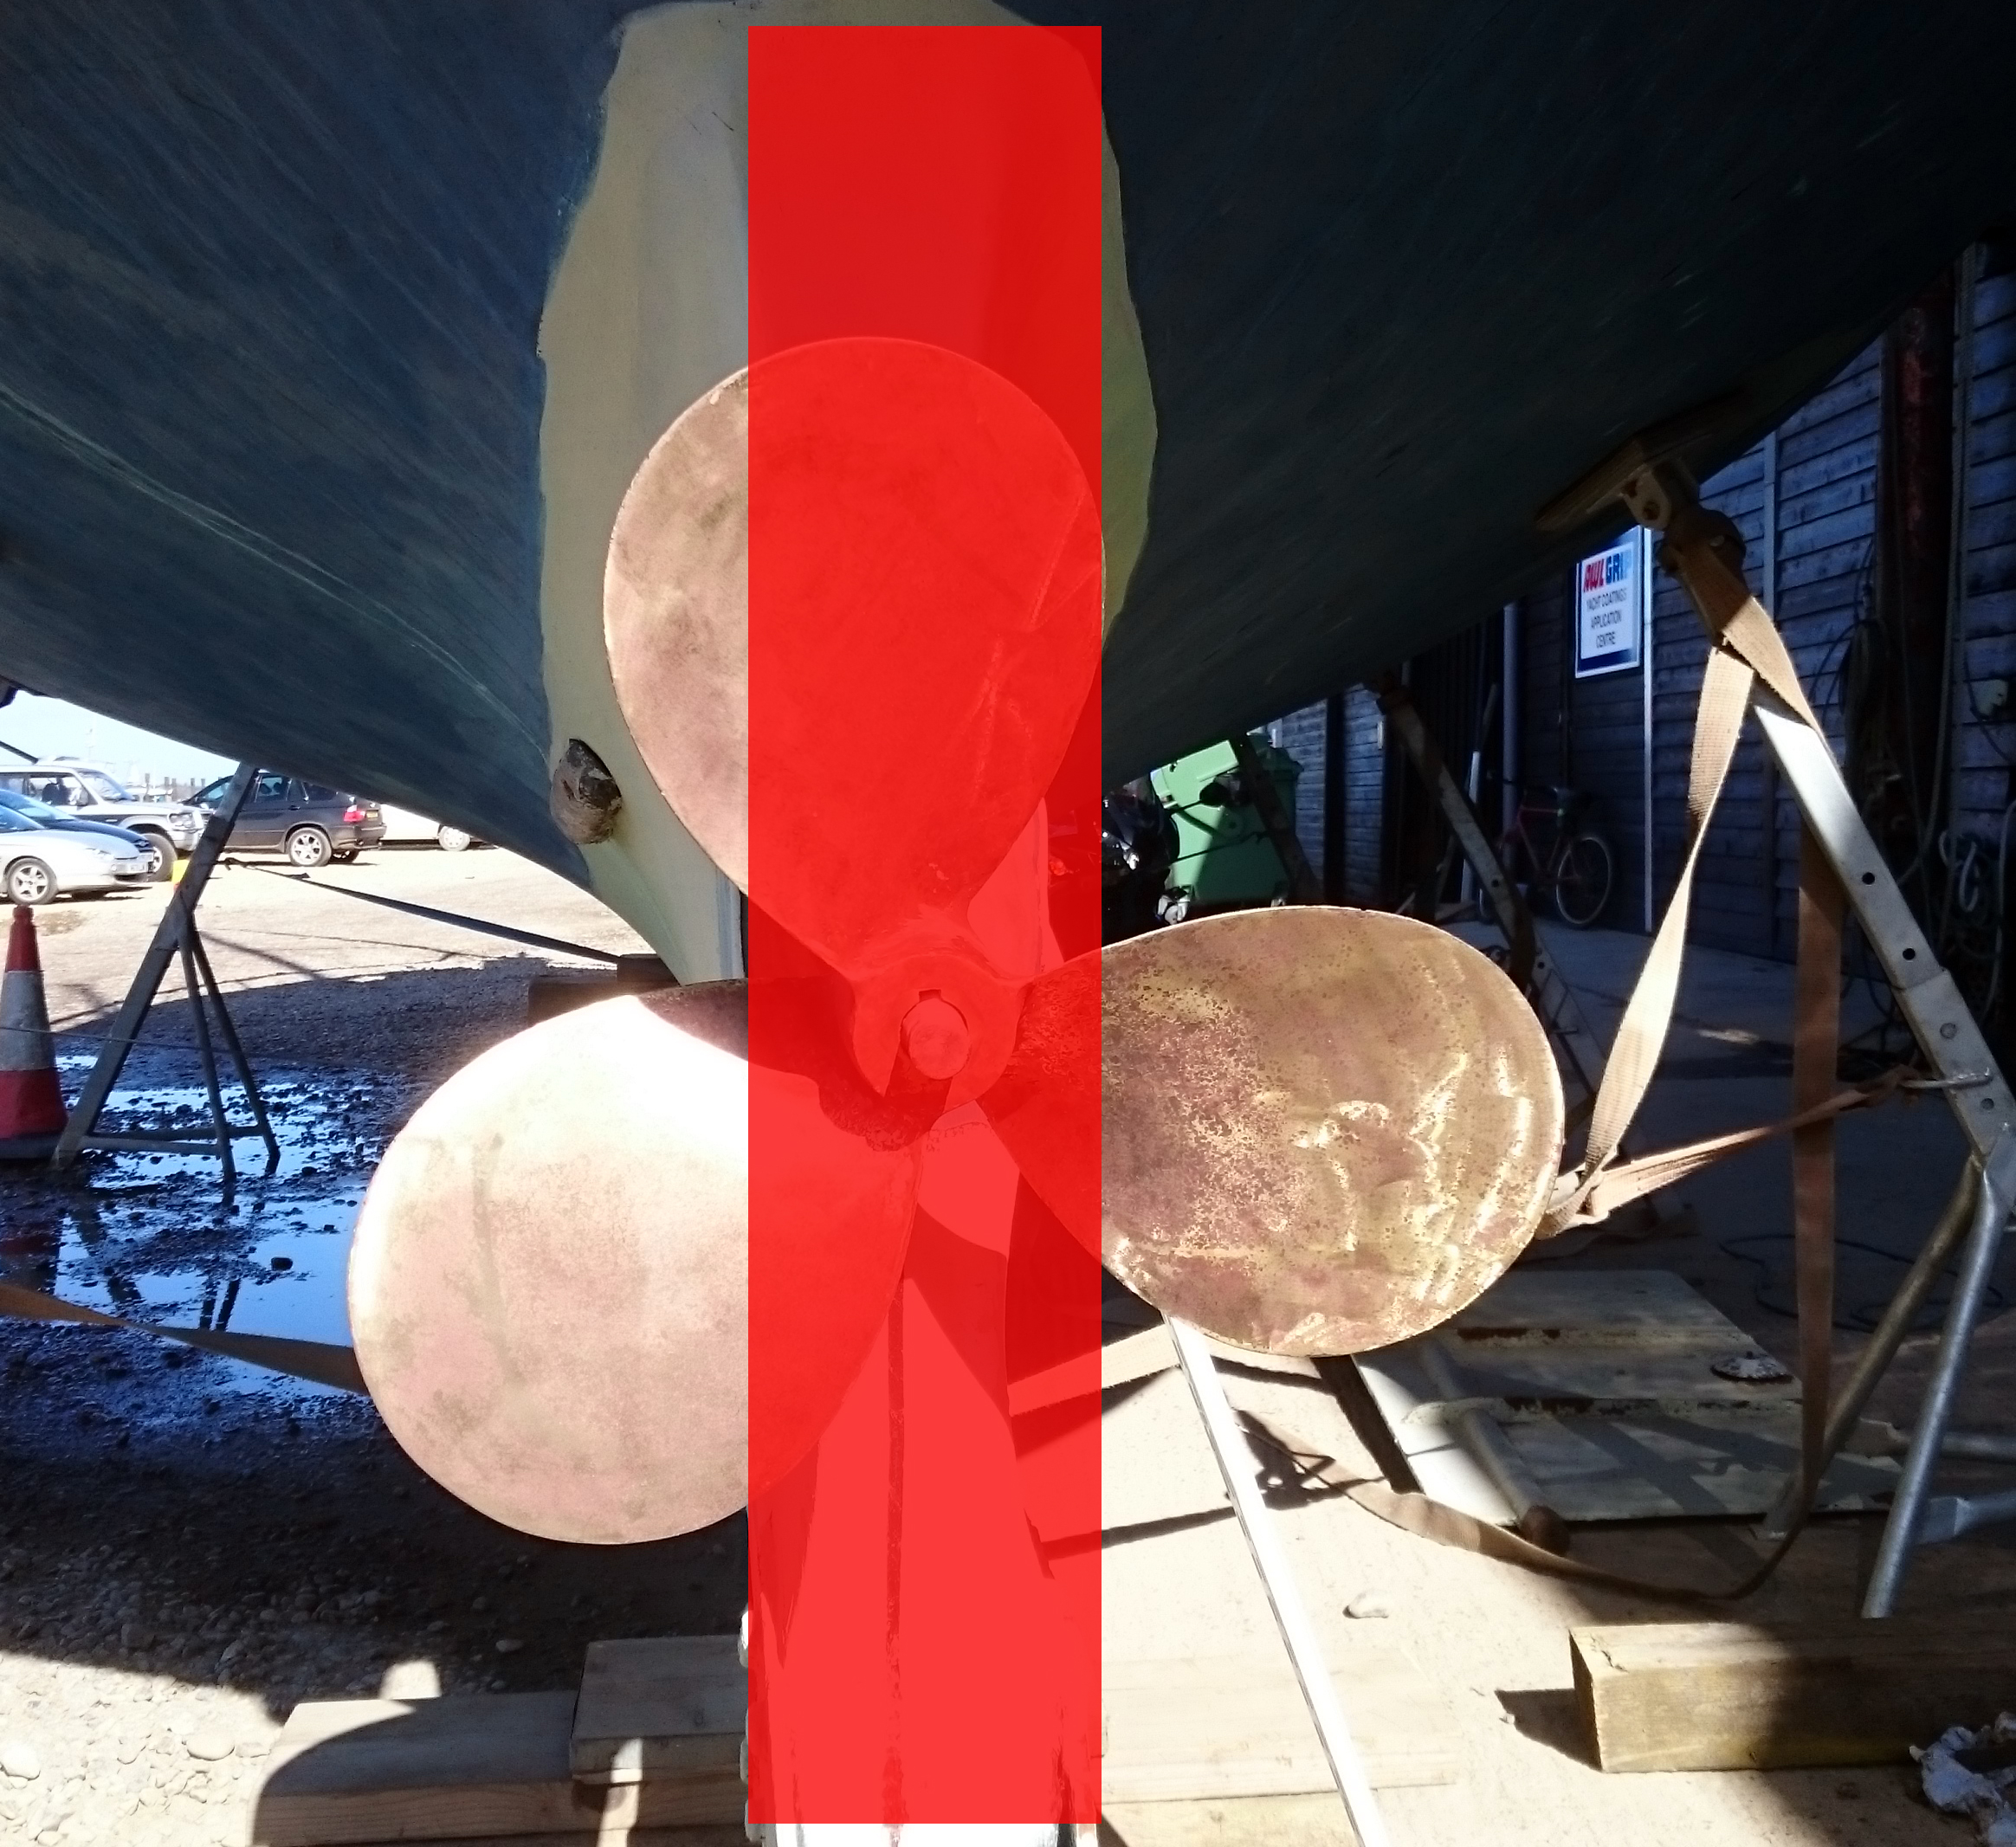
The direct shadow caused by the trailing edge of the keel over the old, huge prop.
The new smaller prop would struggle.
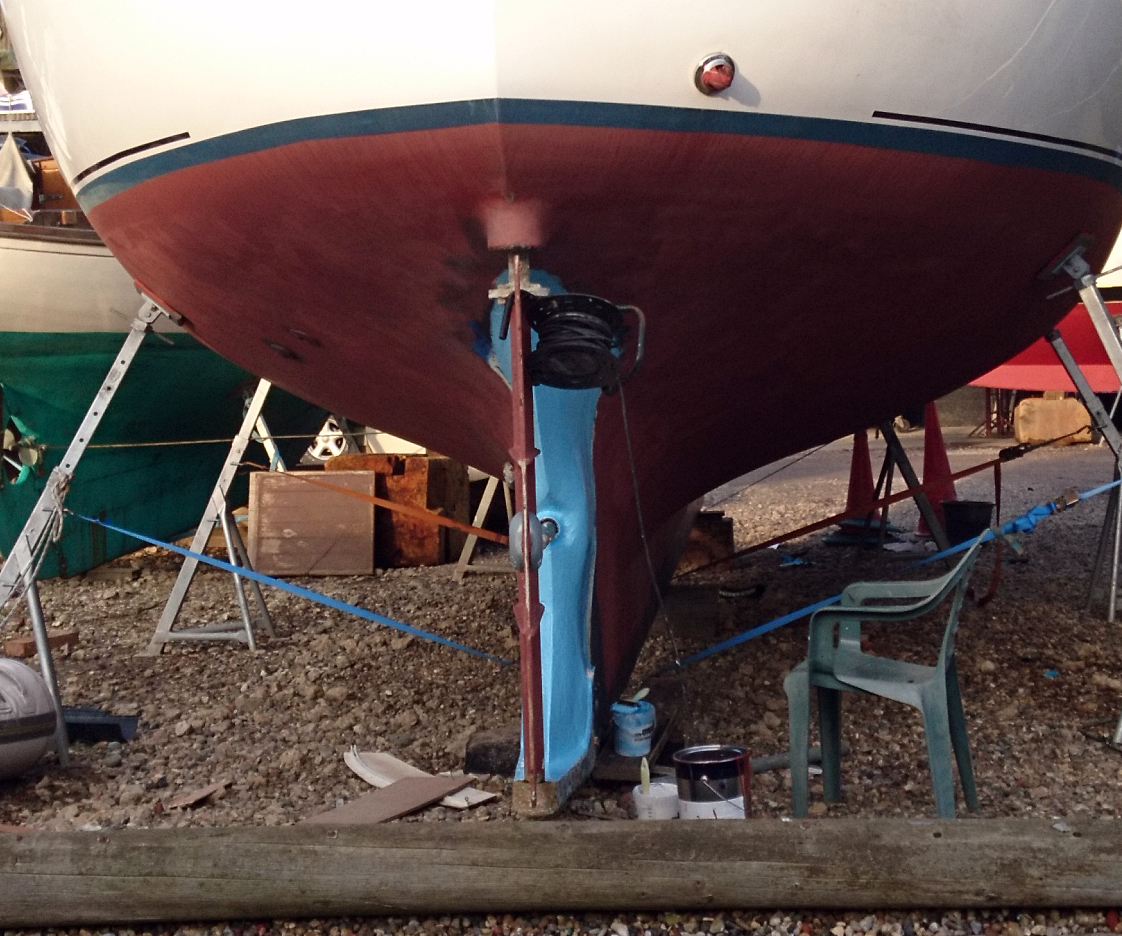
Initial plan was for a small fairing using a foam core.
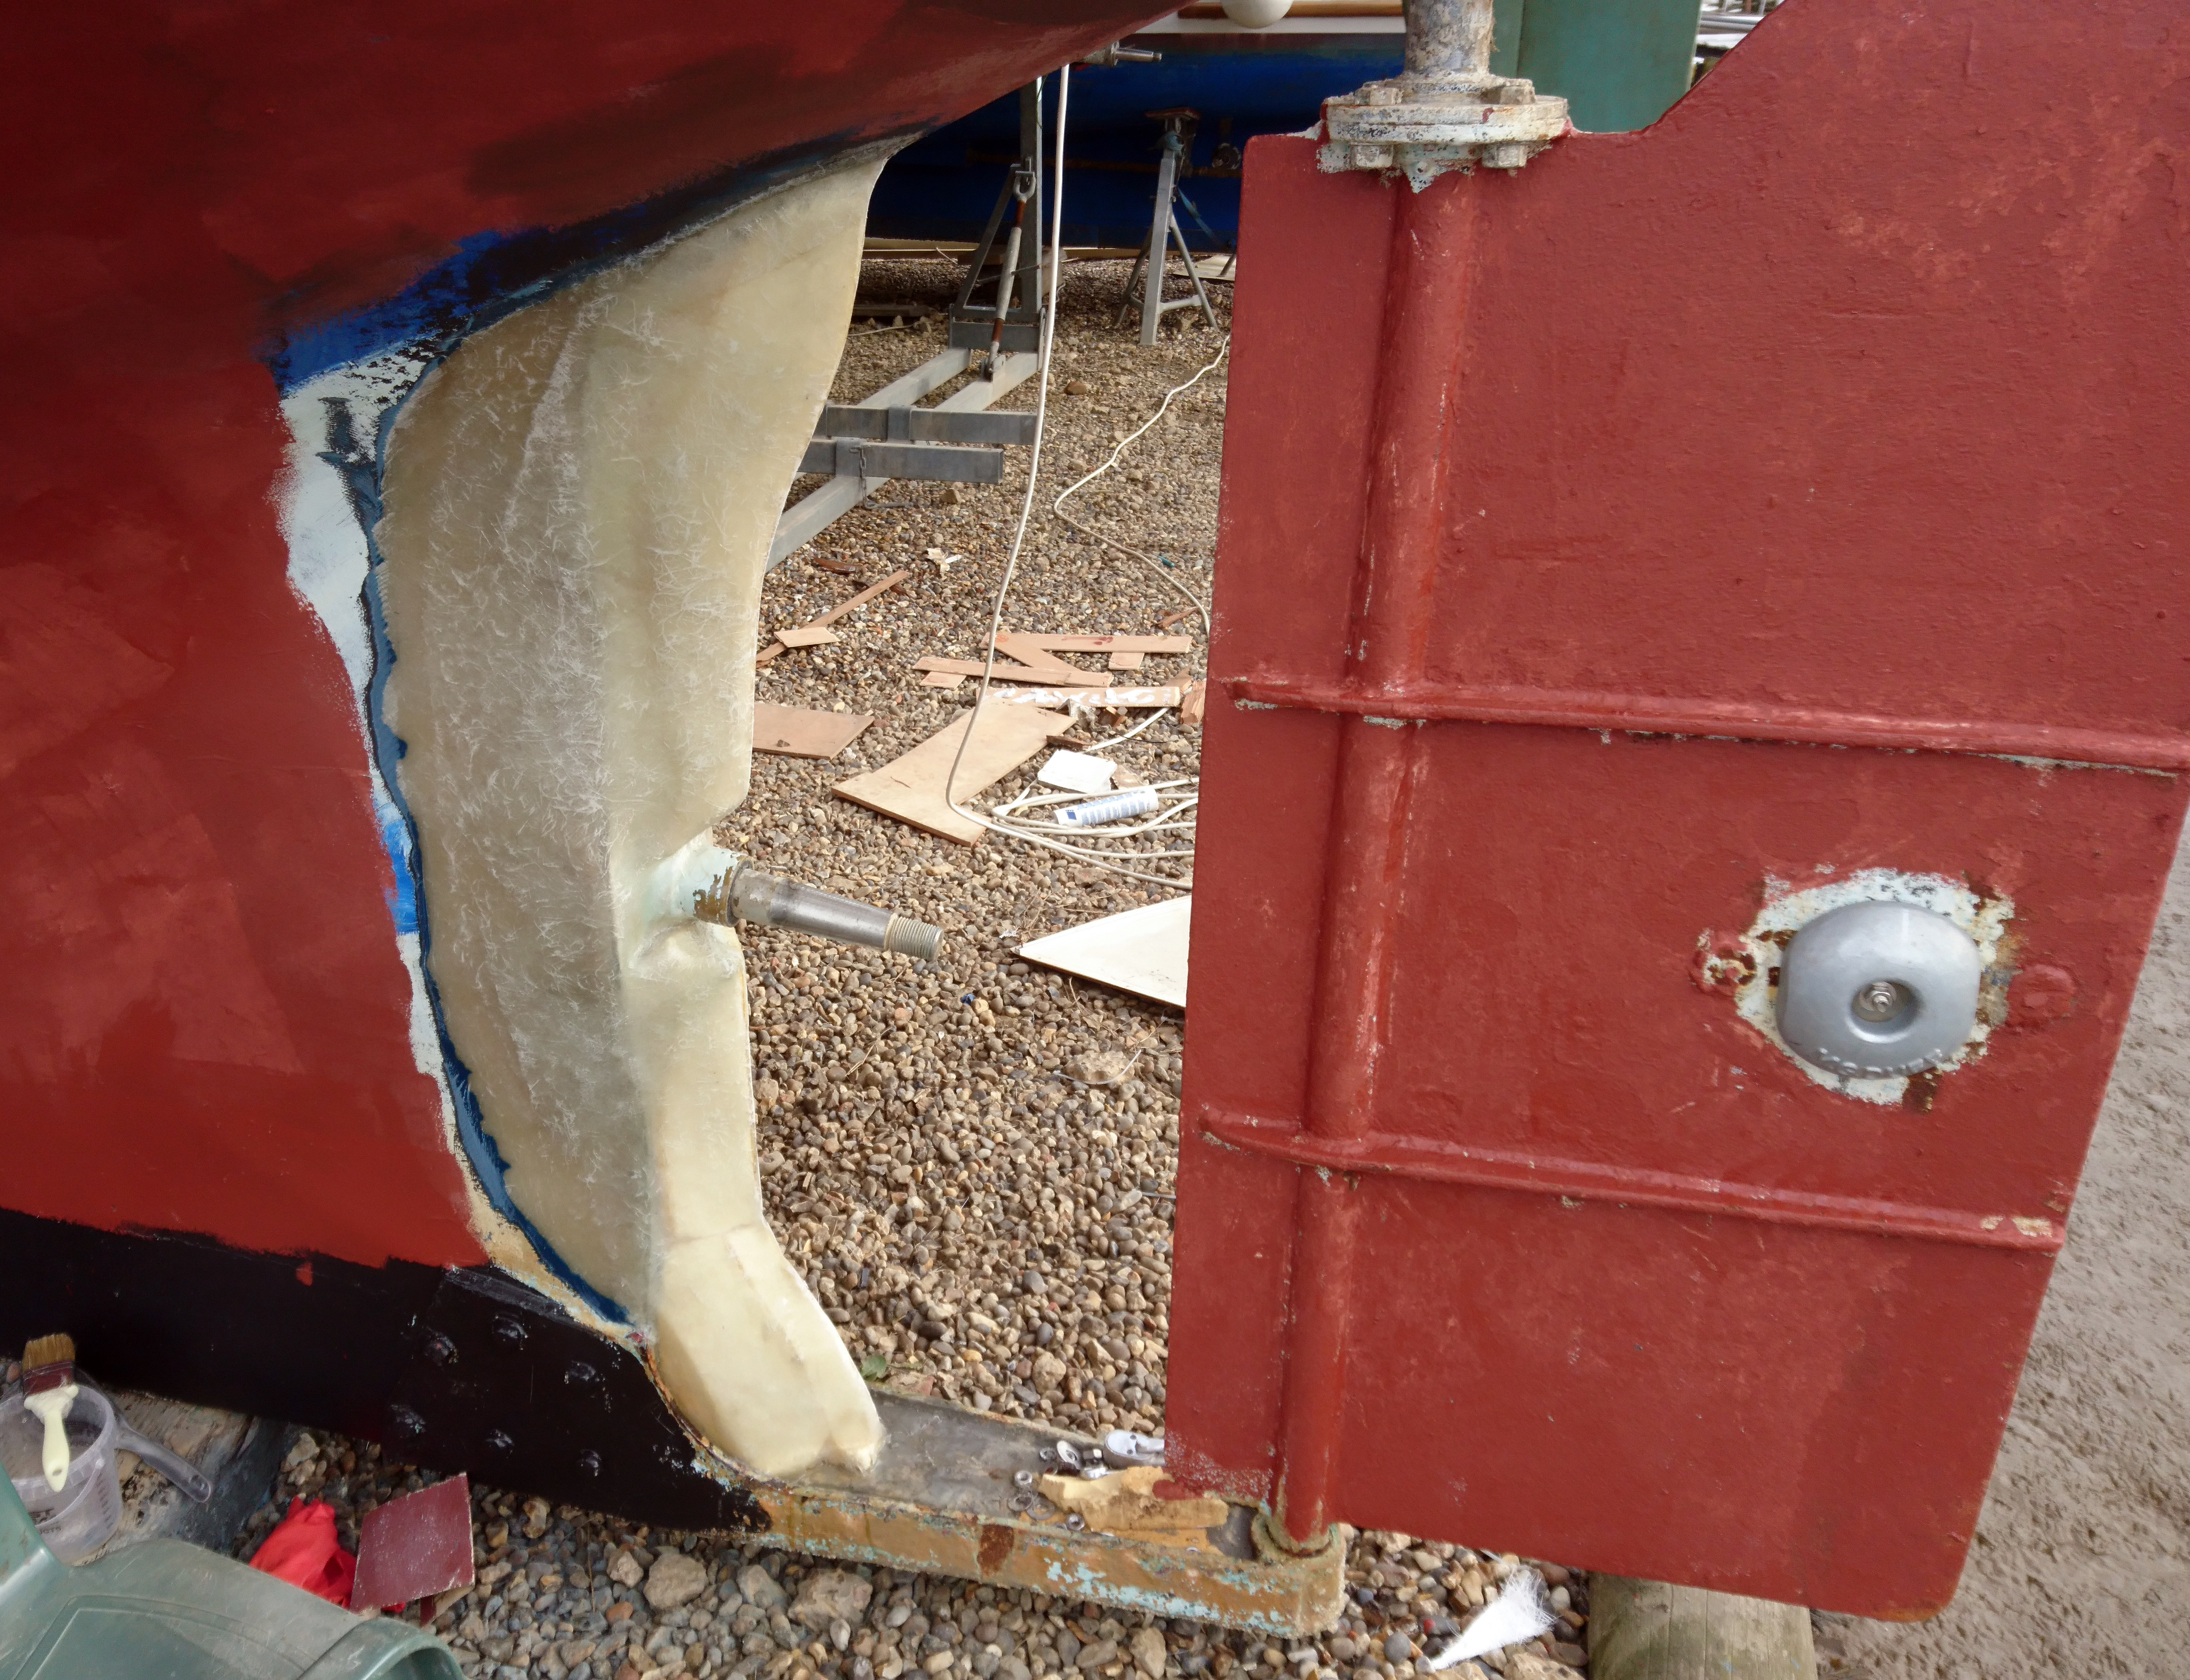
I decided that it simply wasn’t enough so the fairing grew.
and grew…..
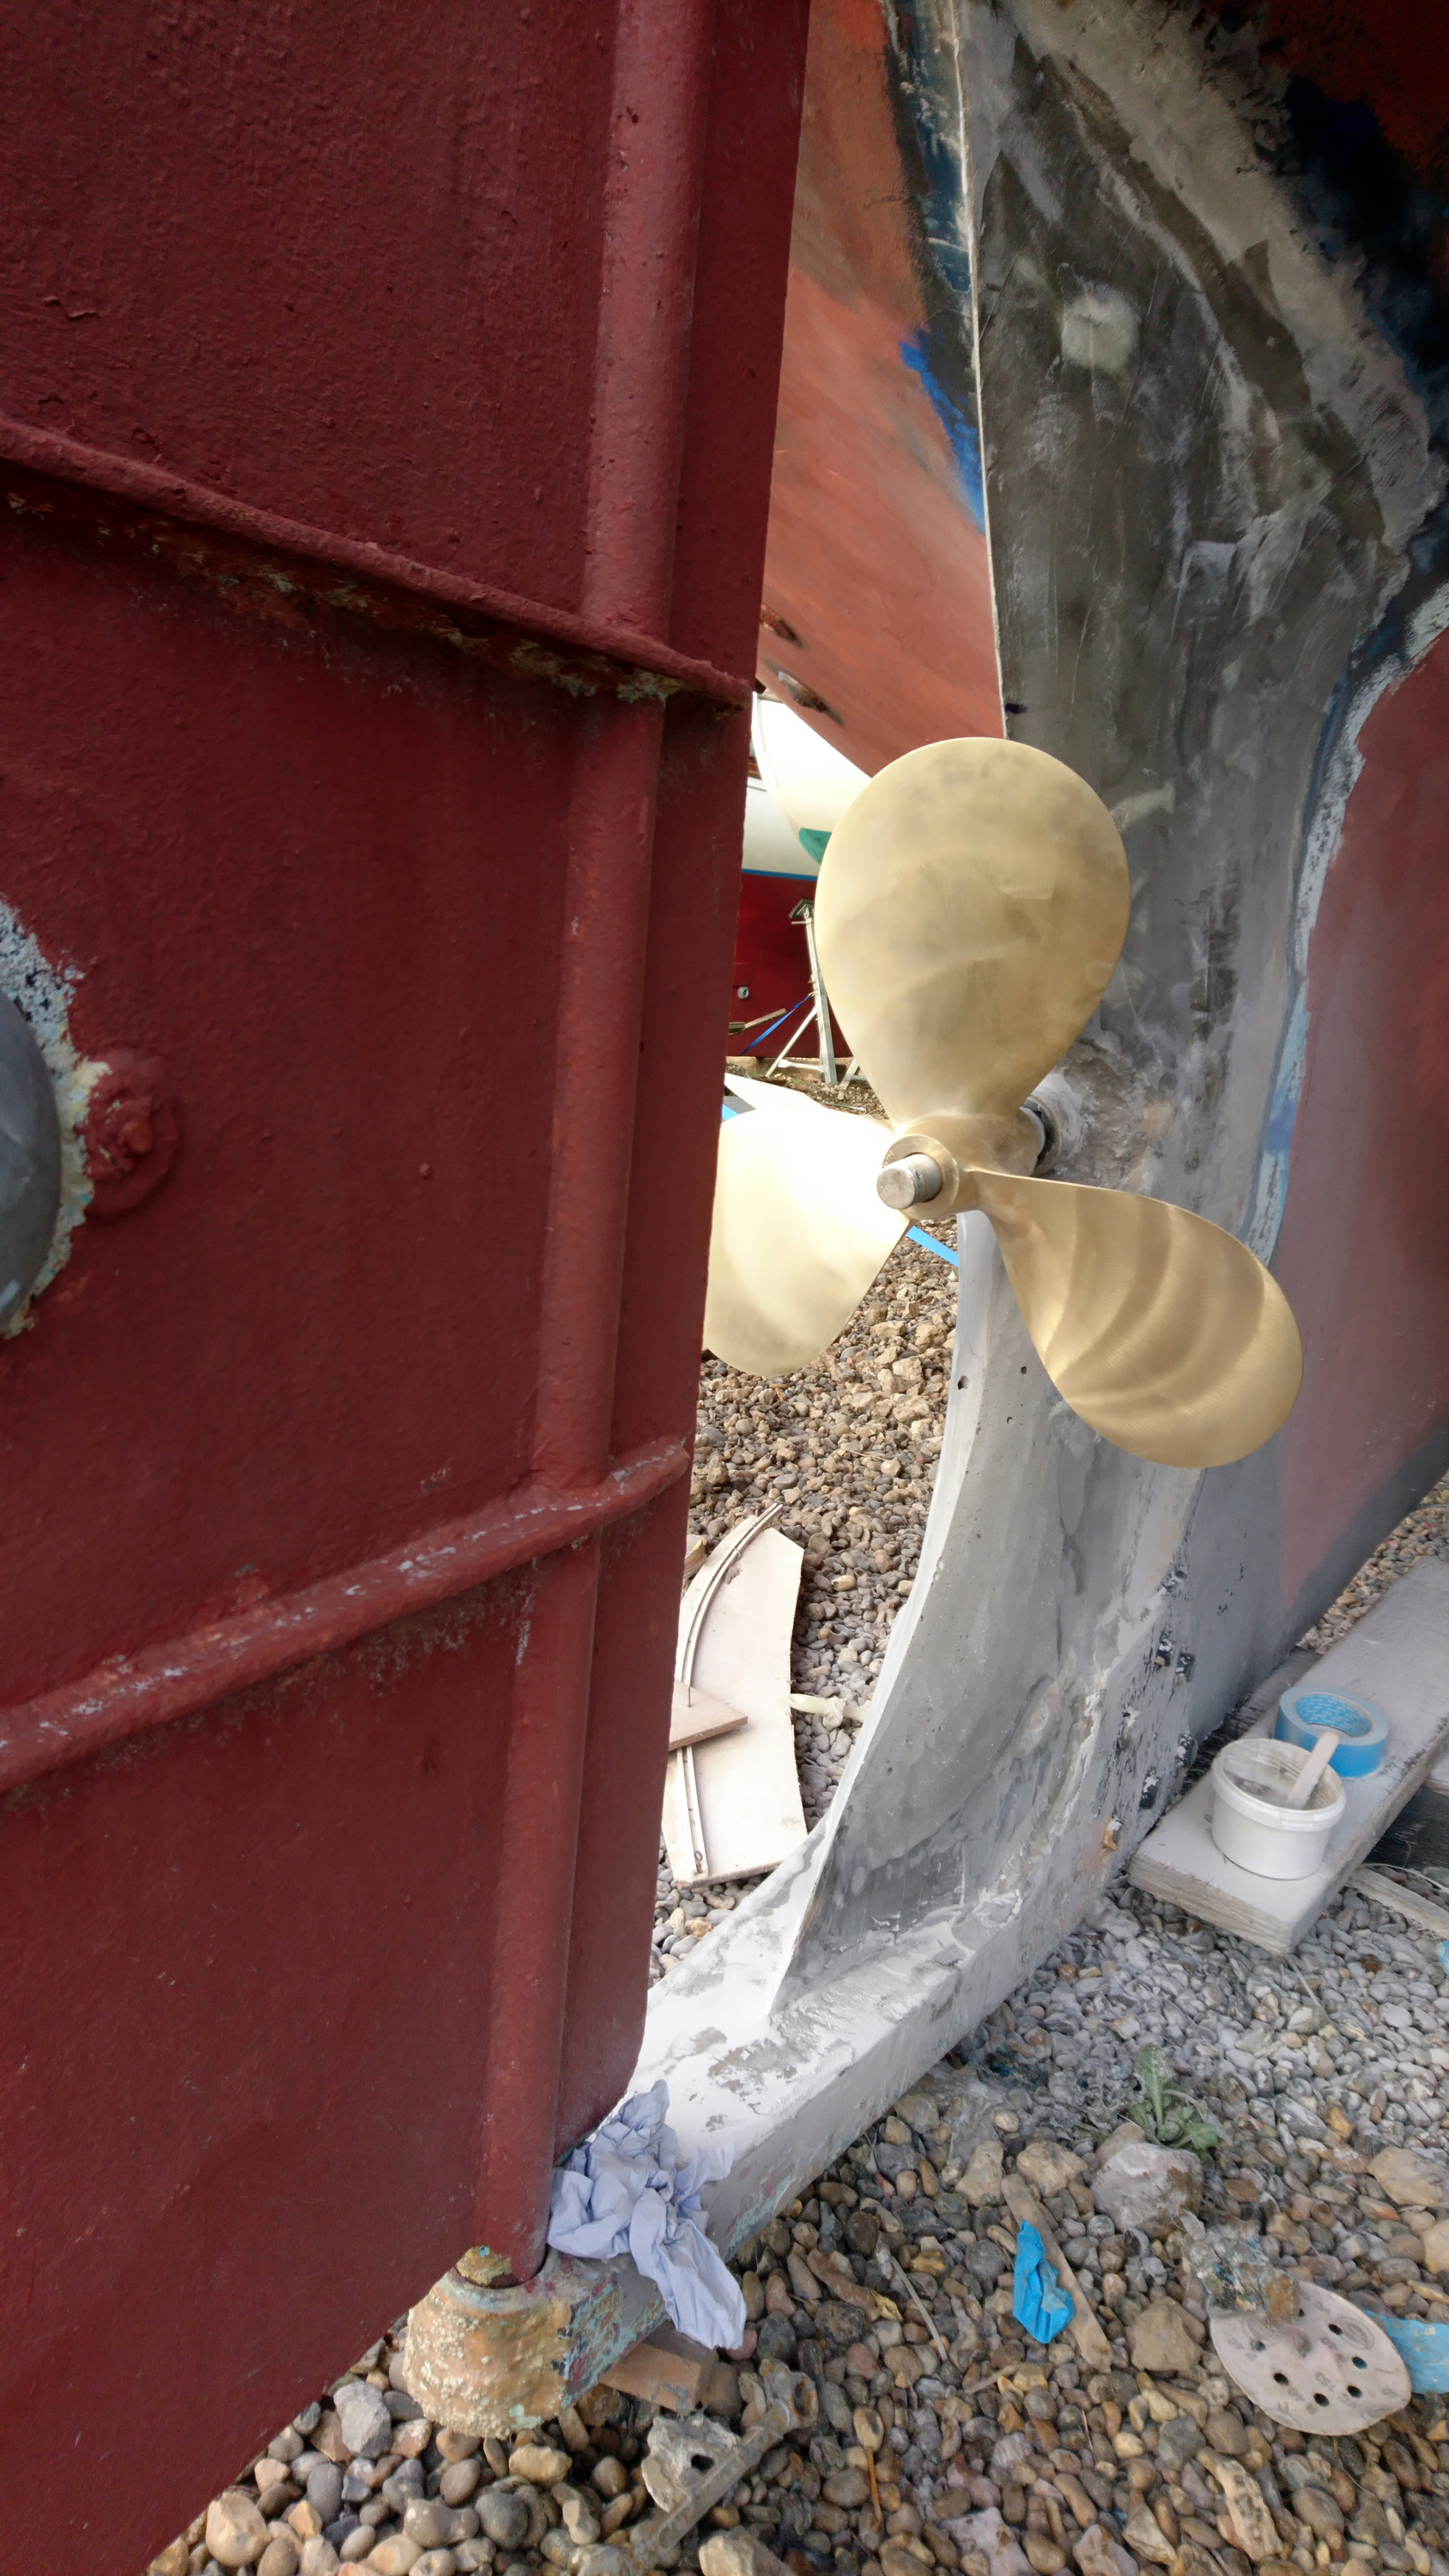
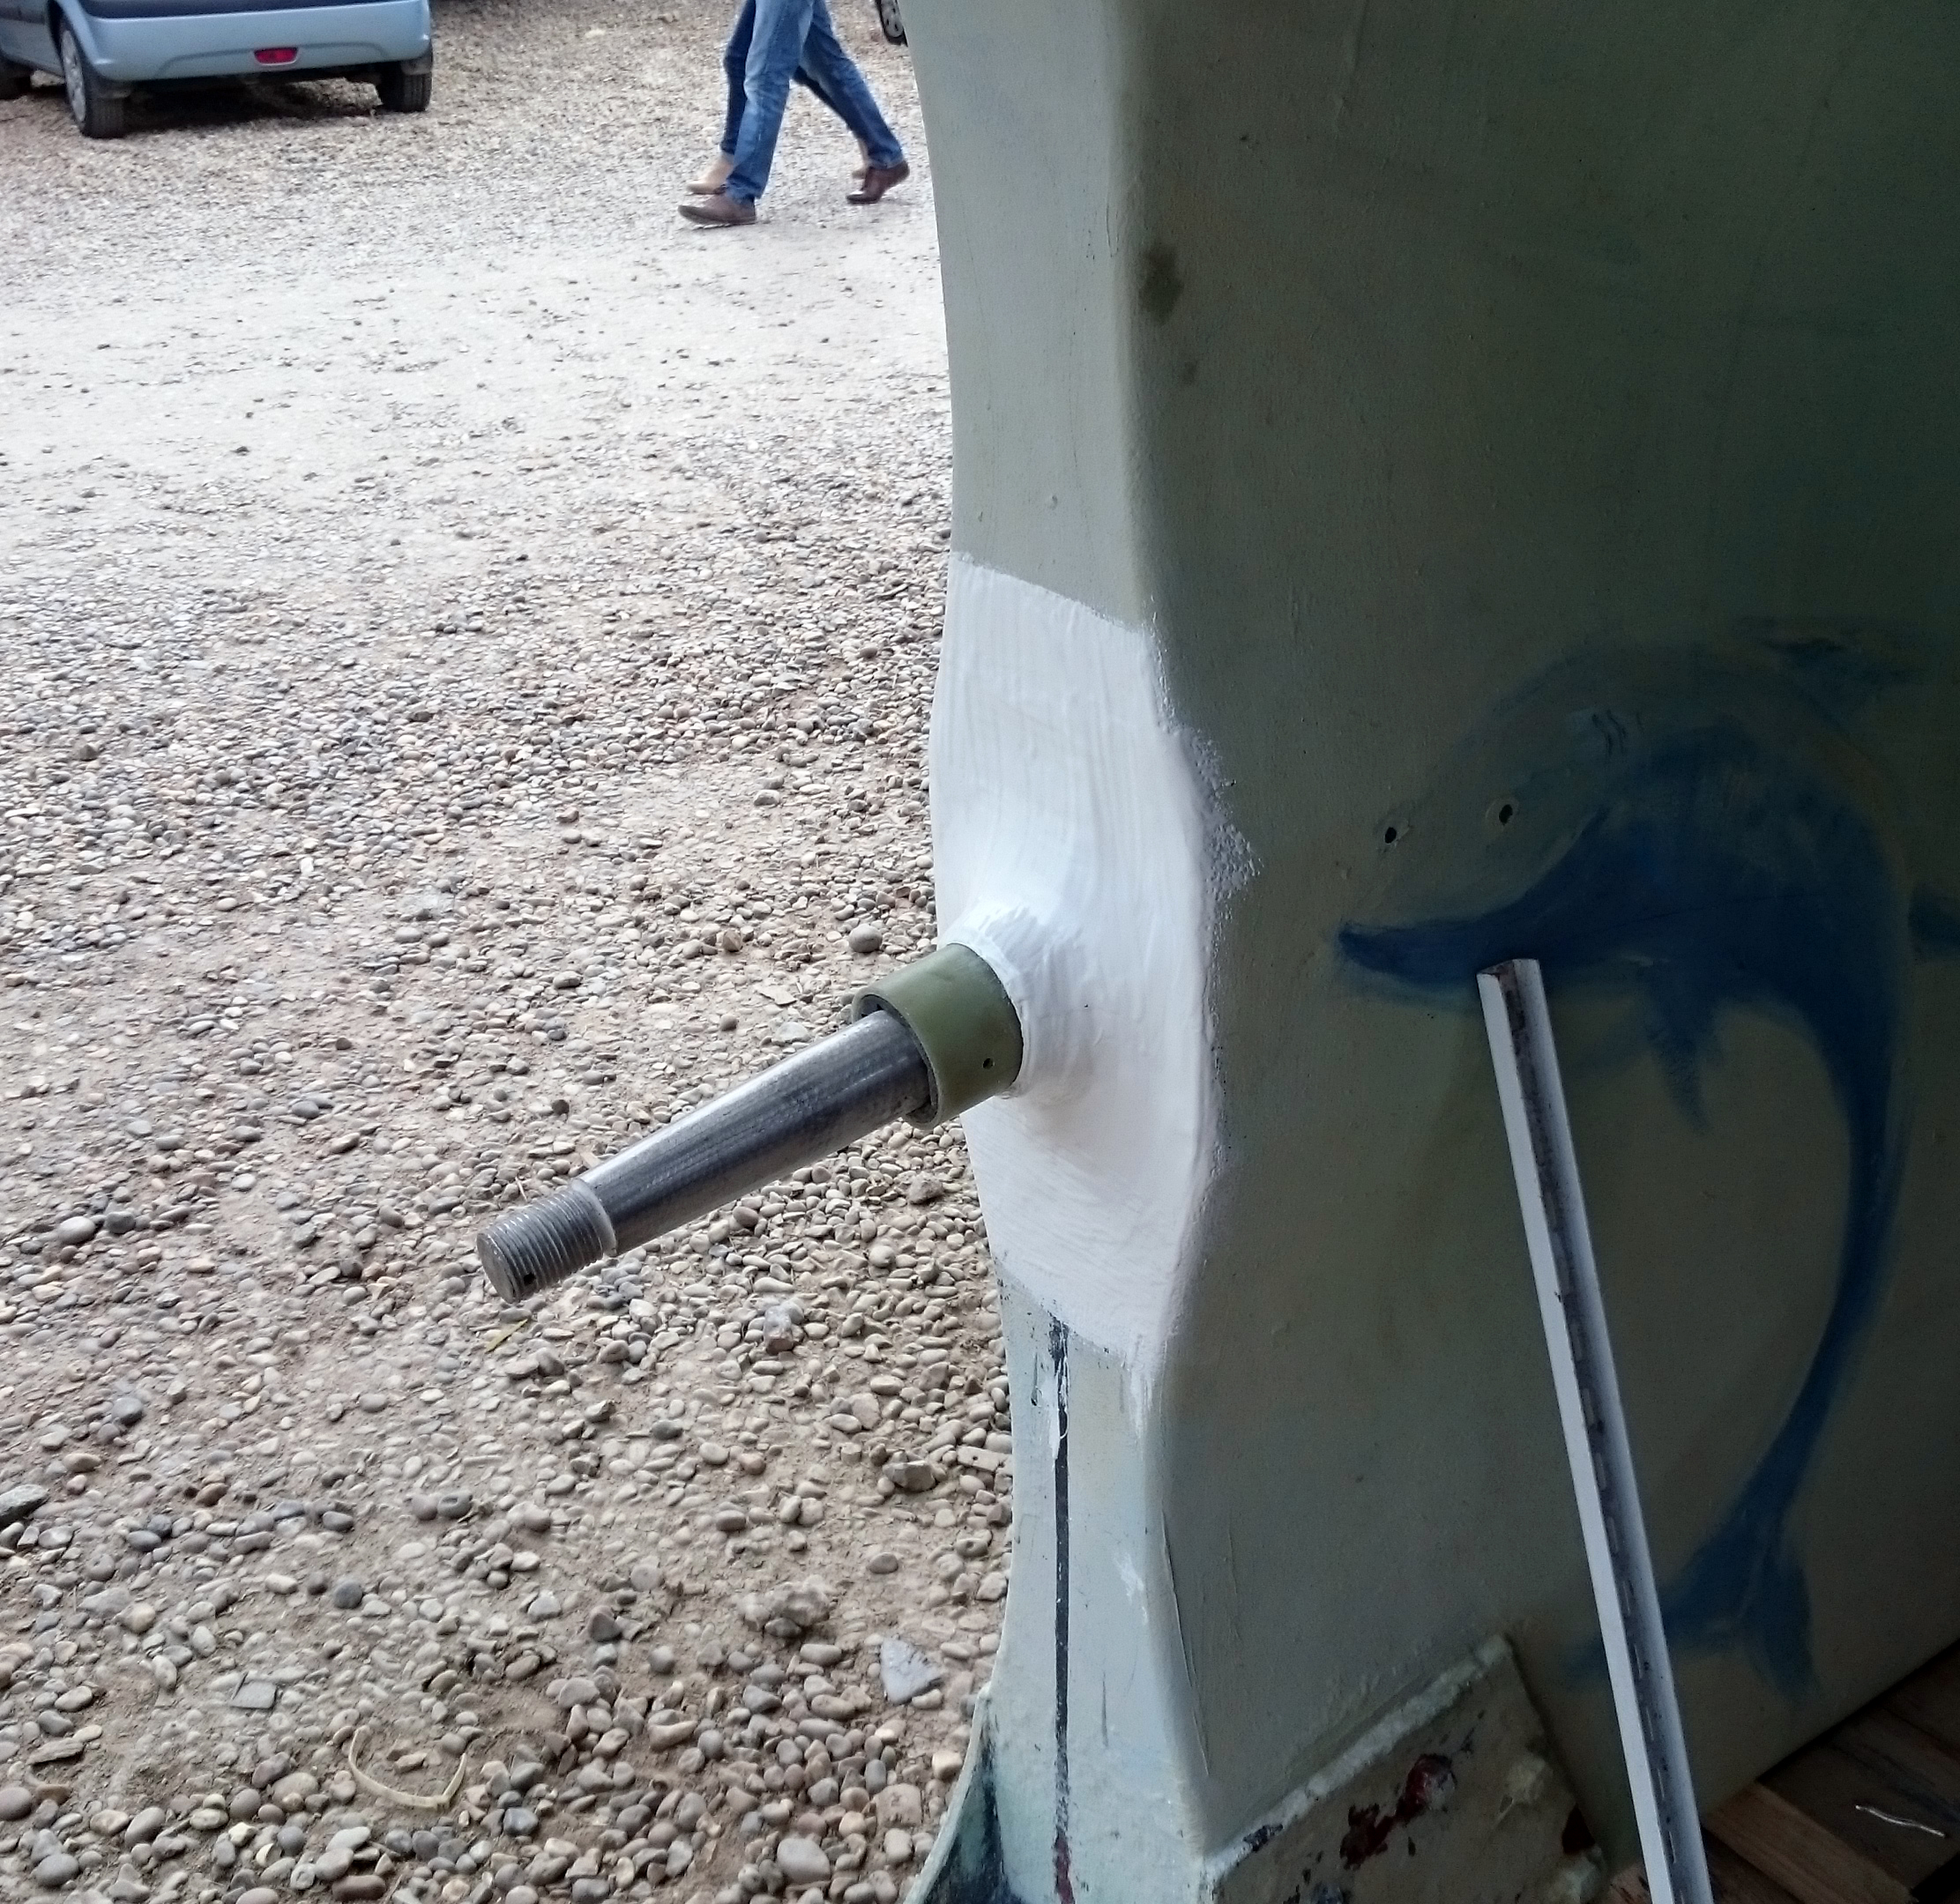
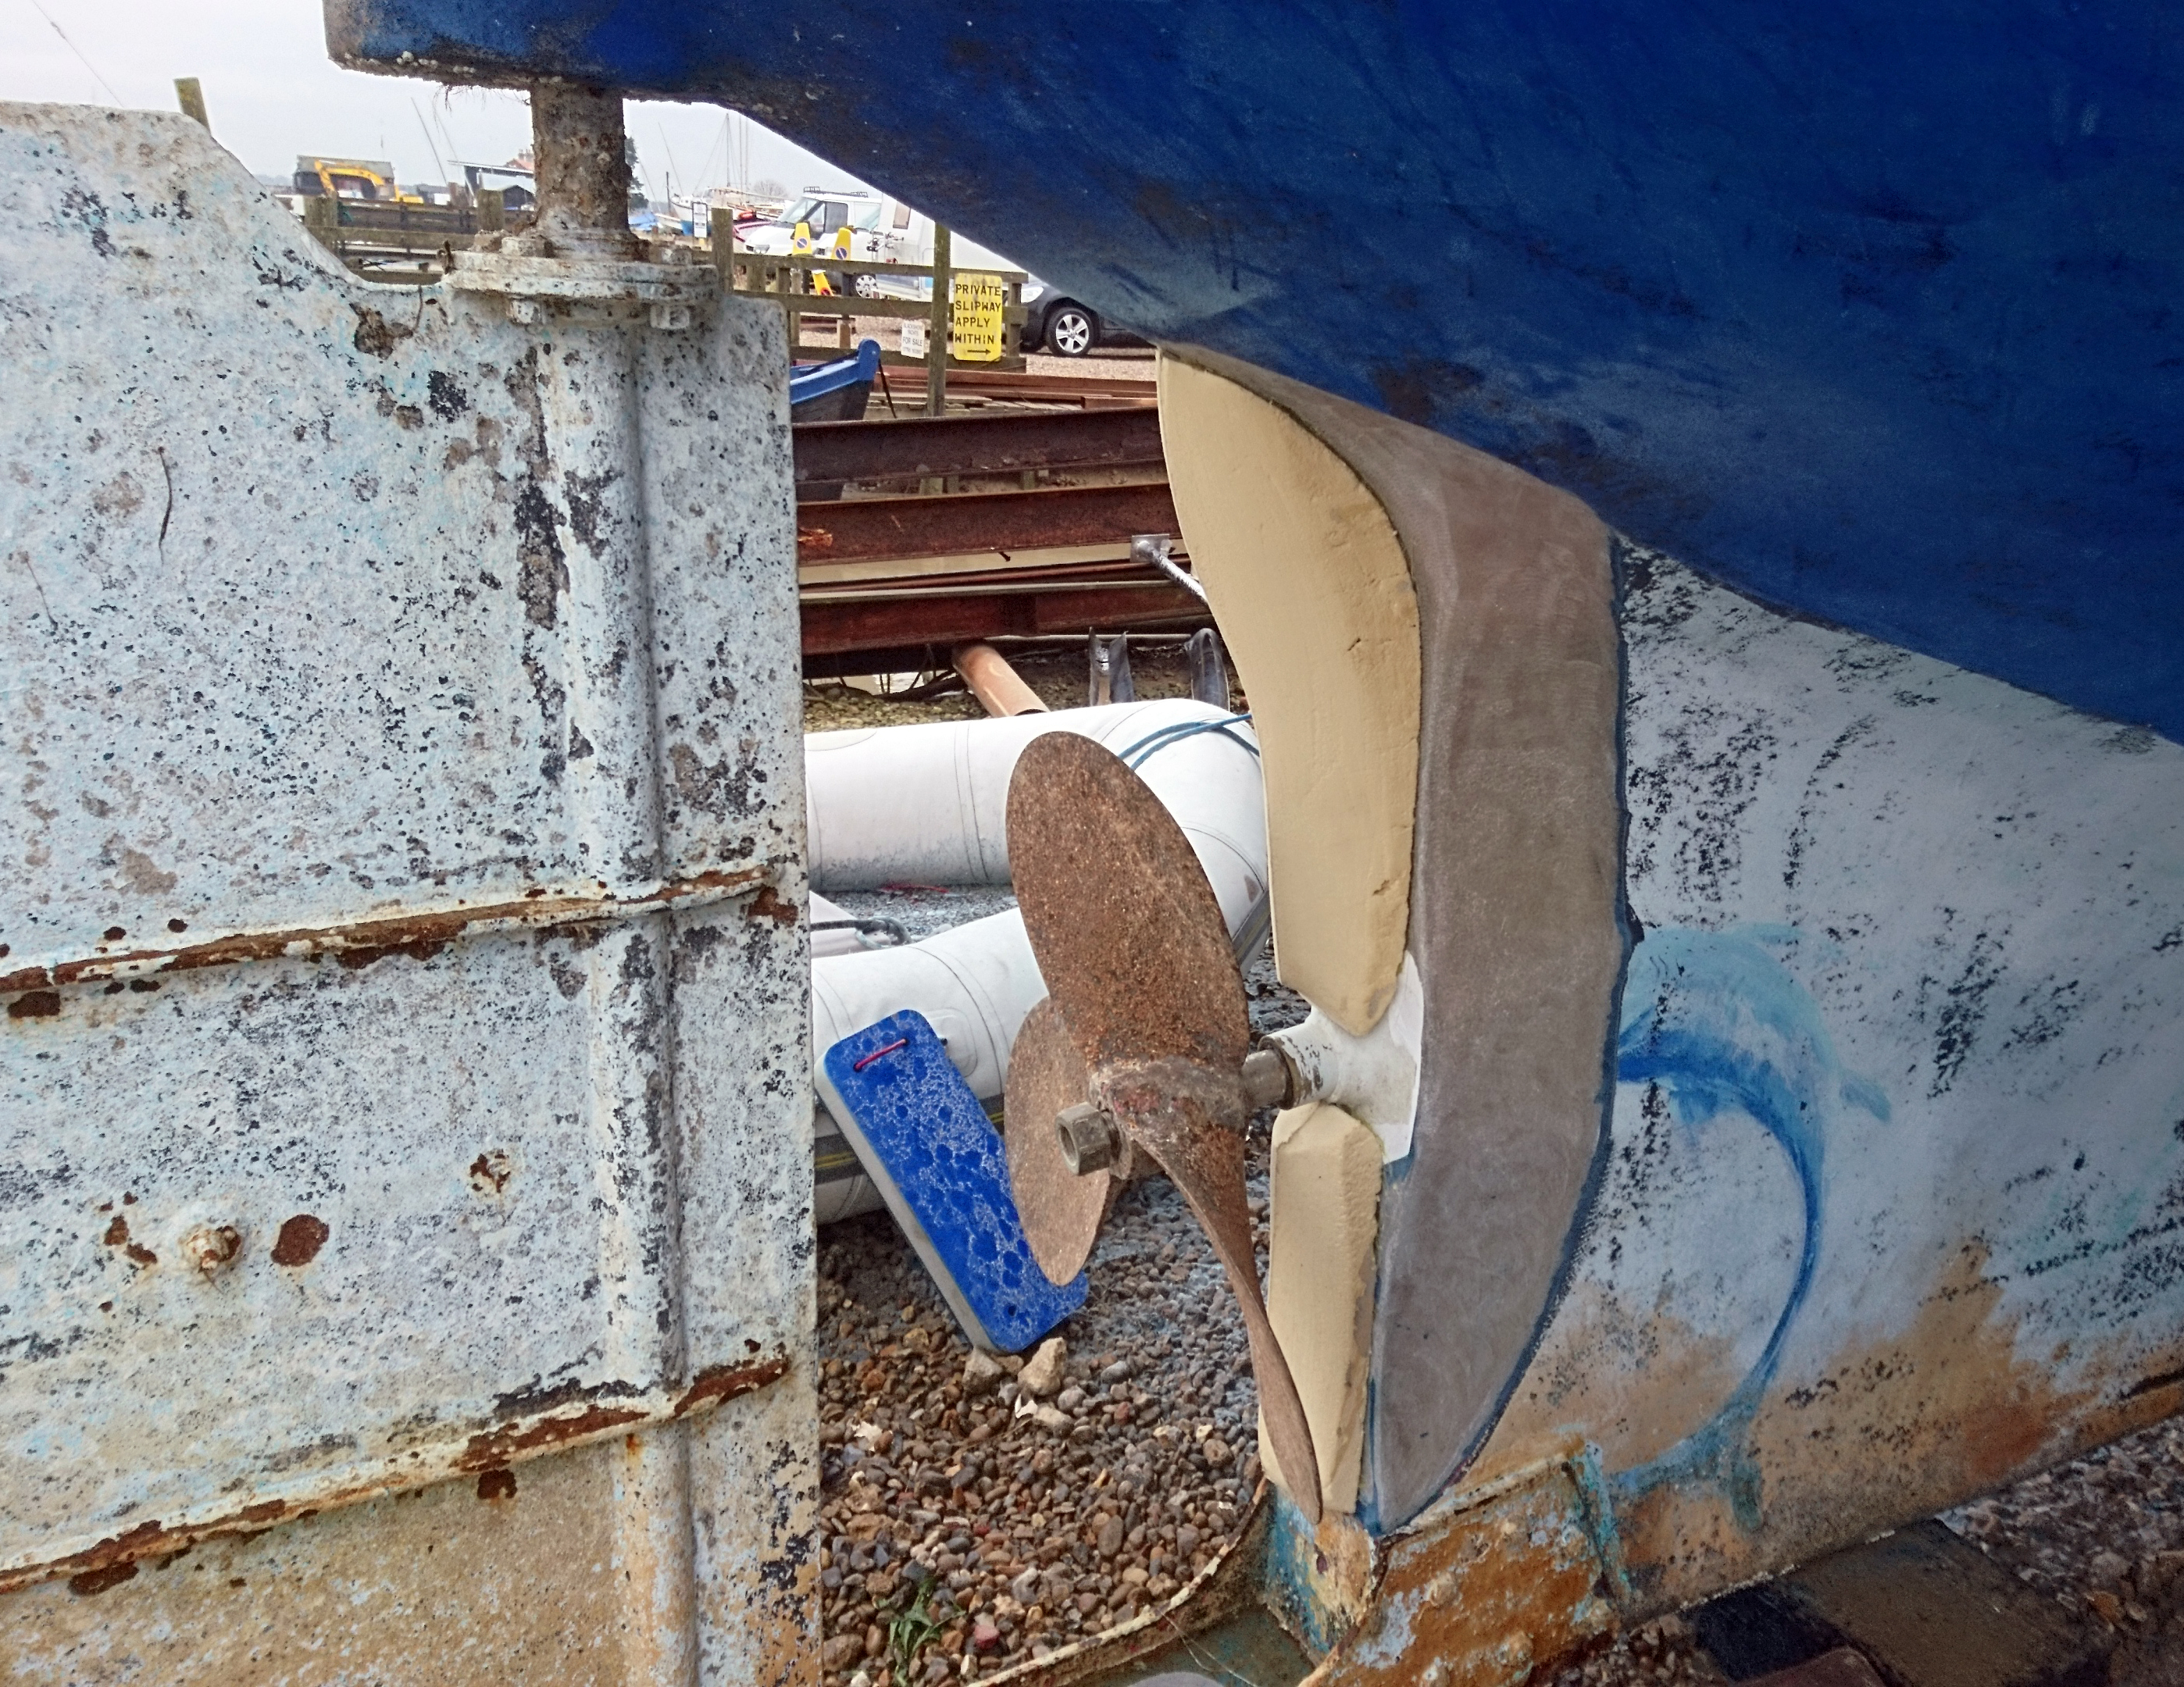
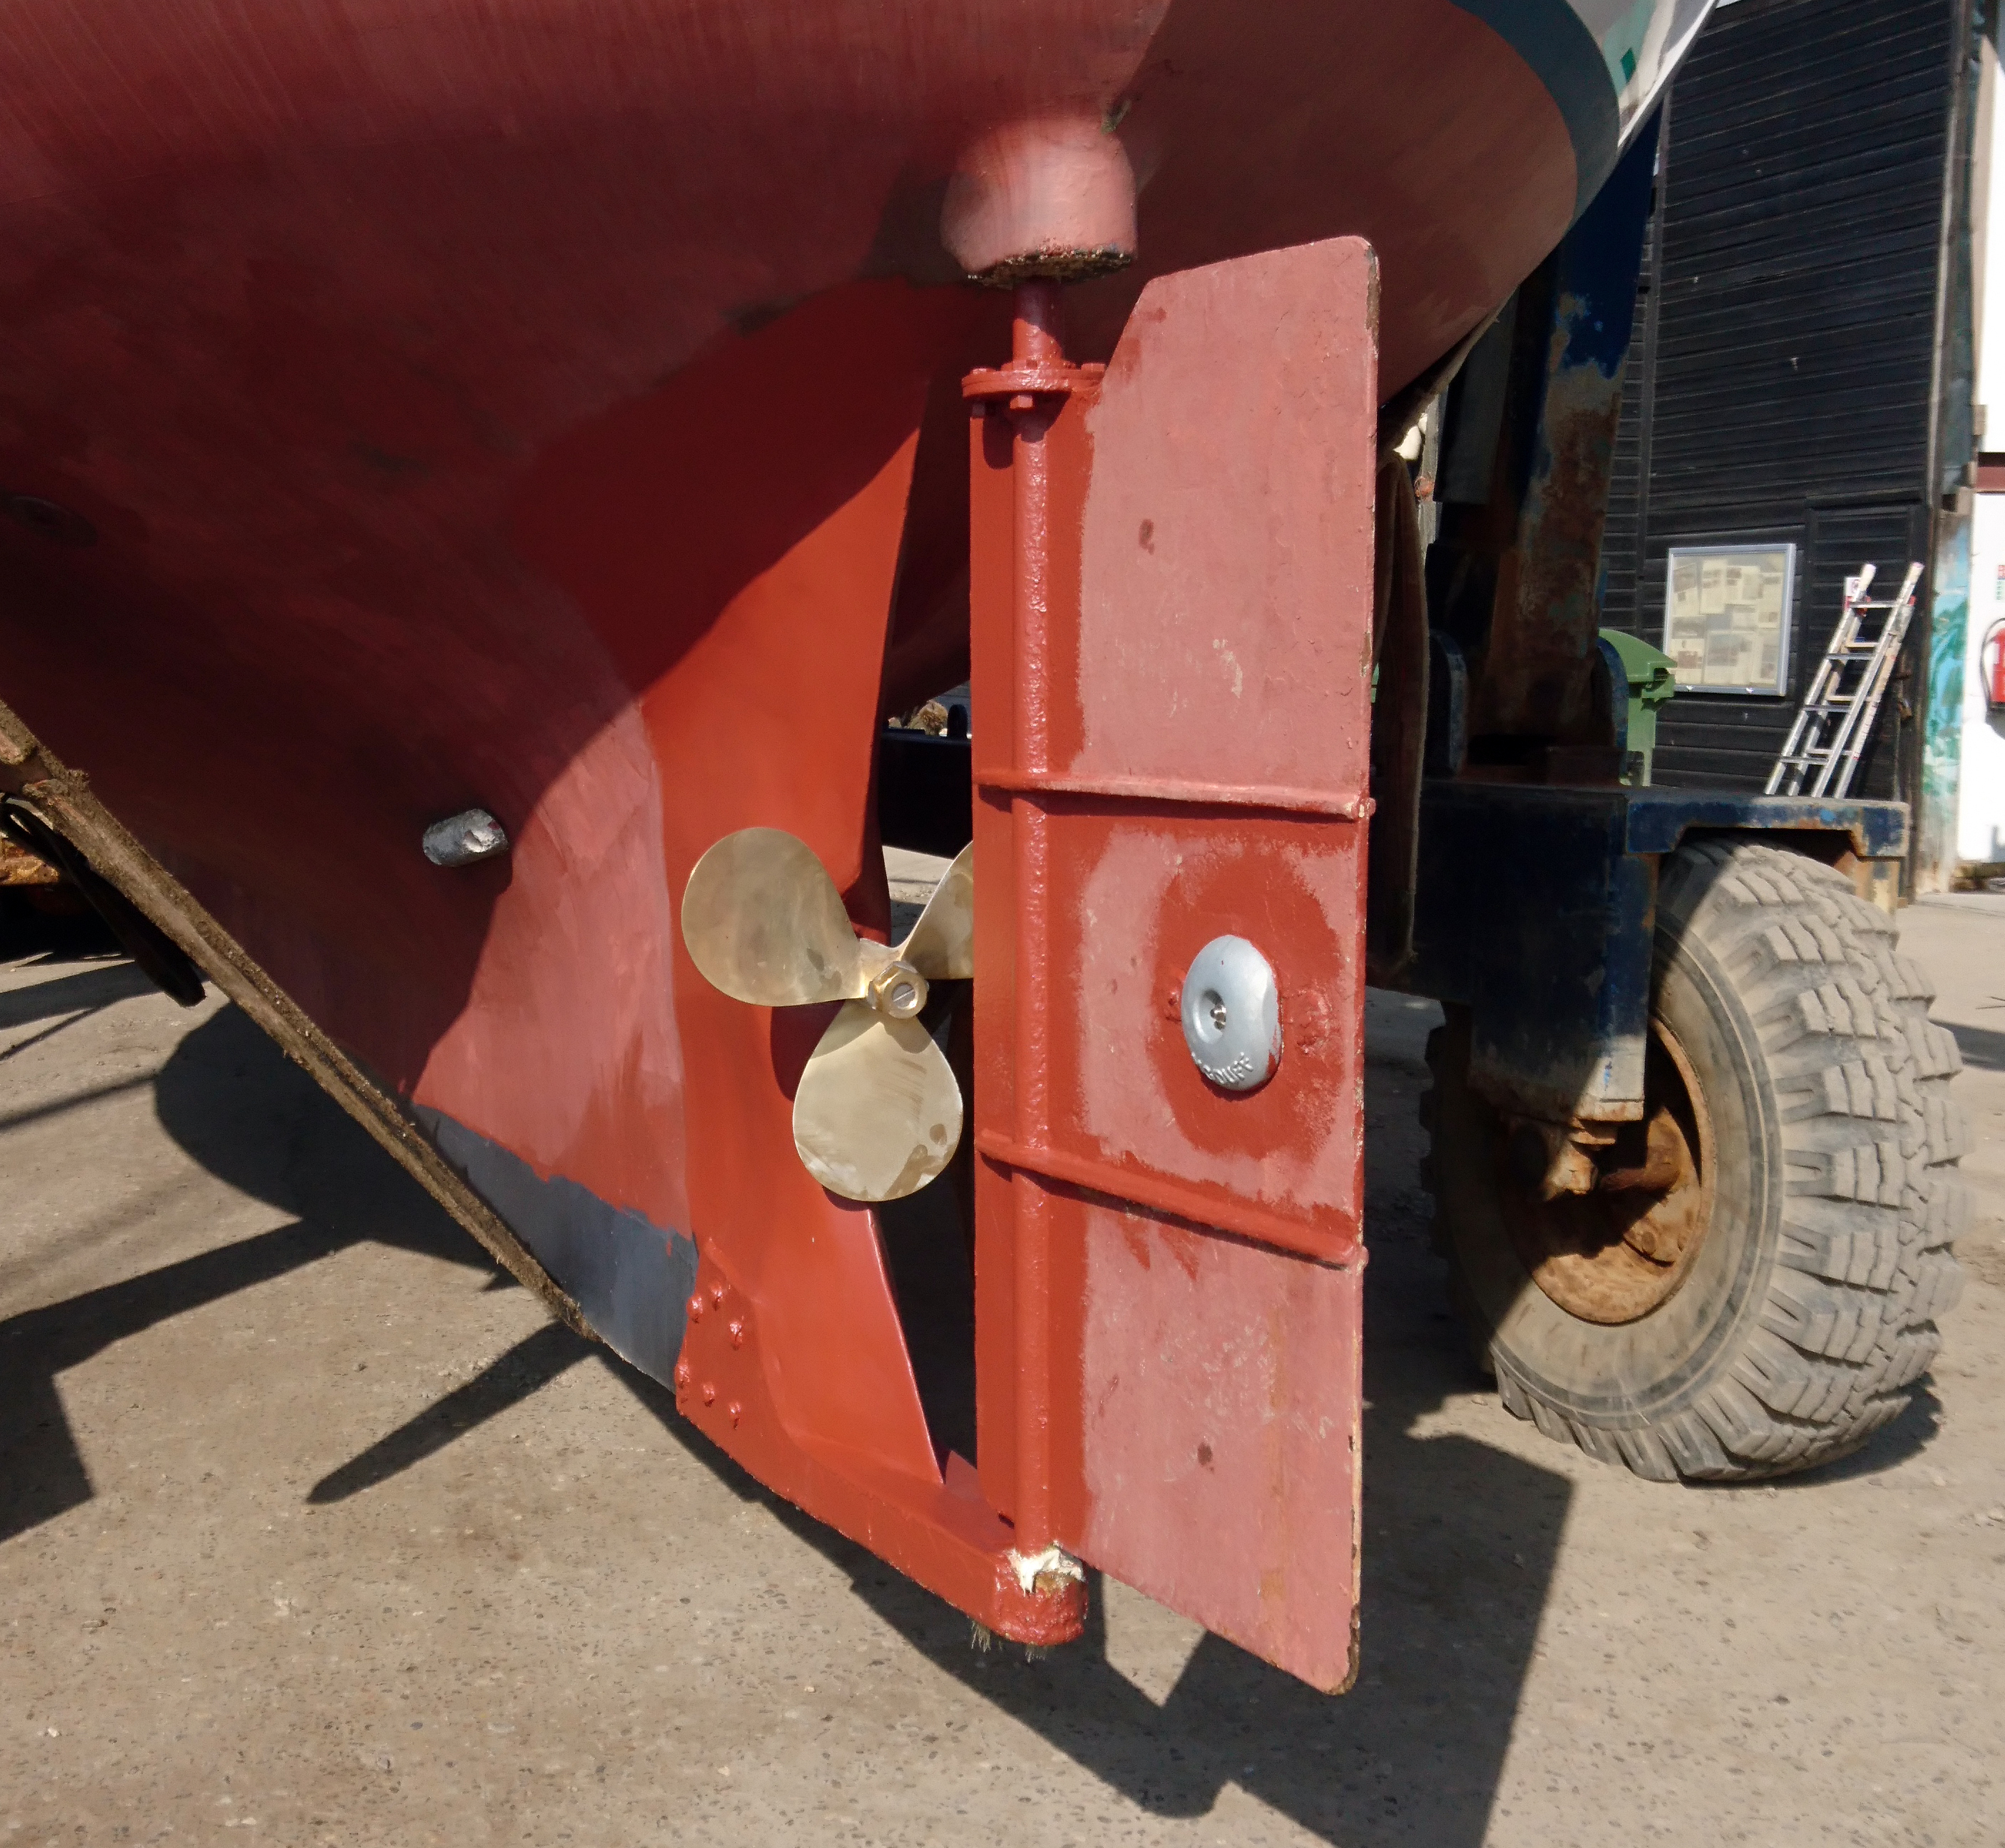
Final shape with prop temporarily fitted to check clearance ready for gelcoat.
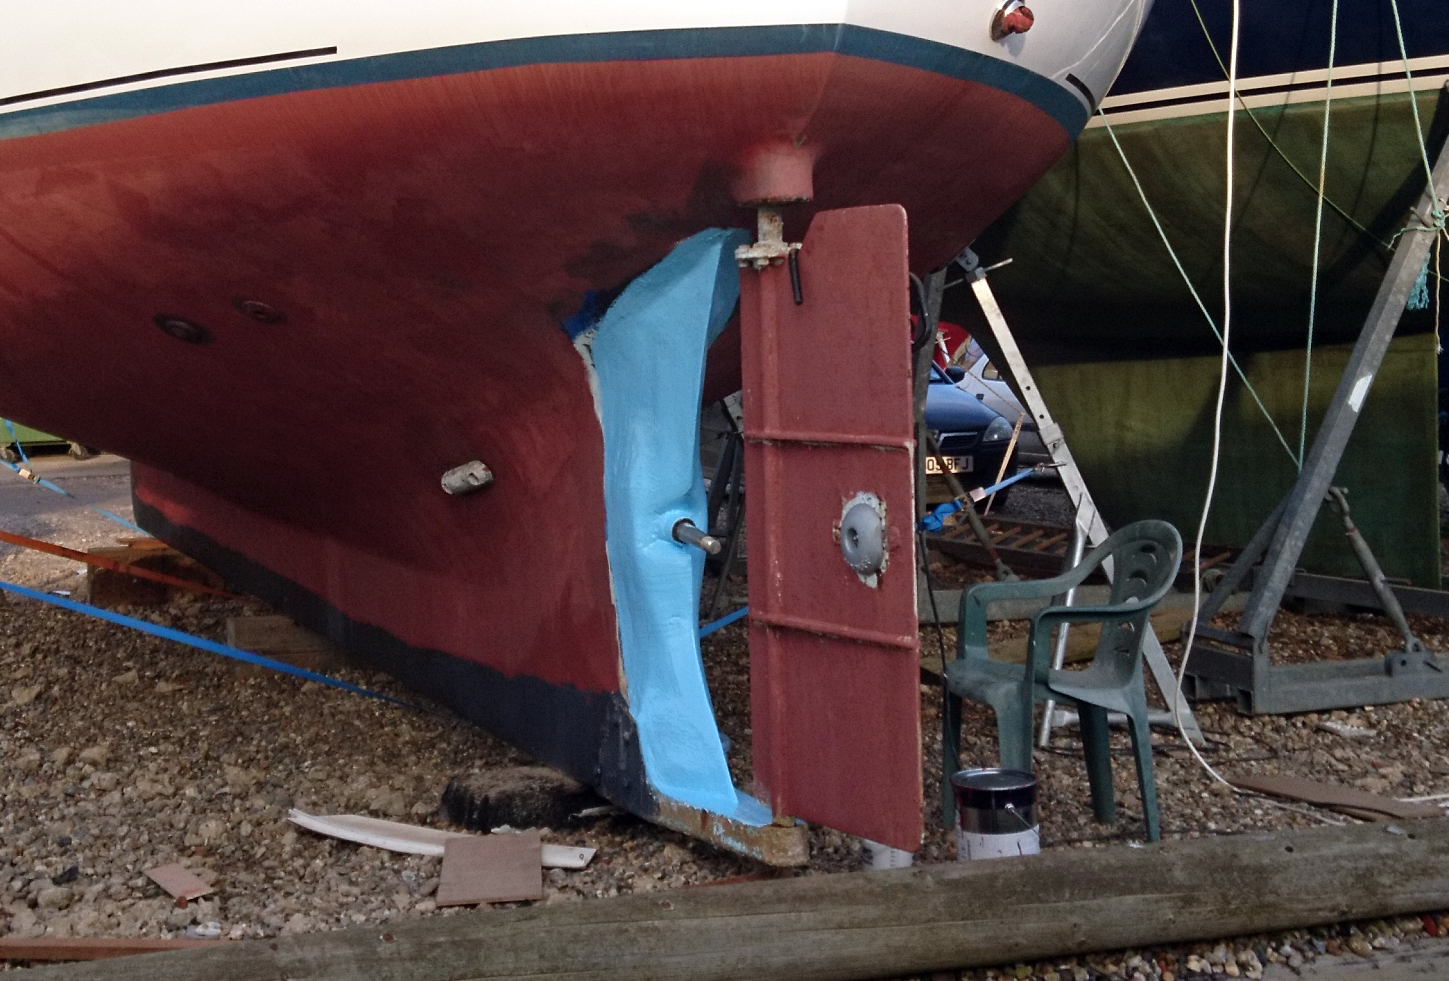

After three coats of gelcoat and one coat of topcoat or flowcoat gelcoat. (essentially gelcoat with added wax)
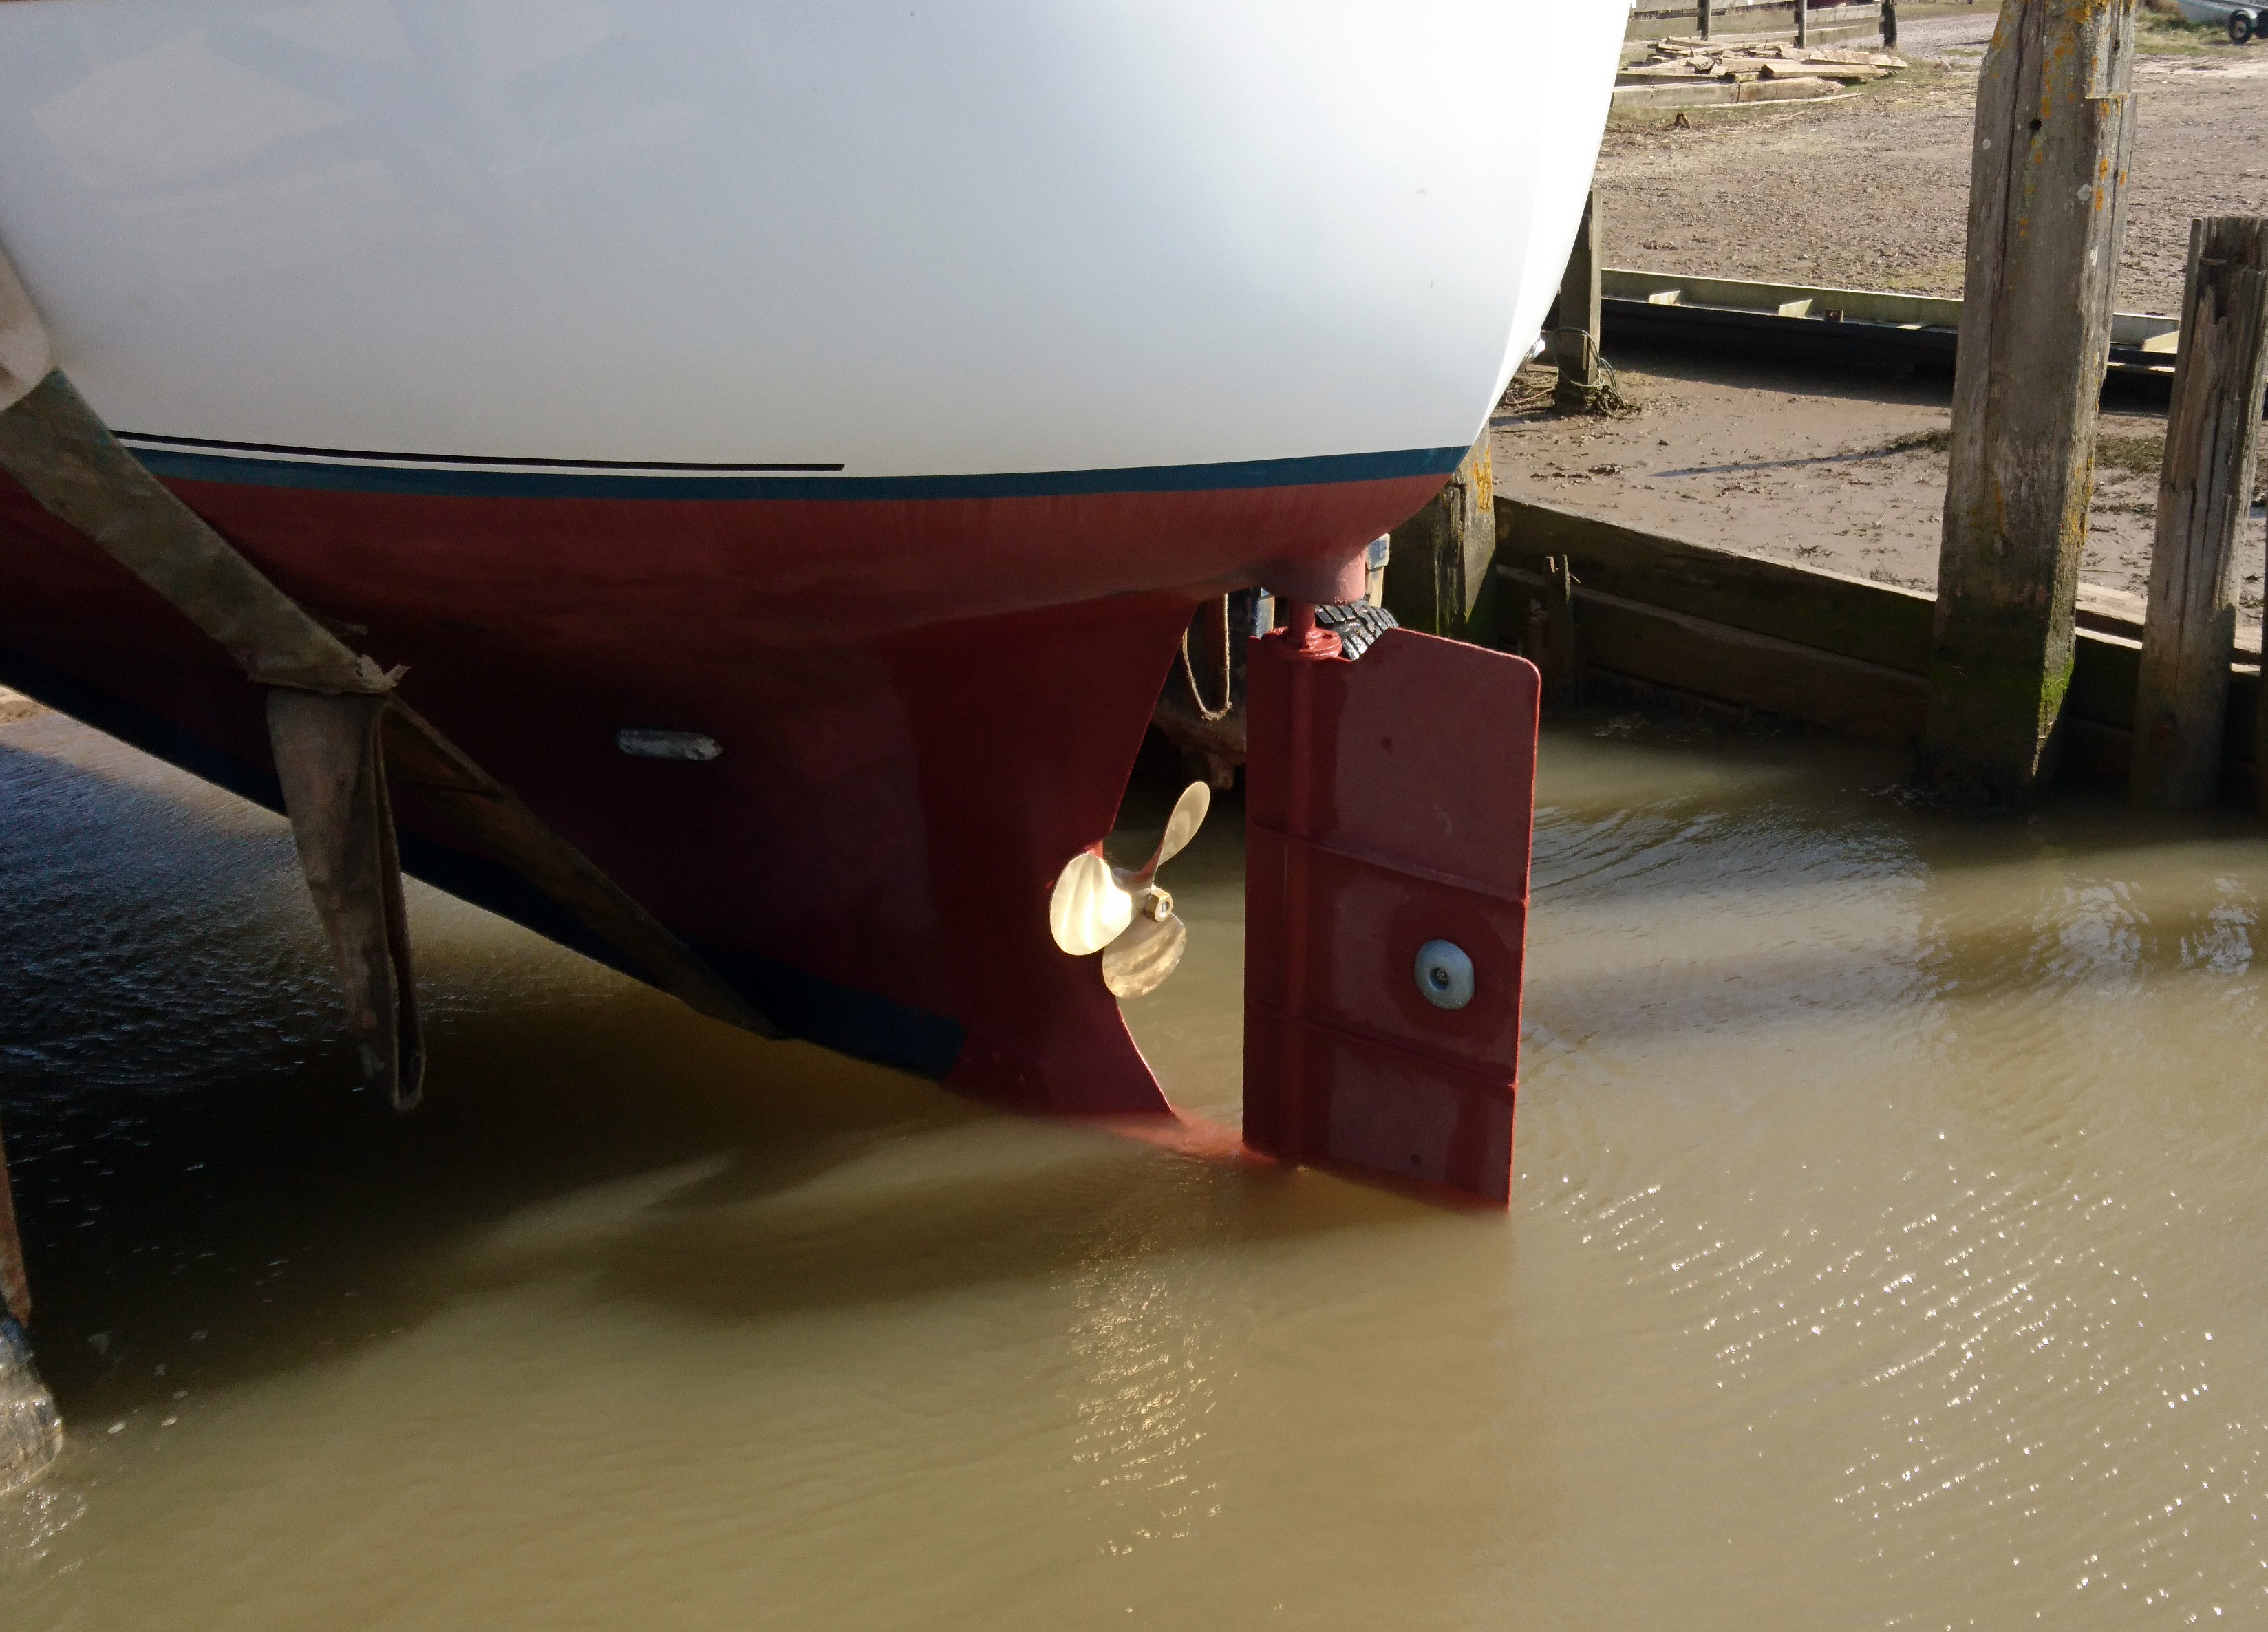
A coat of International Primocon and then a couple of coats of Seajet antifoul, shes ready for the water.