We’re currently working on a Nauticat 33 which having just been sold, is in to remedy issues found on the pre purchase survey and some new owner tlc.
The priority job was to install a compression post as the mast was in danger of becoming keel stepped instead of deck stepped.
I covered installation of a compression post on a Seamaster 925 in an earlier article and the solution was very similar.
However we did have to change the soleboard layout on the Nauticat, especially in the heads which also doubled as a shower.
The original was plywood with a grp sheathe and gelcoat finish on top.
Unfortunately the underside was not treated and was merrily rotting away and as we had to cut a new shape board to accommodate the new stainless compression post we took the opportunity to make a new shower base.
The base is to be made so it can be easily removed.
I personally do not like to make any areas of the hull inaccessible so whilst the current vogue is to have a permanent, nicely molded shower trays, this is not compatible with easy access to the inside of the hull.
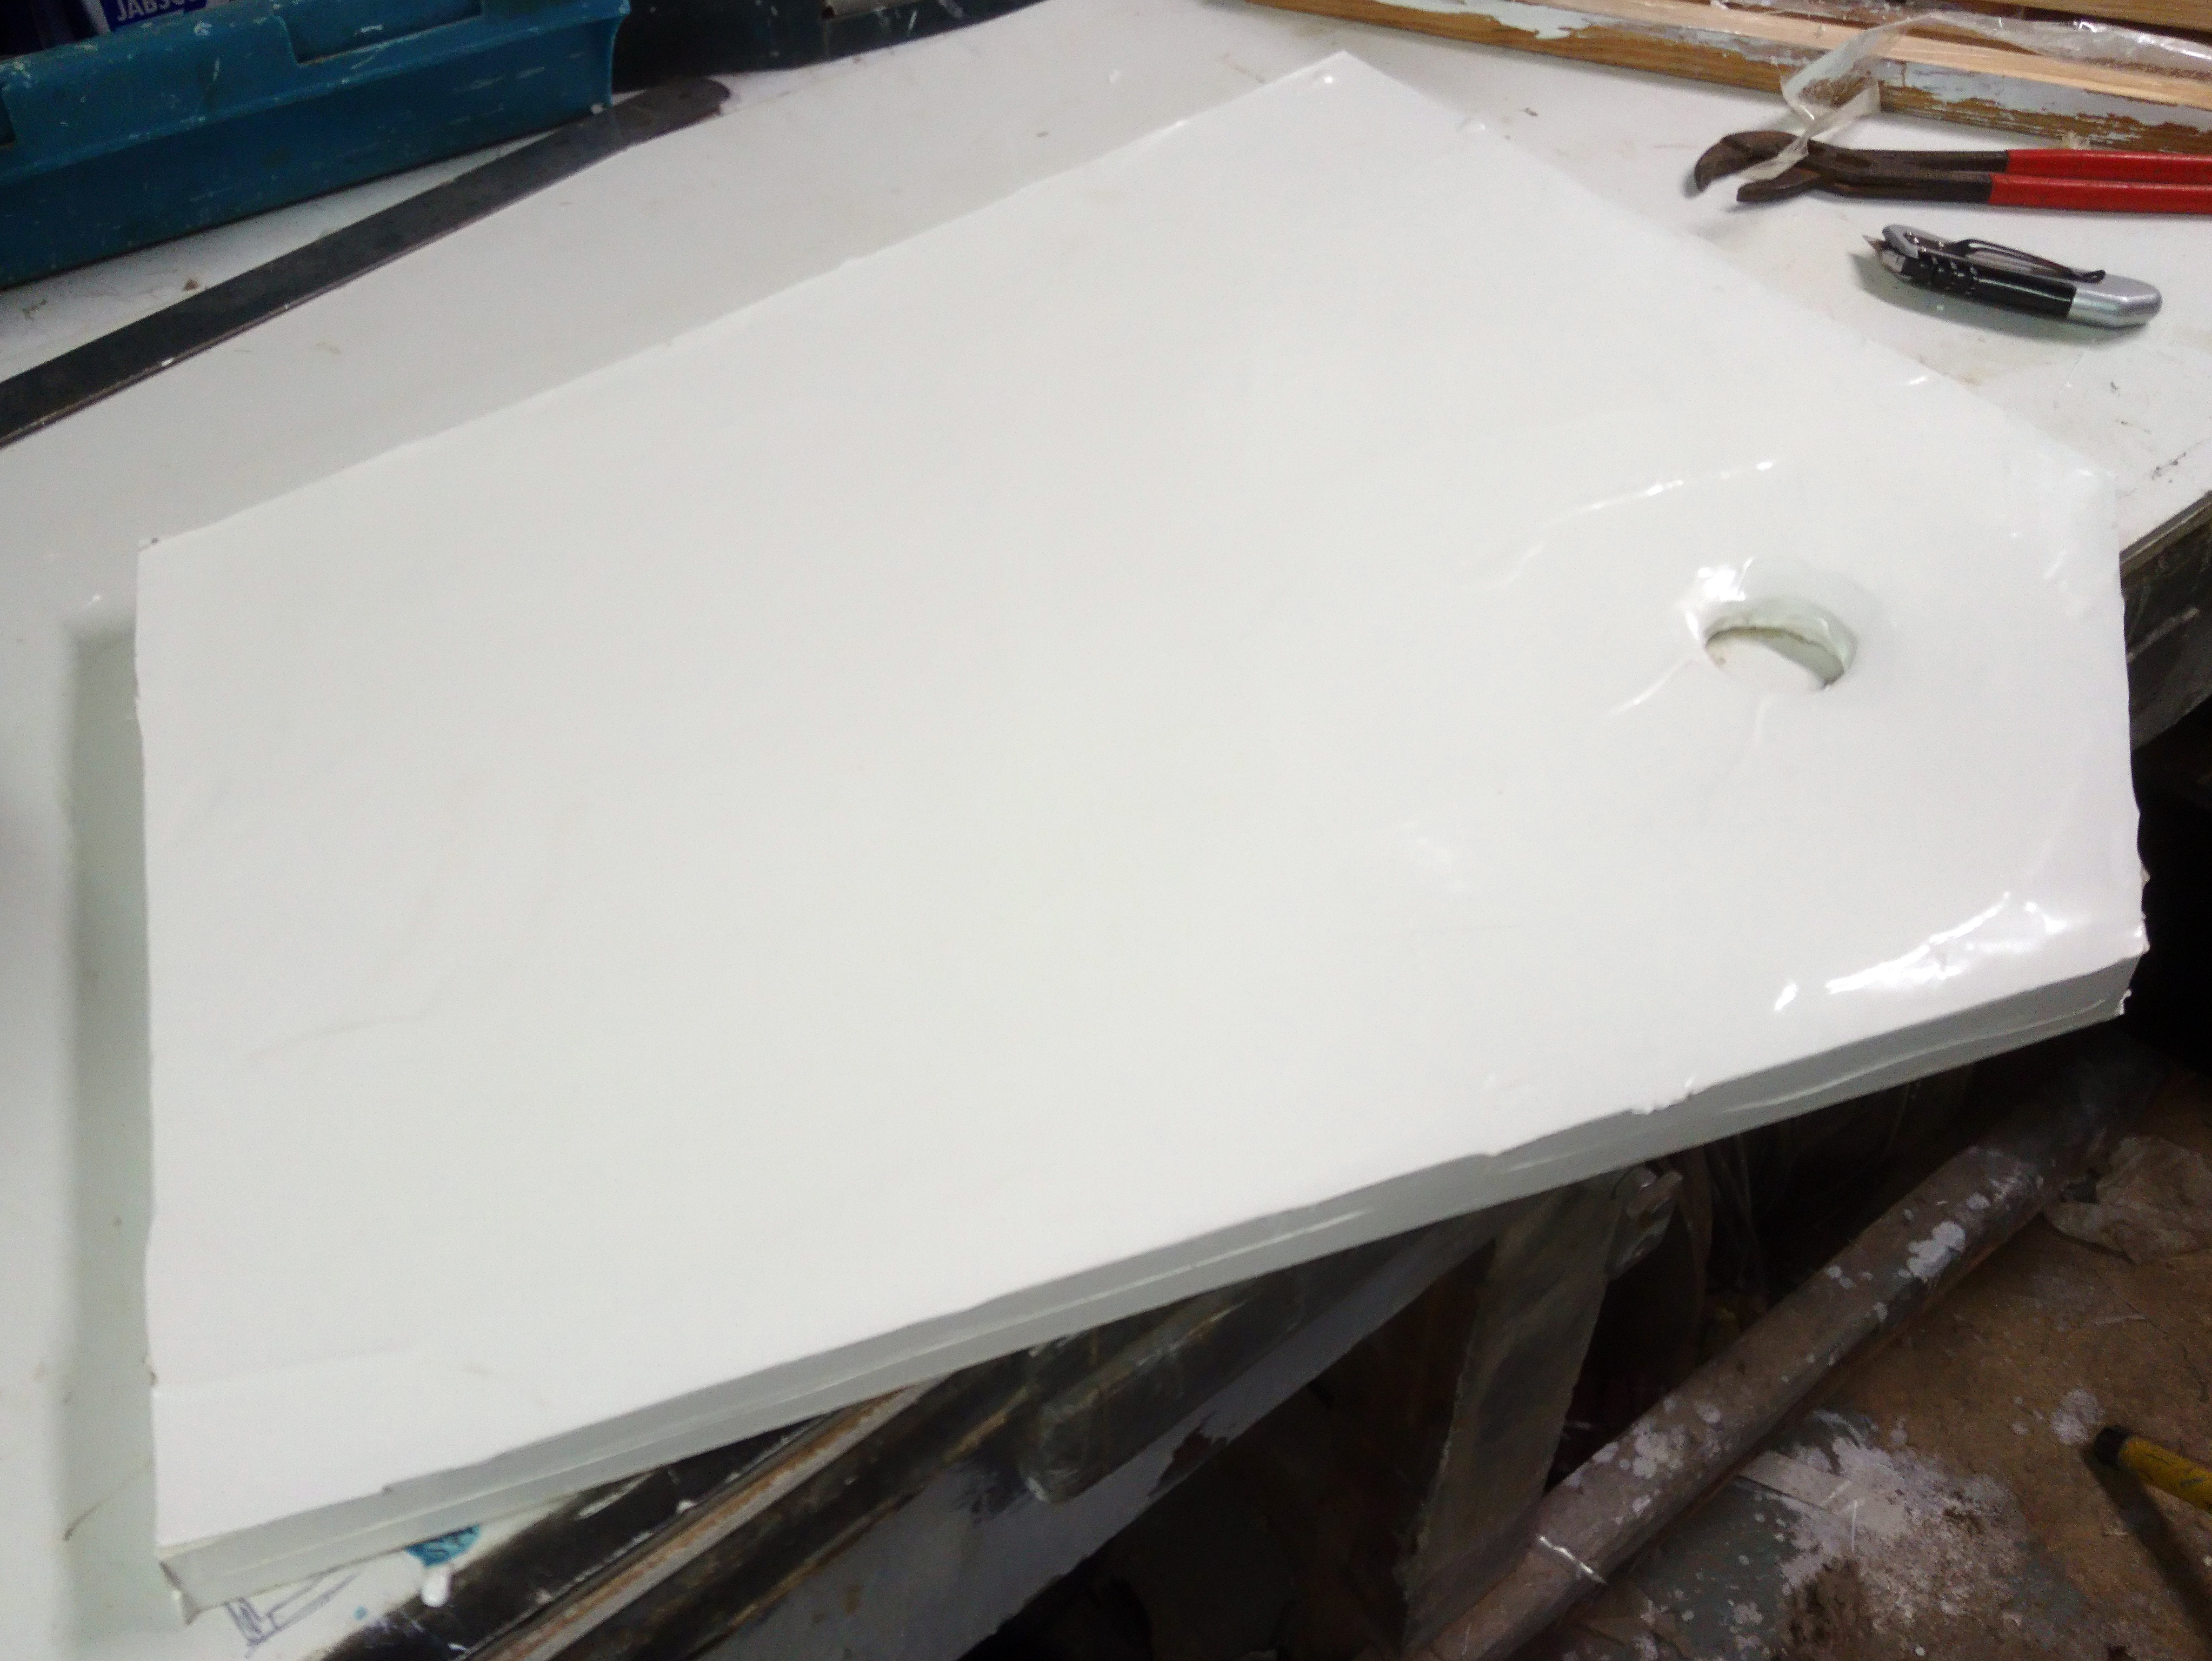
The base itself is a strange shape so the first job was to create a template using 2″ strips of hardboard and a glue gun.
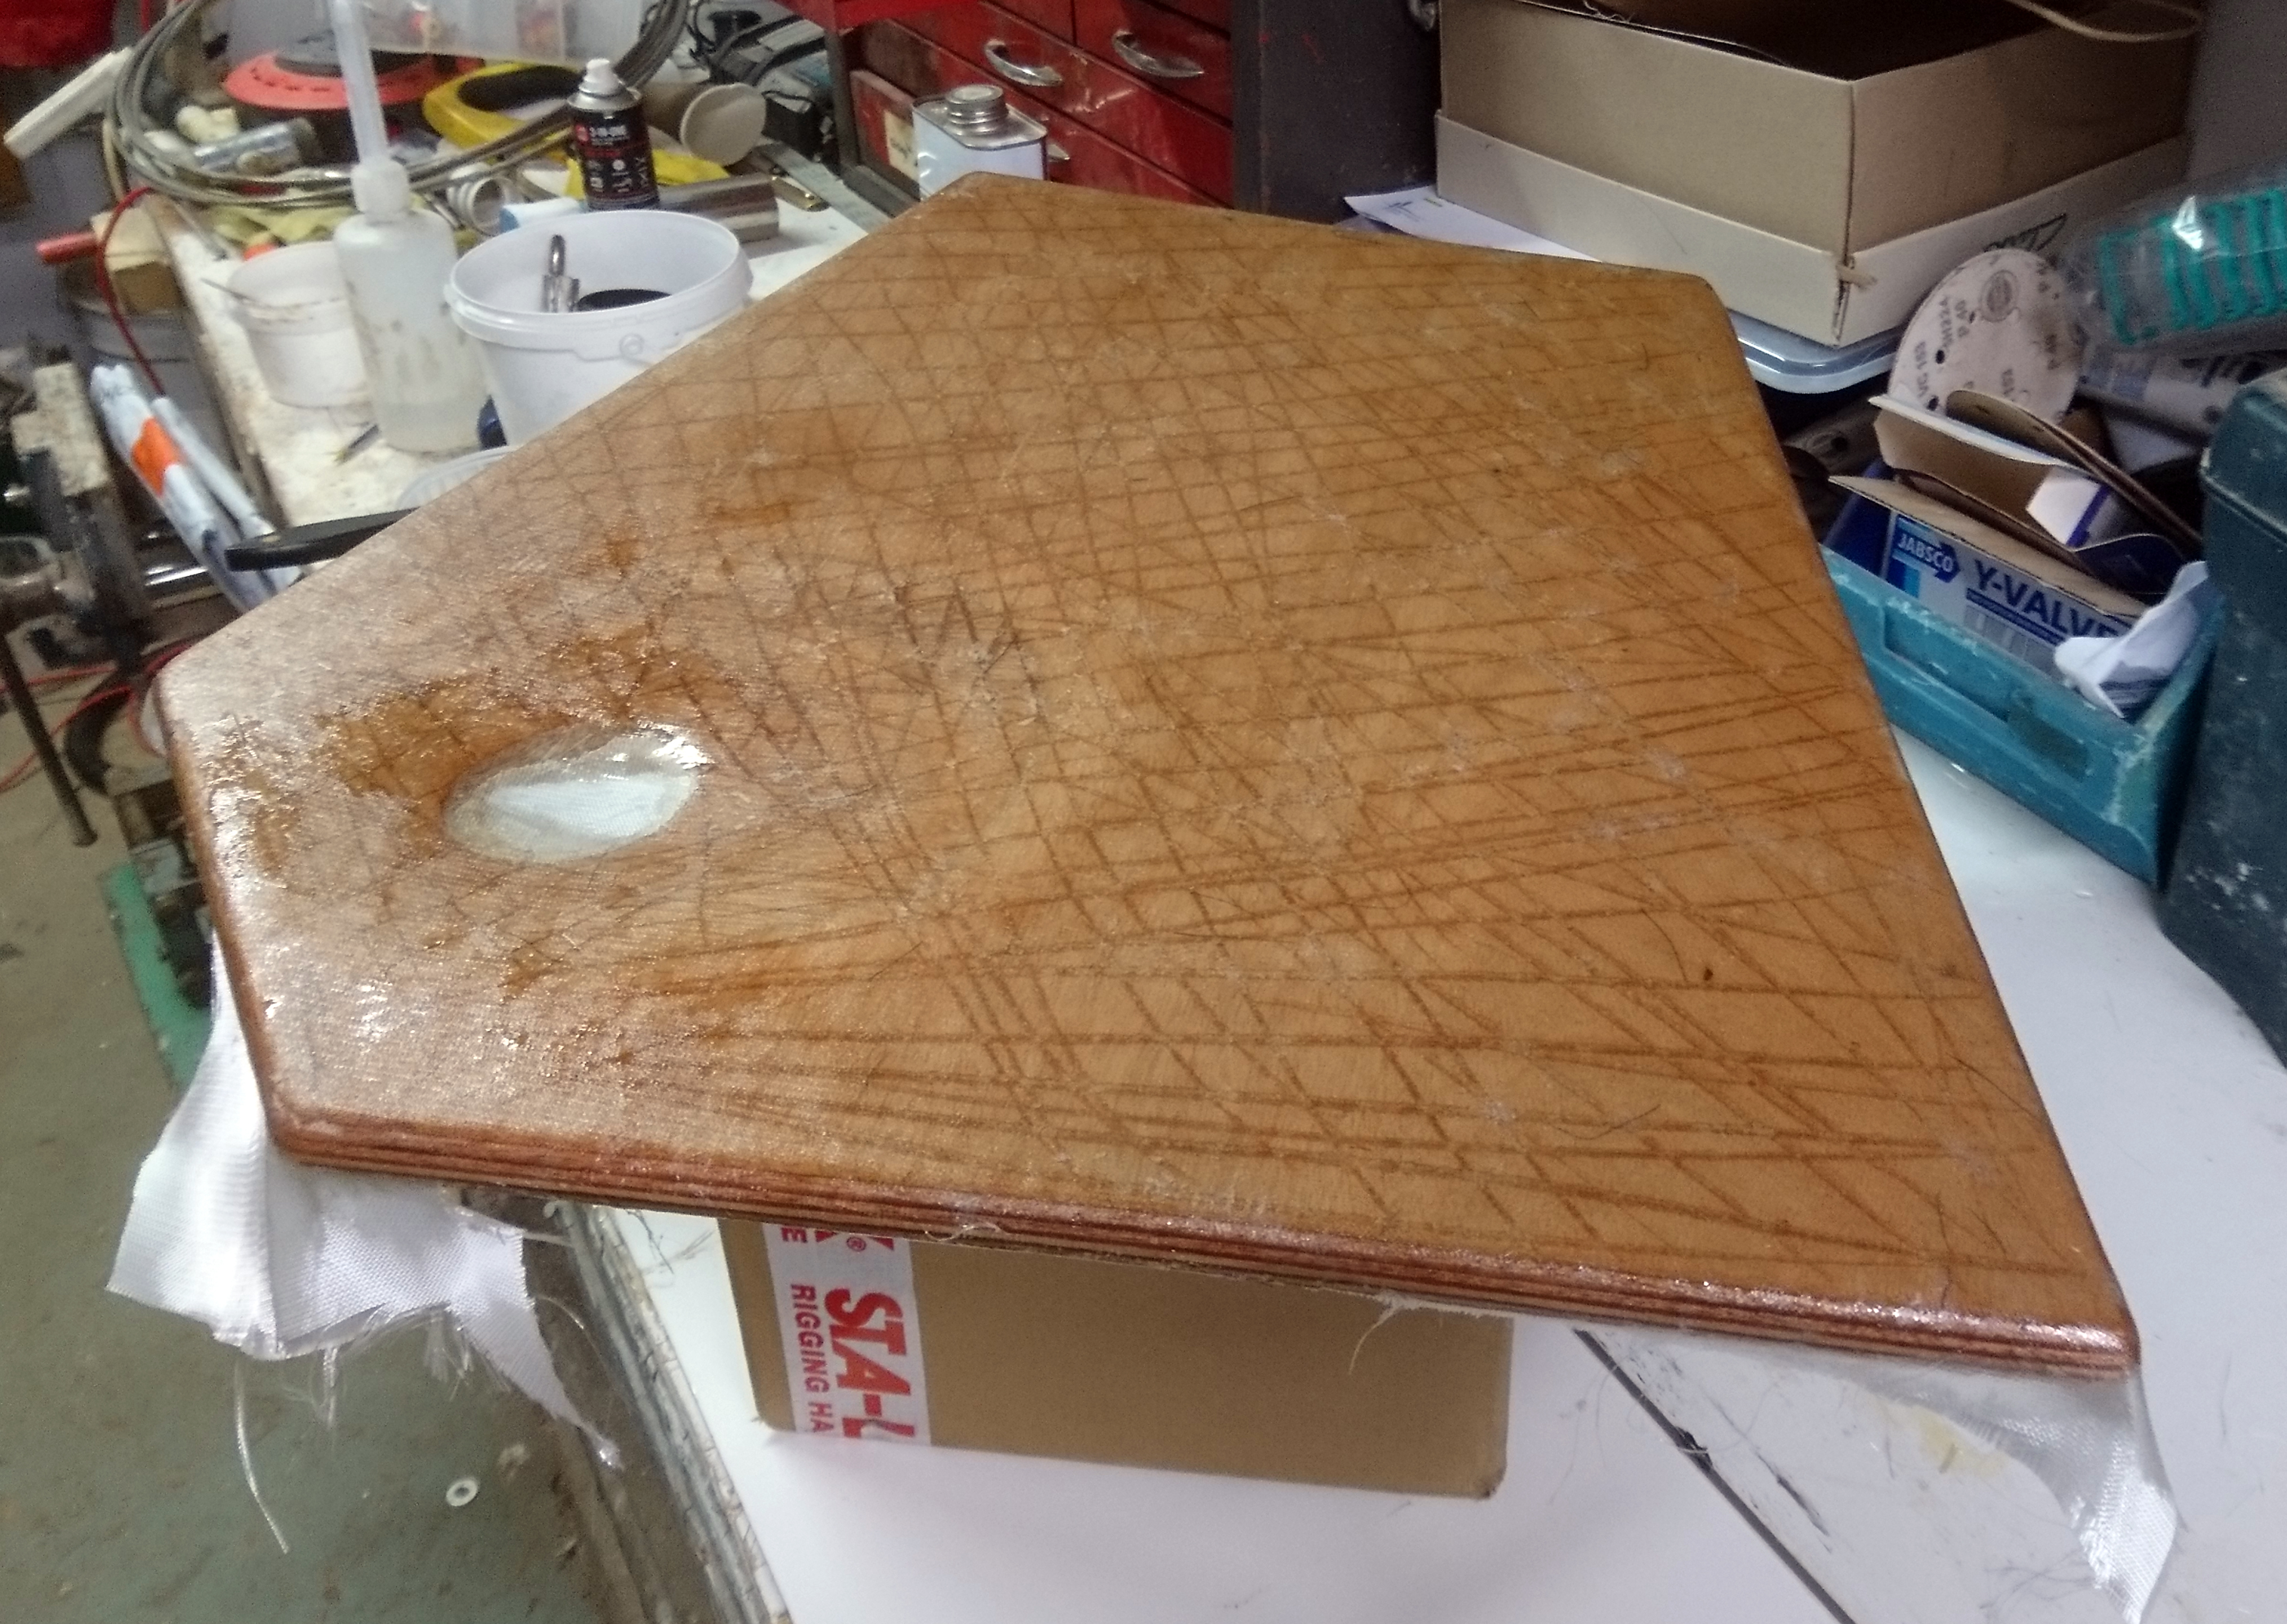
Using the template the 19mm marine ply can then be cut out and once a decision on the position of the drain plug has been made work can be carried out to make the flat surface somewhat less flat.
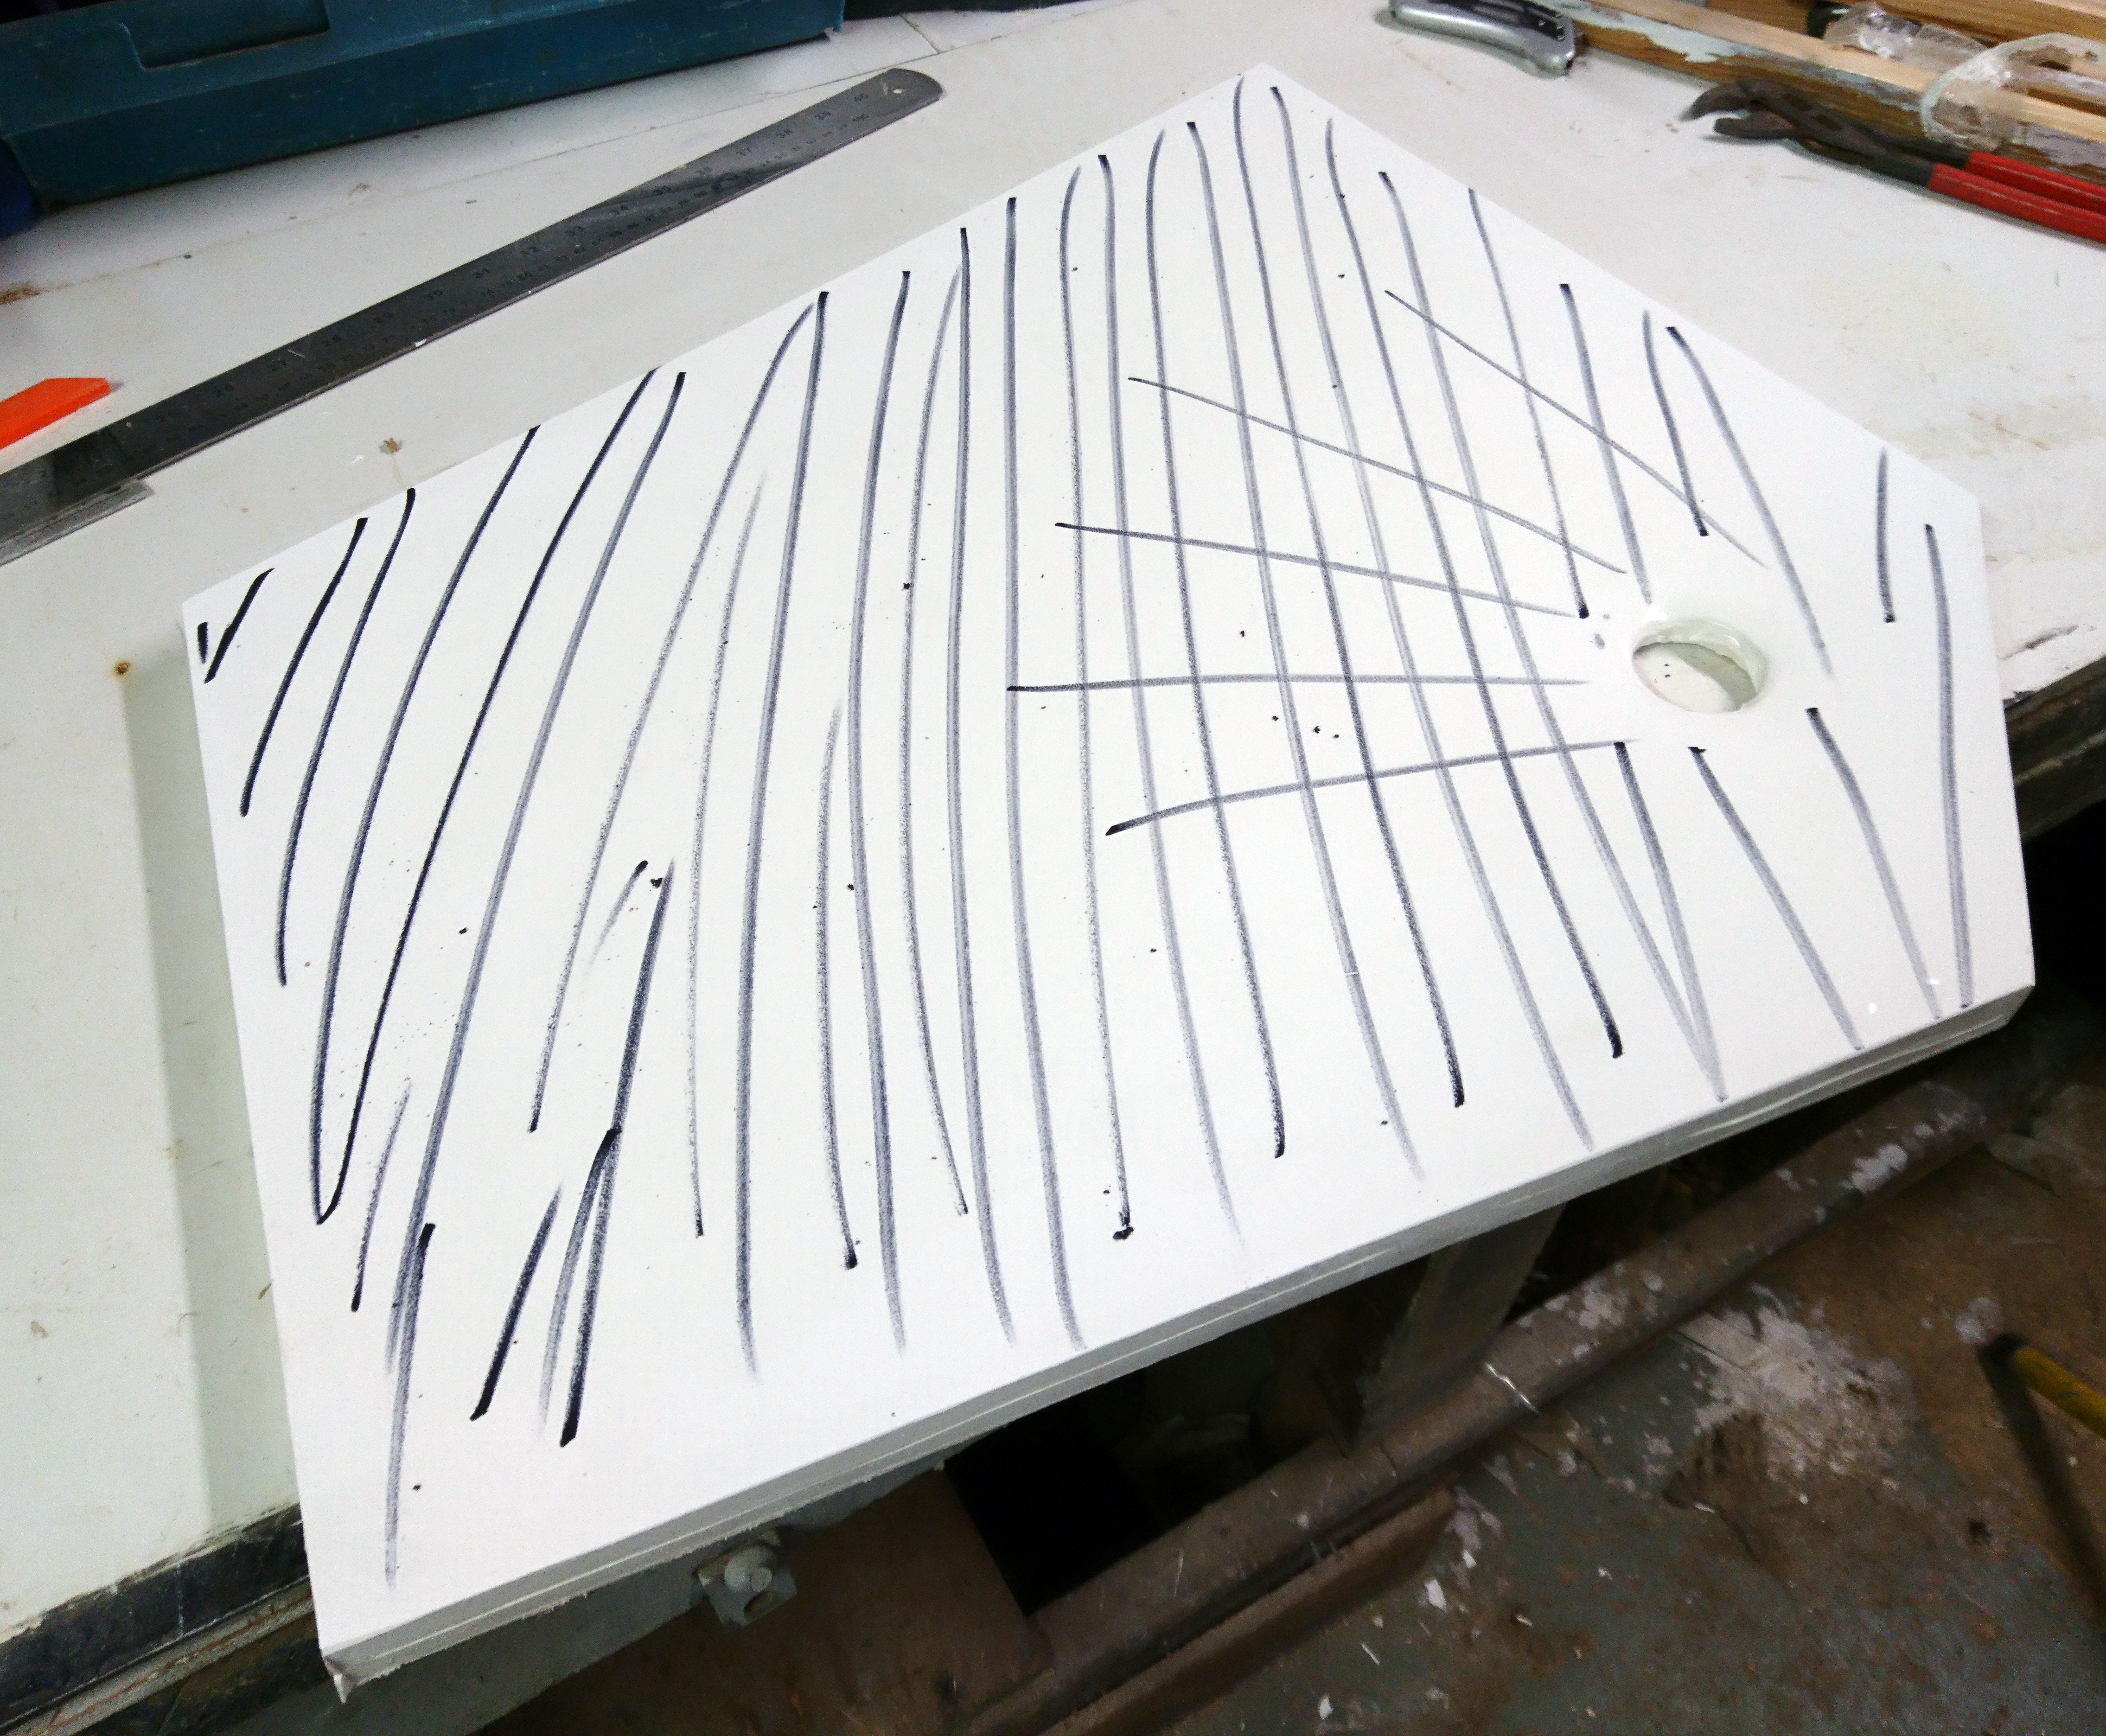
We used a small orbital sander and 40 grit pads and got creative.
Its hard to get grp to go round tight external turns such as edges and corners so as this base was to sheathed all the edges and corners have to be rounded off.
We were using polyester resin and to ensure getting a good bond between the ply and the glass I tend to use chopped strand mat (CSM) for the first layer as this in my experience has a far higher bond with a plywood surface than woven cloth.
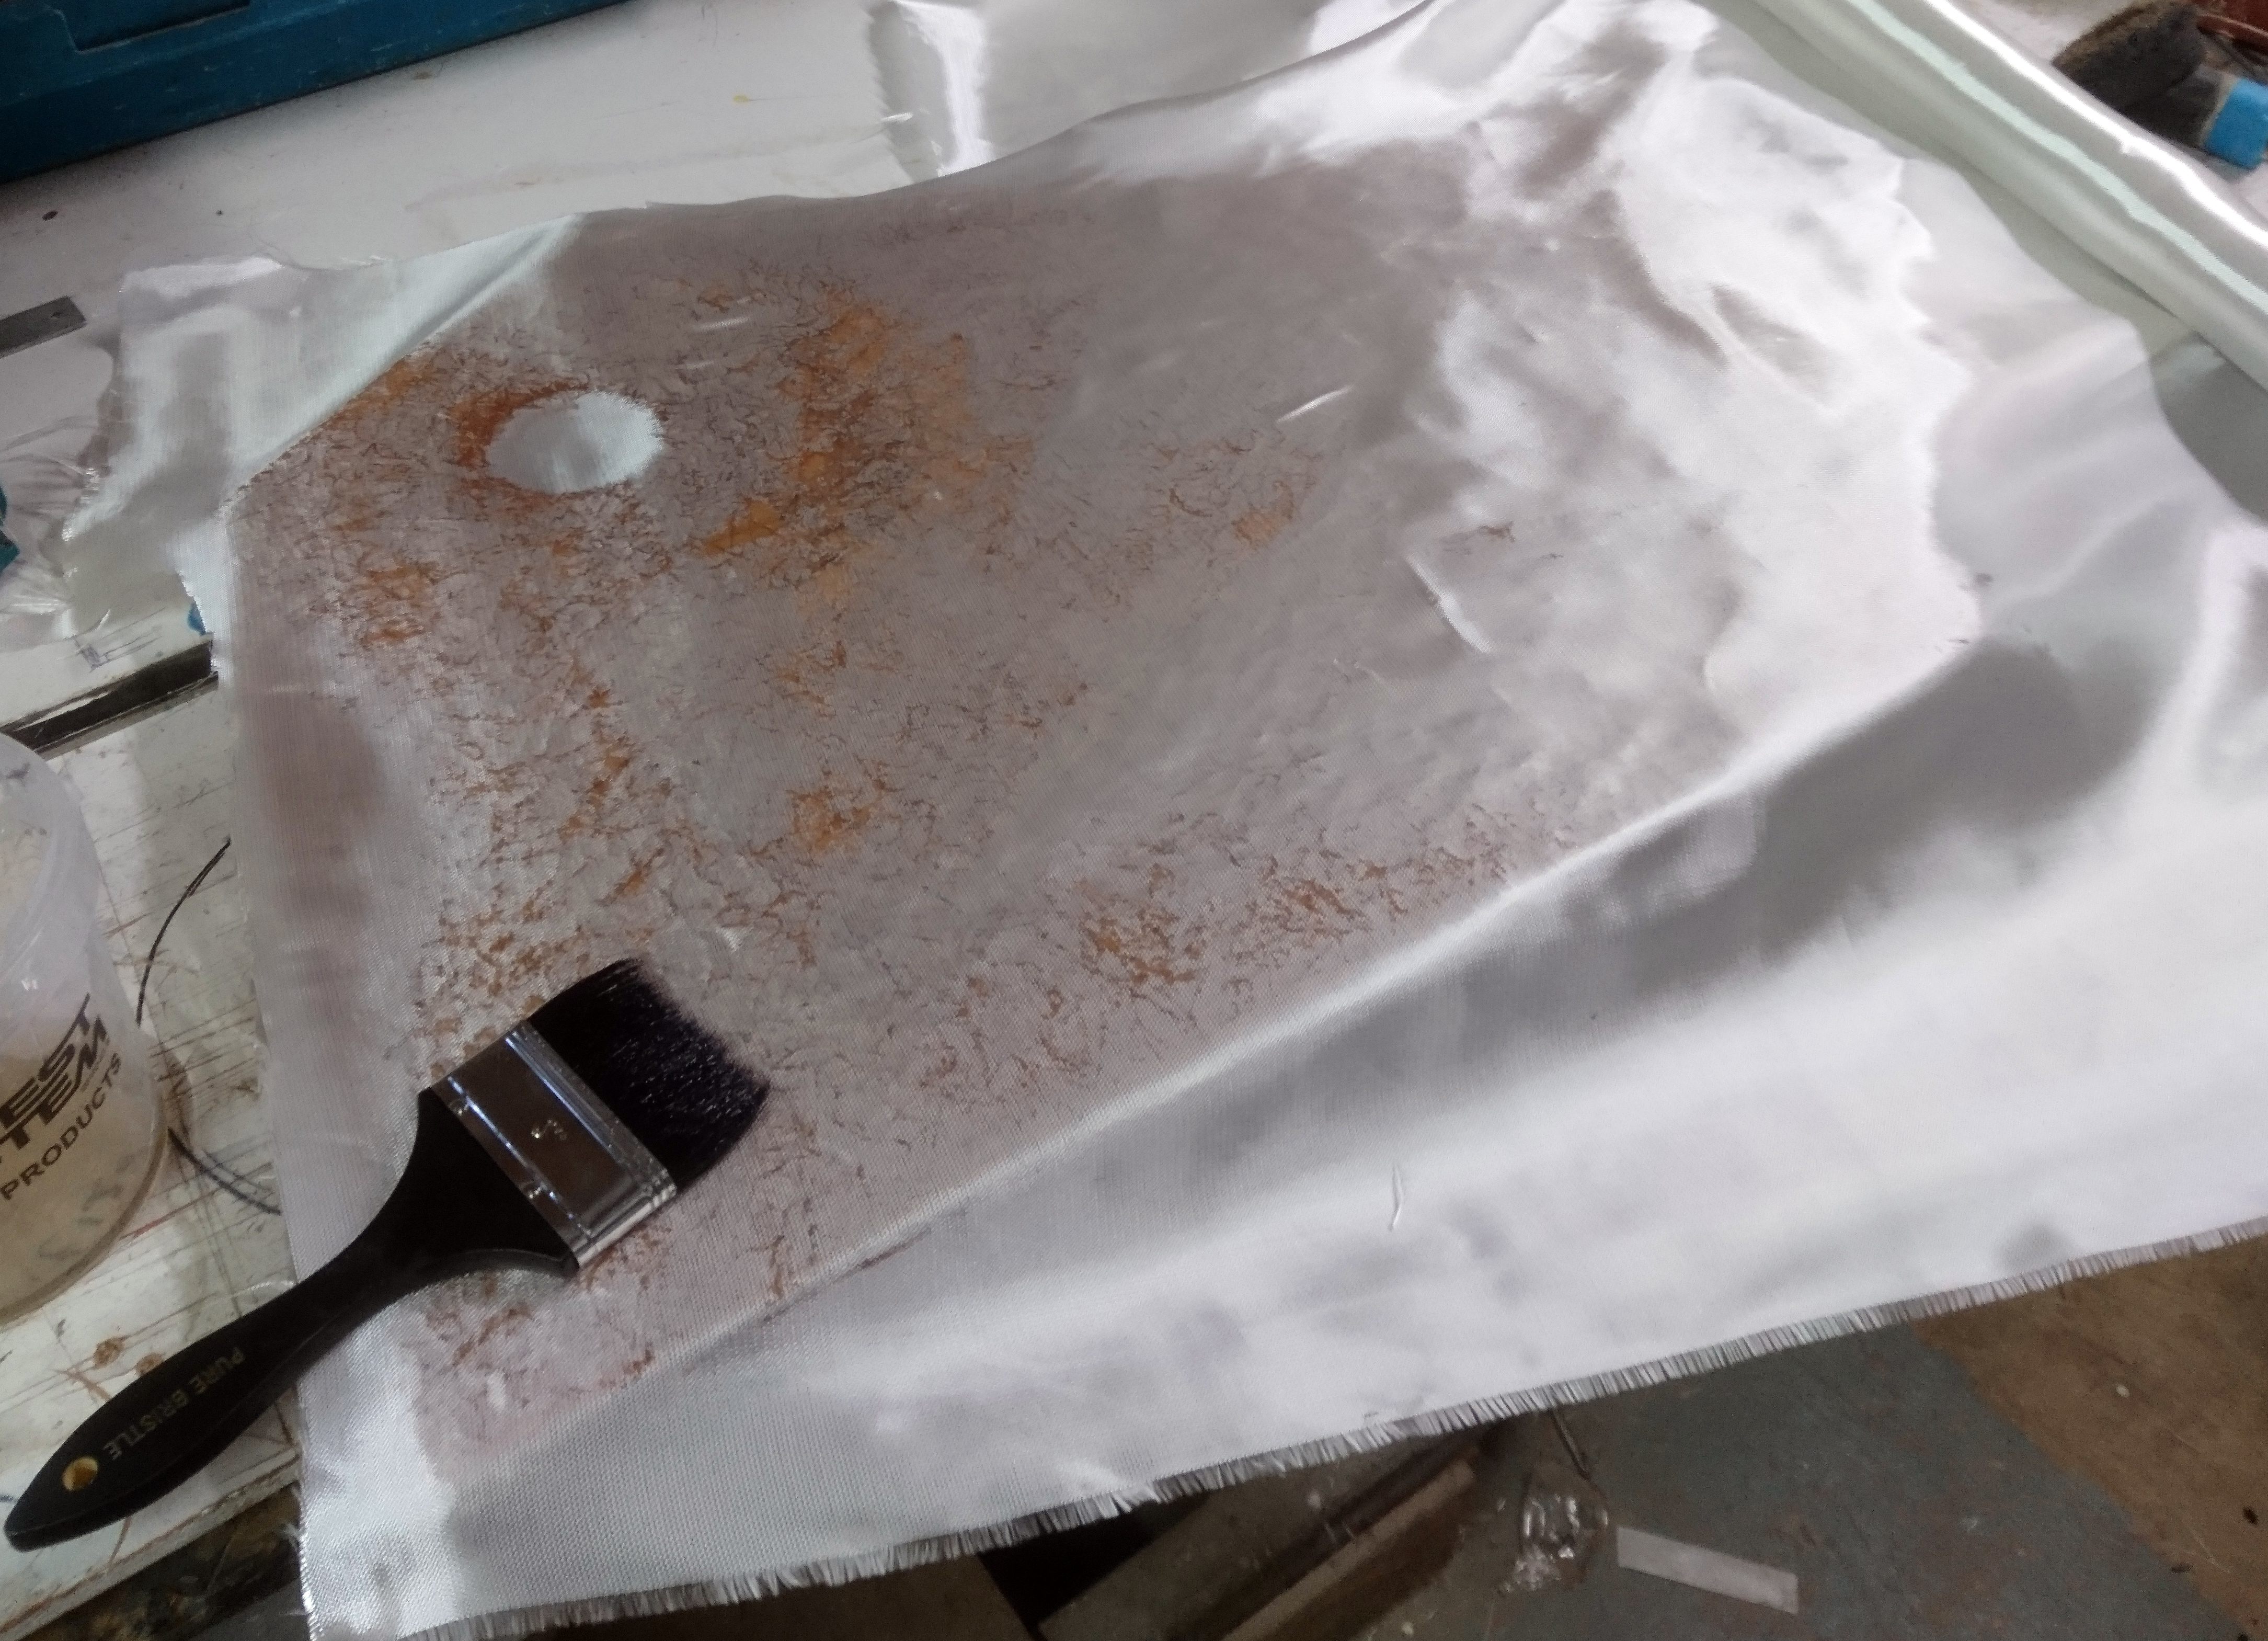
We start the sheathing process on the bottom face of the base.
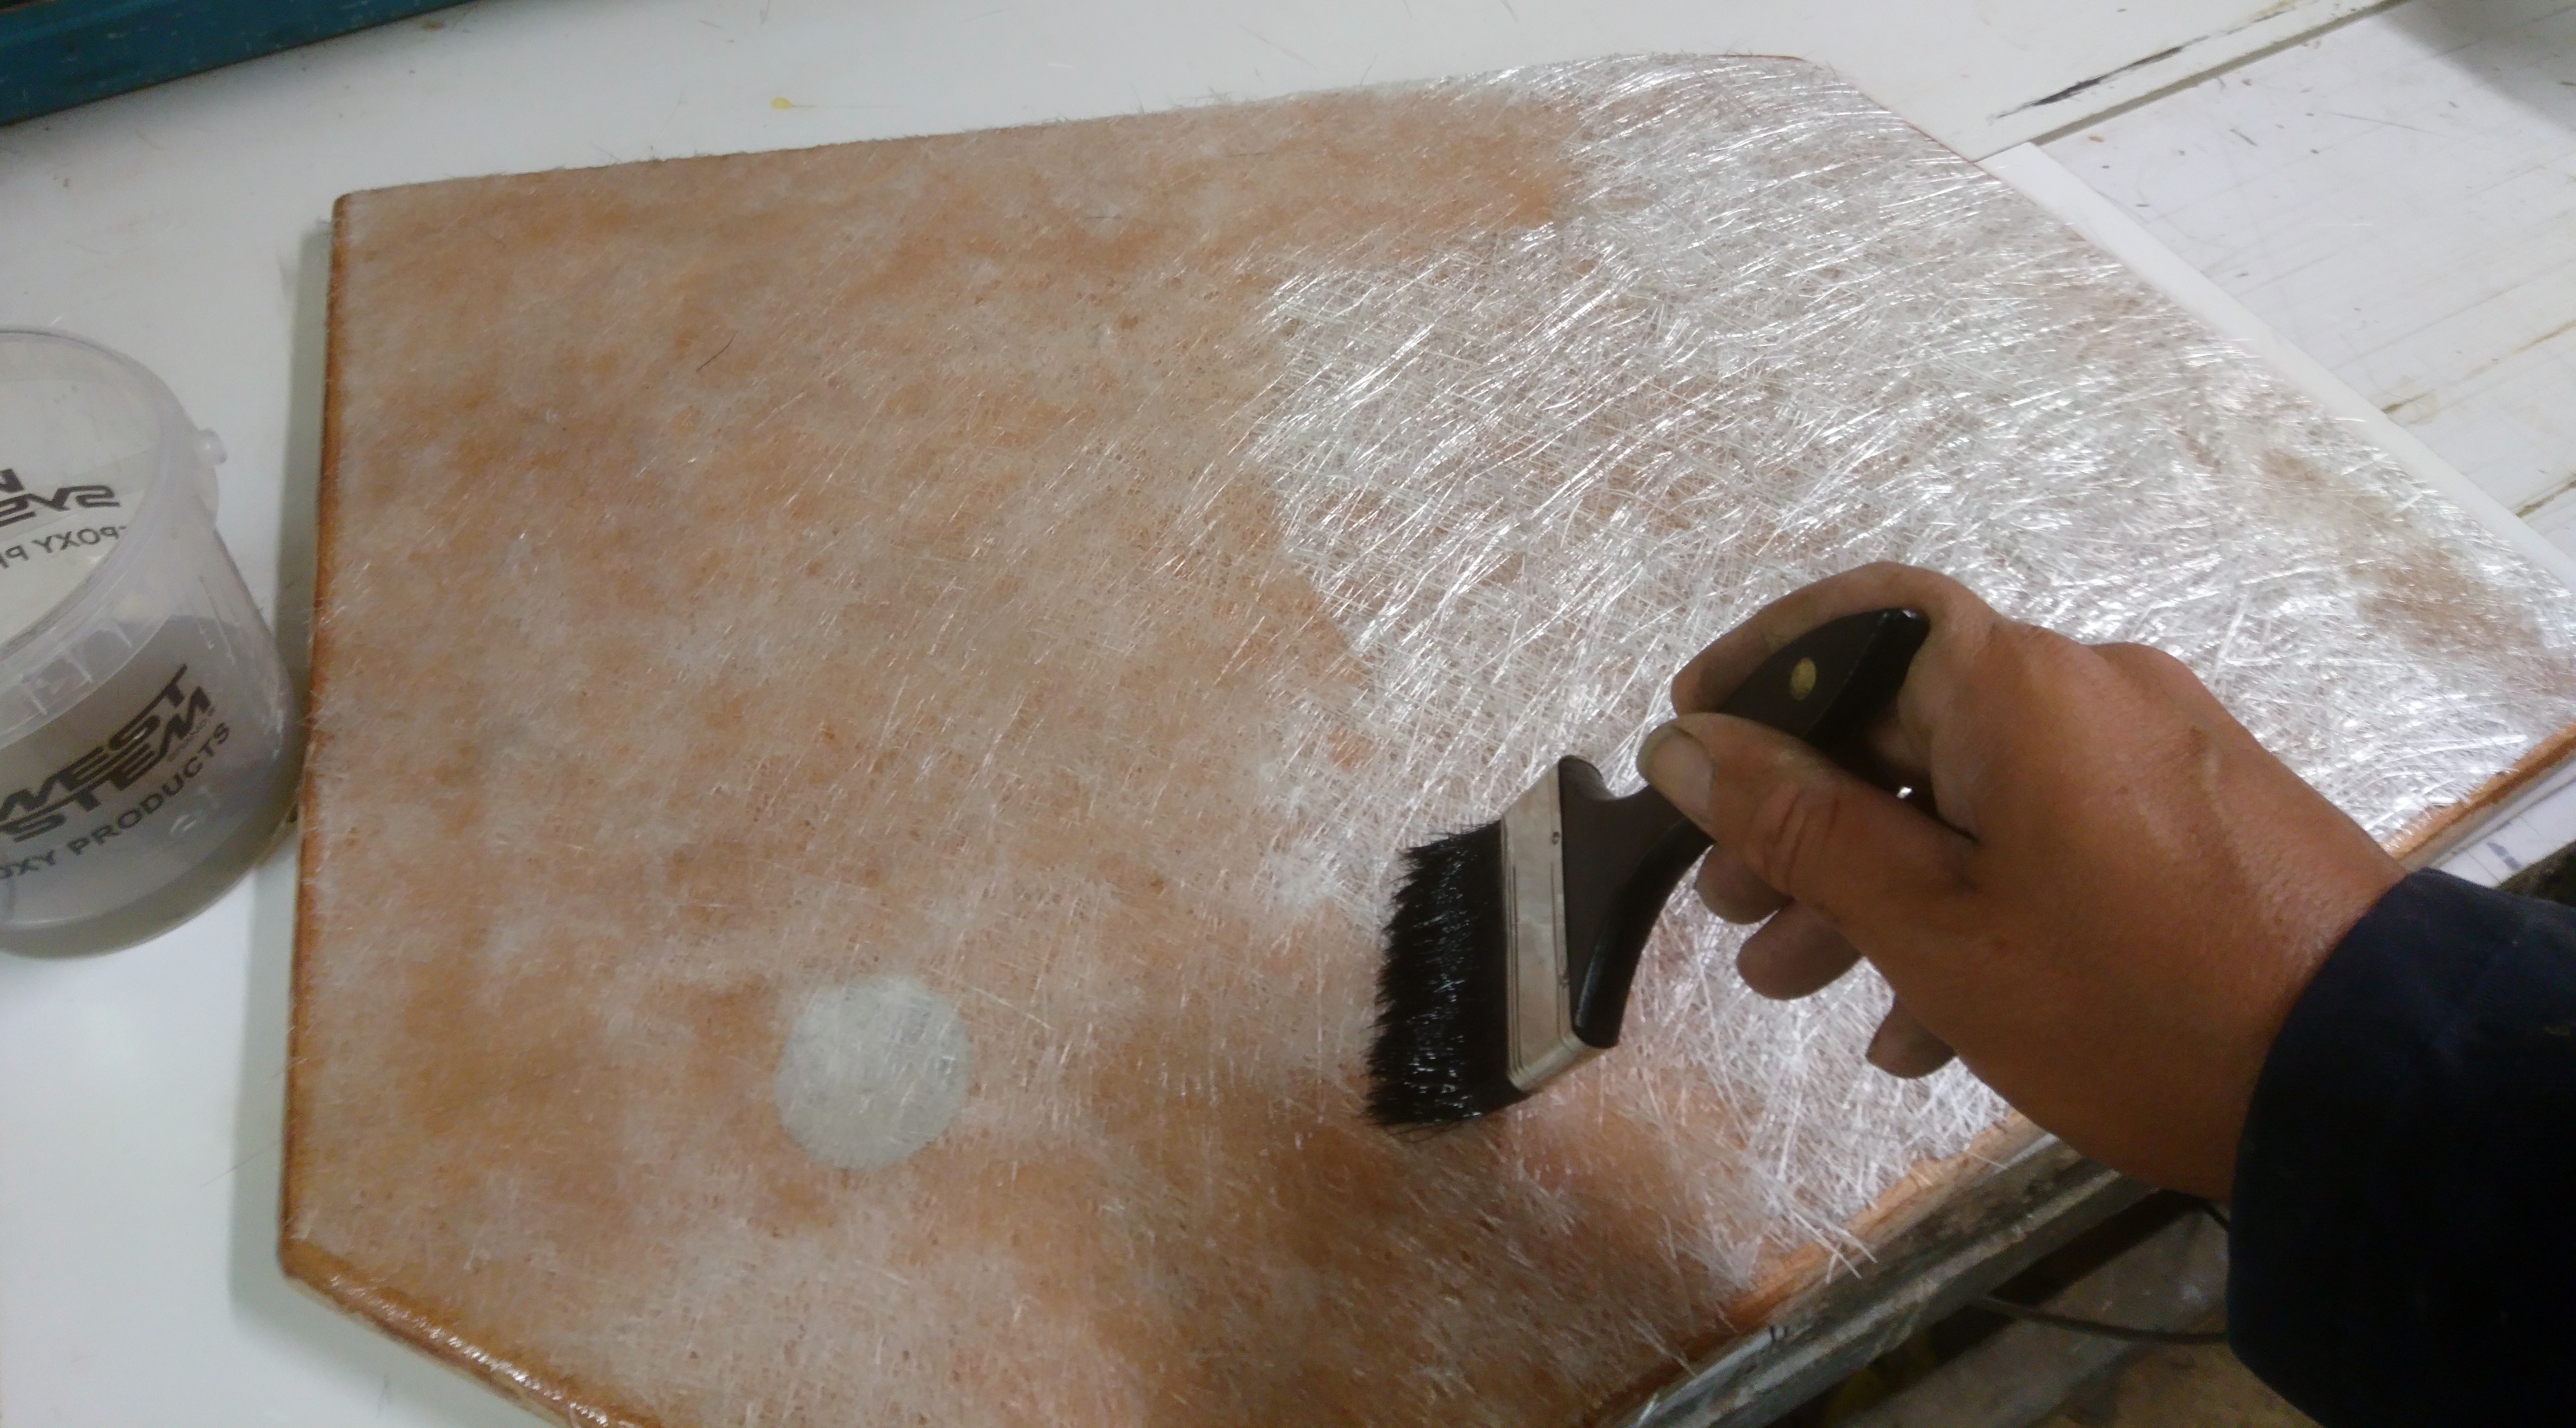
First coat the plywood with resin using a brush.
Paint it on, don’t ladle it on or pour it on and spread it about like you see on some you-tube videos.
All you need to do is wet out the surface before laying on a layer of precut 250gm csm.
Then using a brush add another light coat of resin before consolidating the layer with a roller.
If you have any dry areas add a little more resin but the trick is to use as little resin as possible.
Resin has very little strength in itself and using too much might speed up the wetting out process but the laminate will be resin rich and as a result will be weaker, brittle and less likely to bond well to the plywood.
Another reason for using just enough resin is cleanliness.
Some folk seem to get grp everywhere and end up with a huge mess and much of this comes down to the uncontrolled sloshing of resin which when you come to consolidation rolling will spray around in every direction.
Using polyester you have a great deal of control on cure times compared to using epoxy systems.
Adding a little more or less catalyst is a bit of an art and I find it hard to explain how much to use at specific times as I just seem to add just enough.
You have no such flexibility with epoxy systems such as West.
One sure fire way to speed things up though is to use a UV heat lamp which can allow me to get a workable cure in an hour or so.
Where epoxy wins though is in bonding strength to a substrate such as plywood.
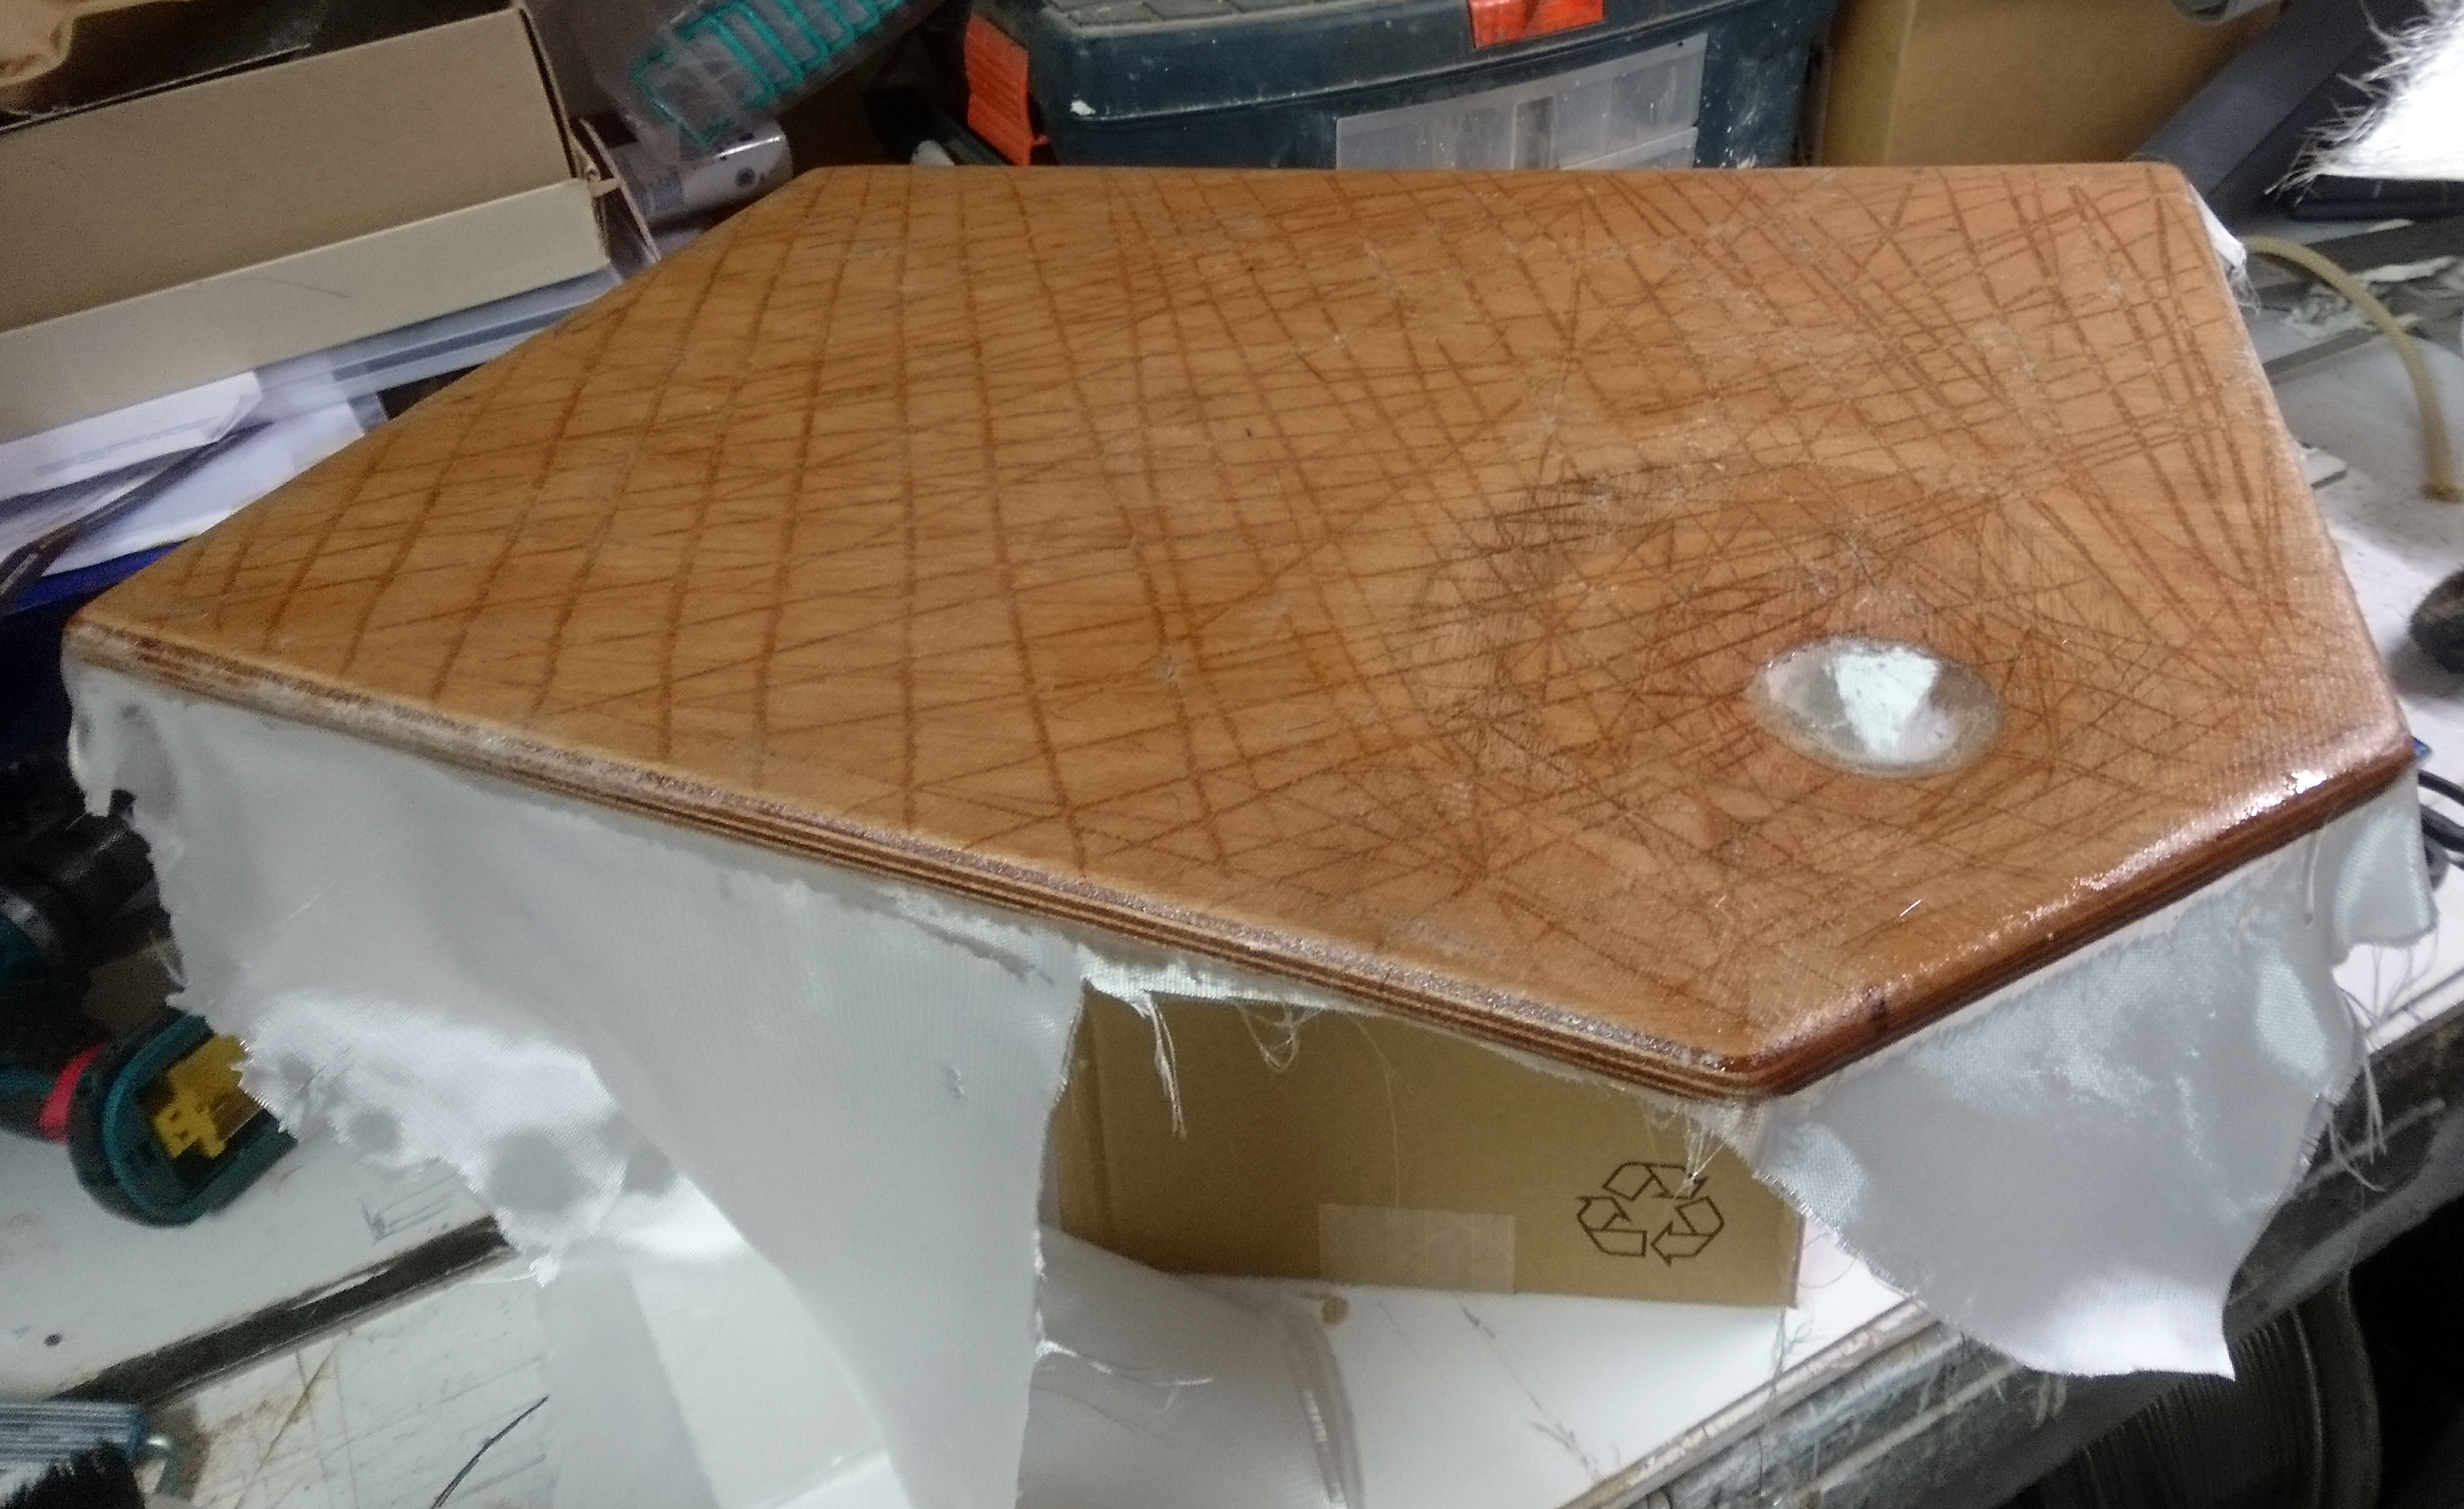
However to mitigate this using polyester resin, creating a dust free, well scored surface helps immensely.
When sheathing the top surface we followed up the layer of csm with a layer of 300gm bi-axial woven cloth.
Again a light coating of resin and a good roll will pull up any surplus resin from the lower layer.
Using a slightly more resin on the edges to help the cloth round the corners and stay stuck down during the cure.
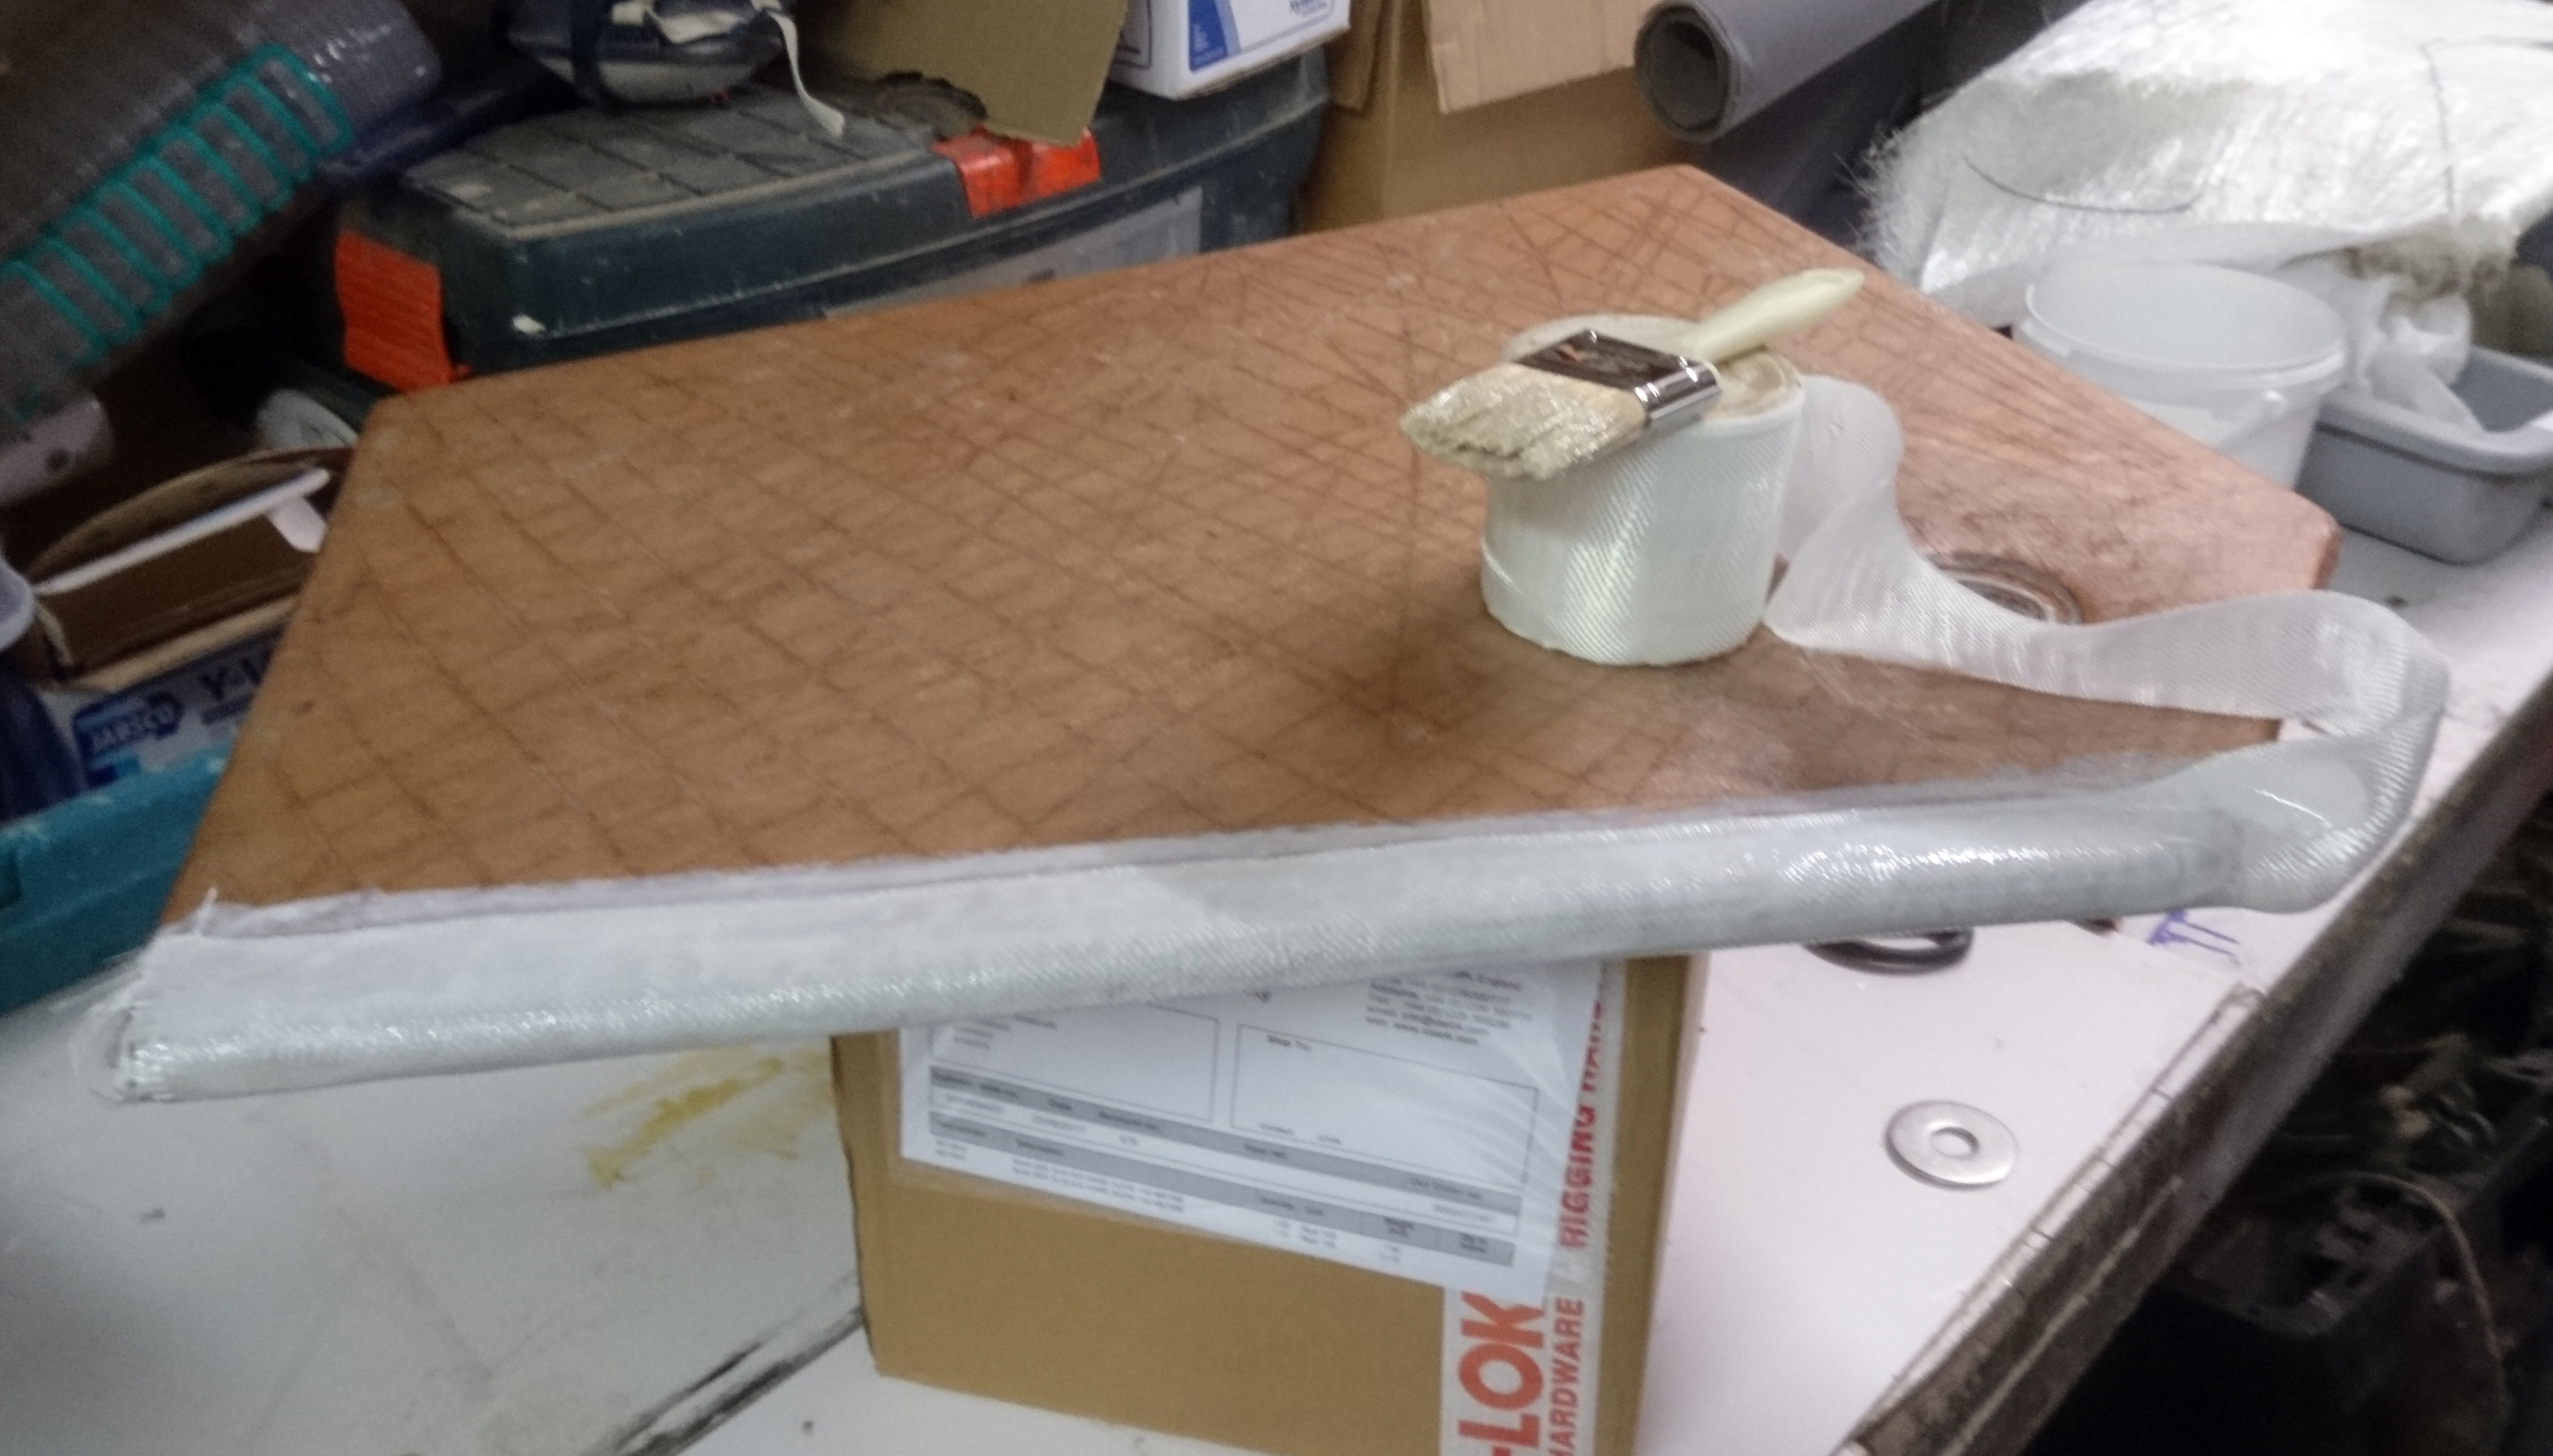
After trimming and a quick sand using 100grit paper round the edges its time to add 100mm wide glass tape round the edges.
Applying just the right amount of tension you can usually get the tape to lay nice and flat without too many creases.
The tape is thin, flexible and needs very little resin to wet out.
In this case I was adding the edge tape on a Friday afternoon so I added a little white pigment so that on my return the following week I would remember exactly where I’d got too.
The whole base was then rough sanded with 100 grit washed and dried.
Essentially the sheathing was complete and now was time to add the gel-coat.
Surface coating using gel-coat has one big issue and that is air bubbles.
You add air during the stirring process and then again during application with a brush, roller or spray.
Gelcoat is thick and its very tempting and perfectly possible to add two or three mm of gelcoat at one time and after an initial cure will look pretty good.
Until that is, you start to sand and then cut/polish the surface and then you will see lots of tiny holes in the surface.
Sanding or cutting further might remove these initial holes only for others to emerge underneath.
The way round this is to apply multiple thin layers.
I like to use four layers and then a top layer with added wax in styrene. (also known as topcoat or flowcoat)
The wax comes to the surface and seals off the gelcoat from the surround air and allows it to cure, otherwise it will always remain tacky.
Once cured the area can be sanded flat using 100grit paper which removes any major bumps and hollows and provides a key for the finish layers of gel.
The radius edges needed to be squared off so a wood frame was put together.
A resin proof tape that looks similar to sellotape was applied to the surfaces of the wood so that it would not stick to the gel coat.
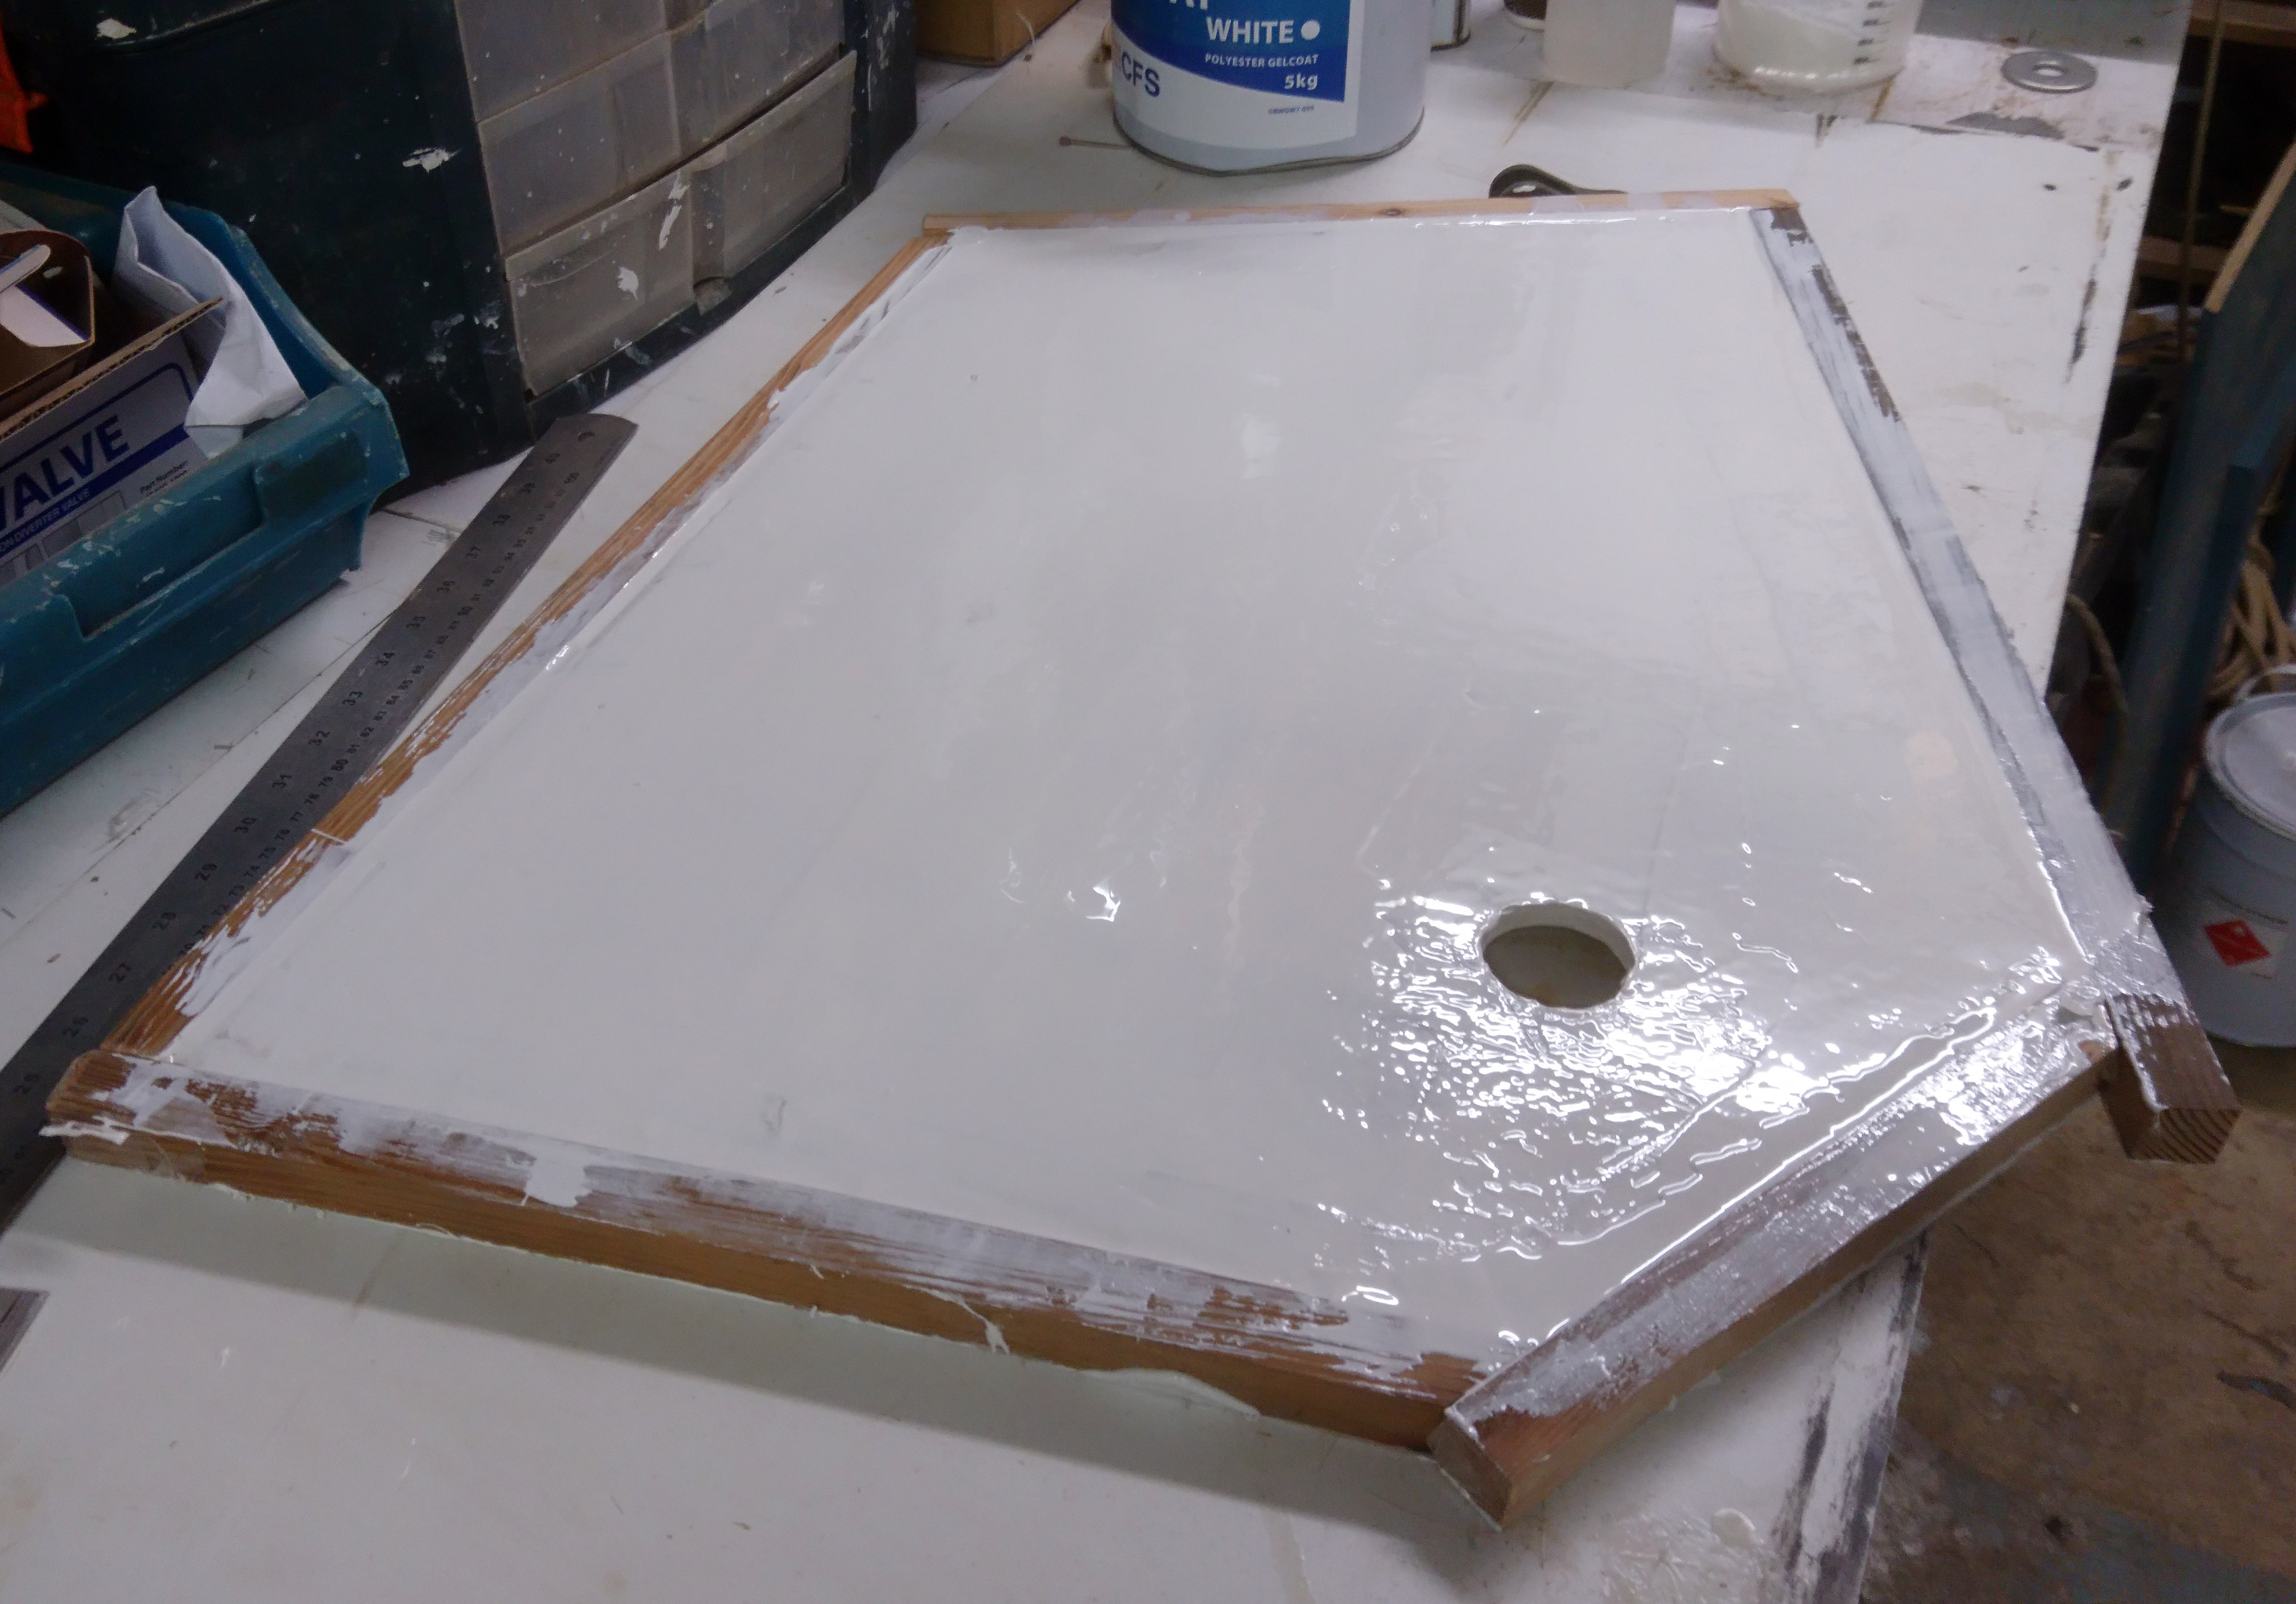
Further layers of gel was then applied and the edges filled.
Once cured the frame is simply removed leaving a square edge.
The final process is marking, sanding, marking and more sanding until you’re happy with the surface fairness, followed by cutting with a suitable cutting compound.
Most fast cut cutting compounds will remove scratches made by 1000 grit wet and dry paper and you will get a pretty good surface finish.
I like to go a couple of stages further with 1500 and 2000 grit paper before cutting with a fine cut compound as the finish is in my eyes superior and seems to stay cleaner much longer.
The decision on level of finish usually comes down to customer preference as the 1500/2000/cut/polish would be another hours work.
Though to be honest I quite often do it anyway for my own piece of mind and keep it under my hat, oops.
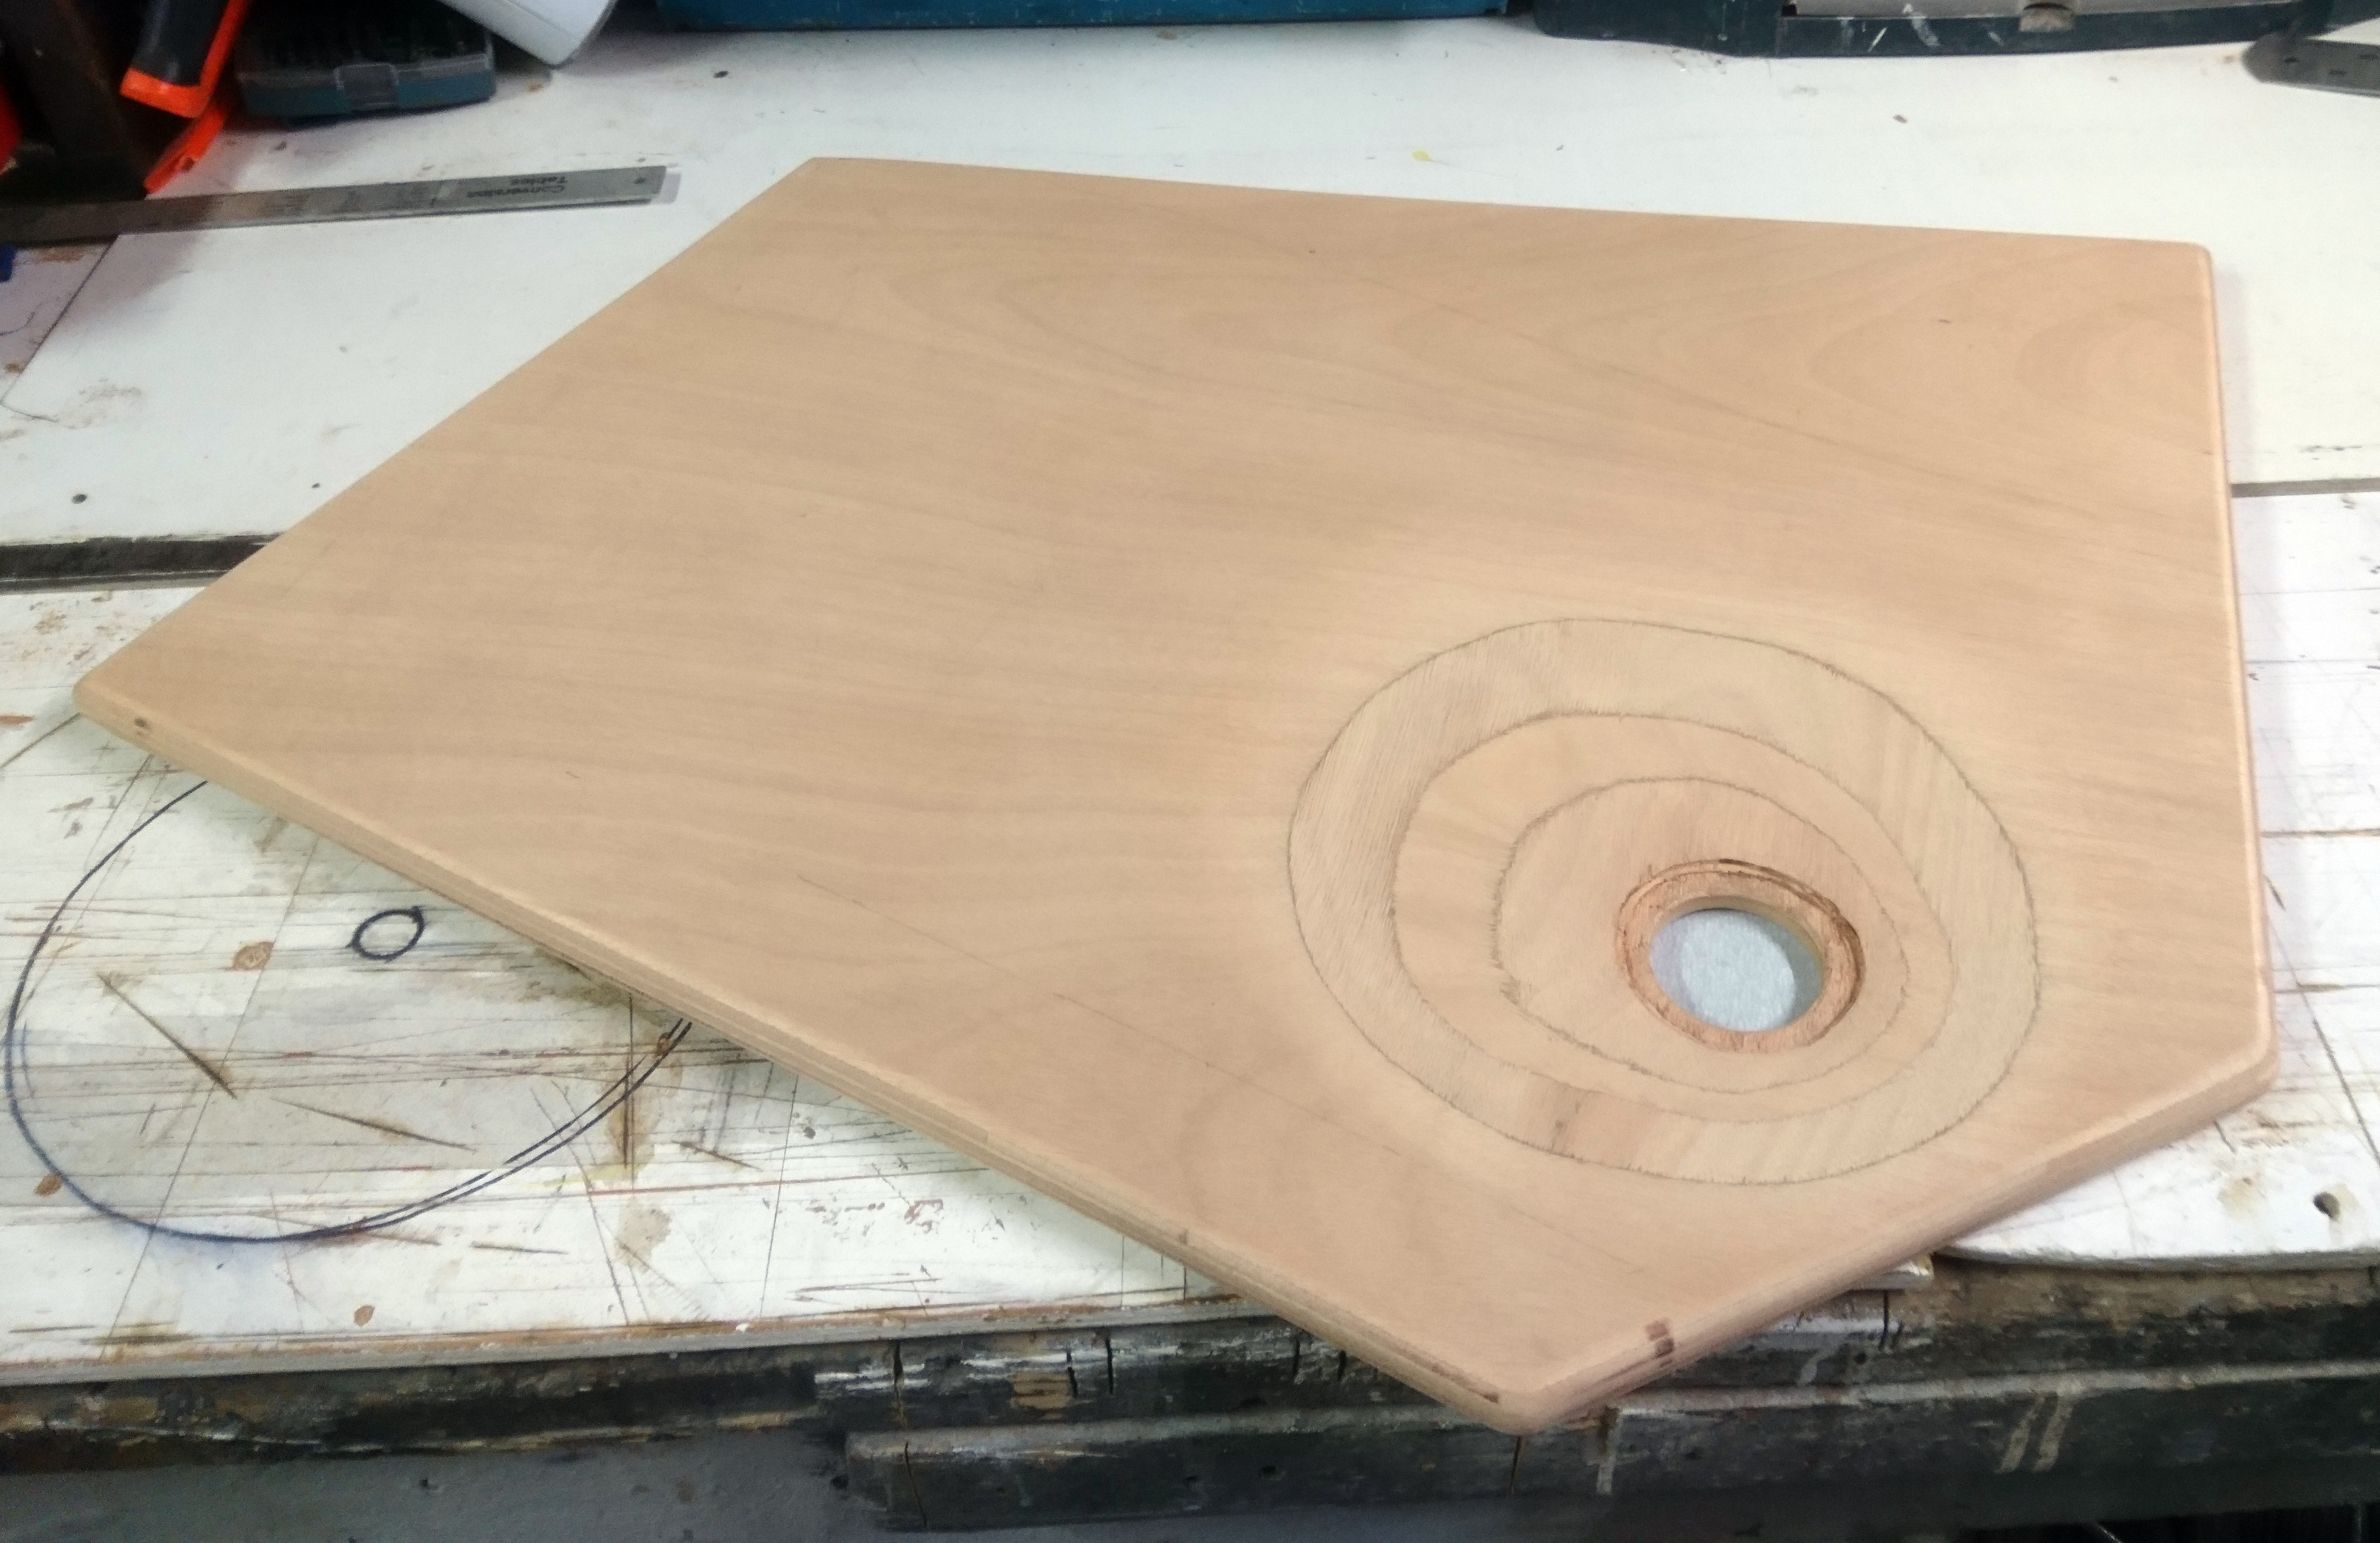
Use a sander to shape the flat board so the base will drain.
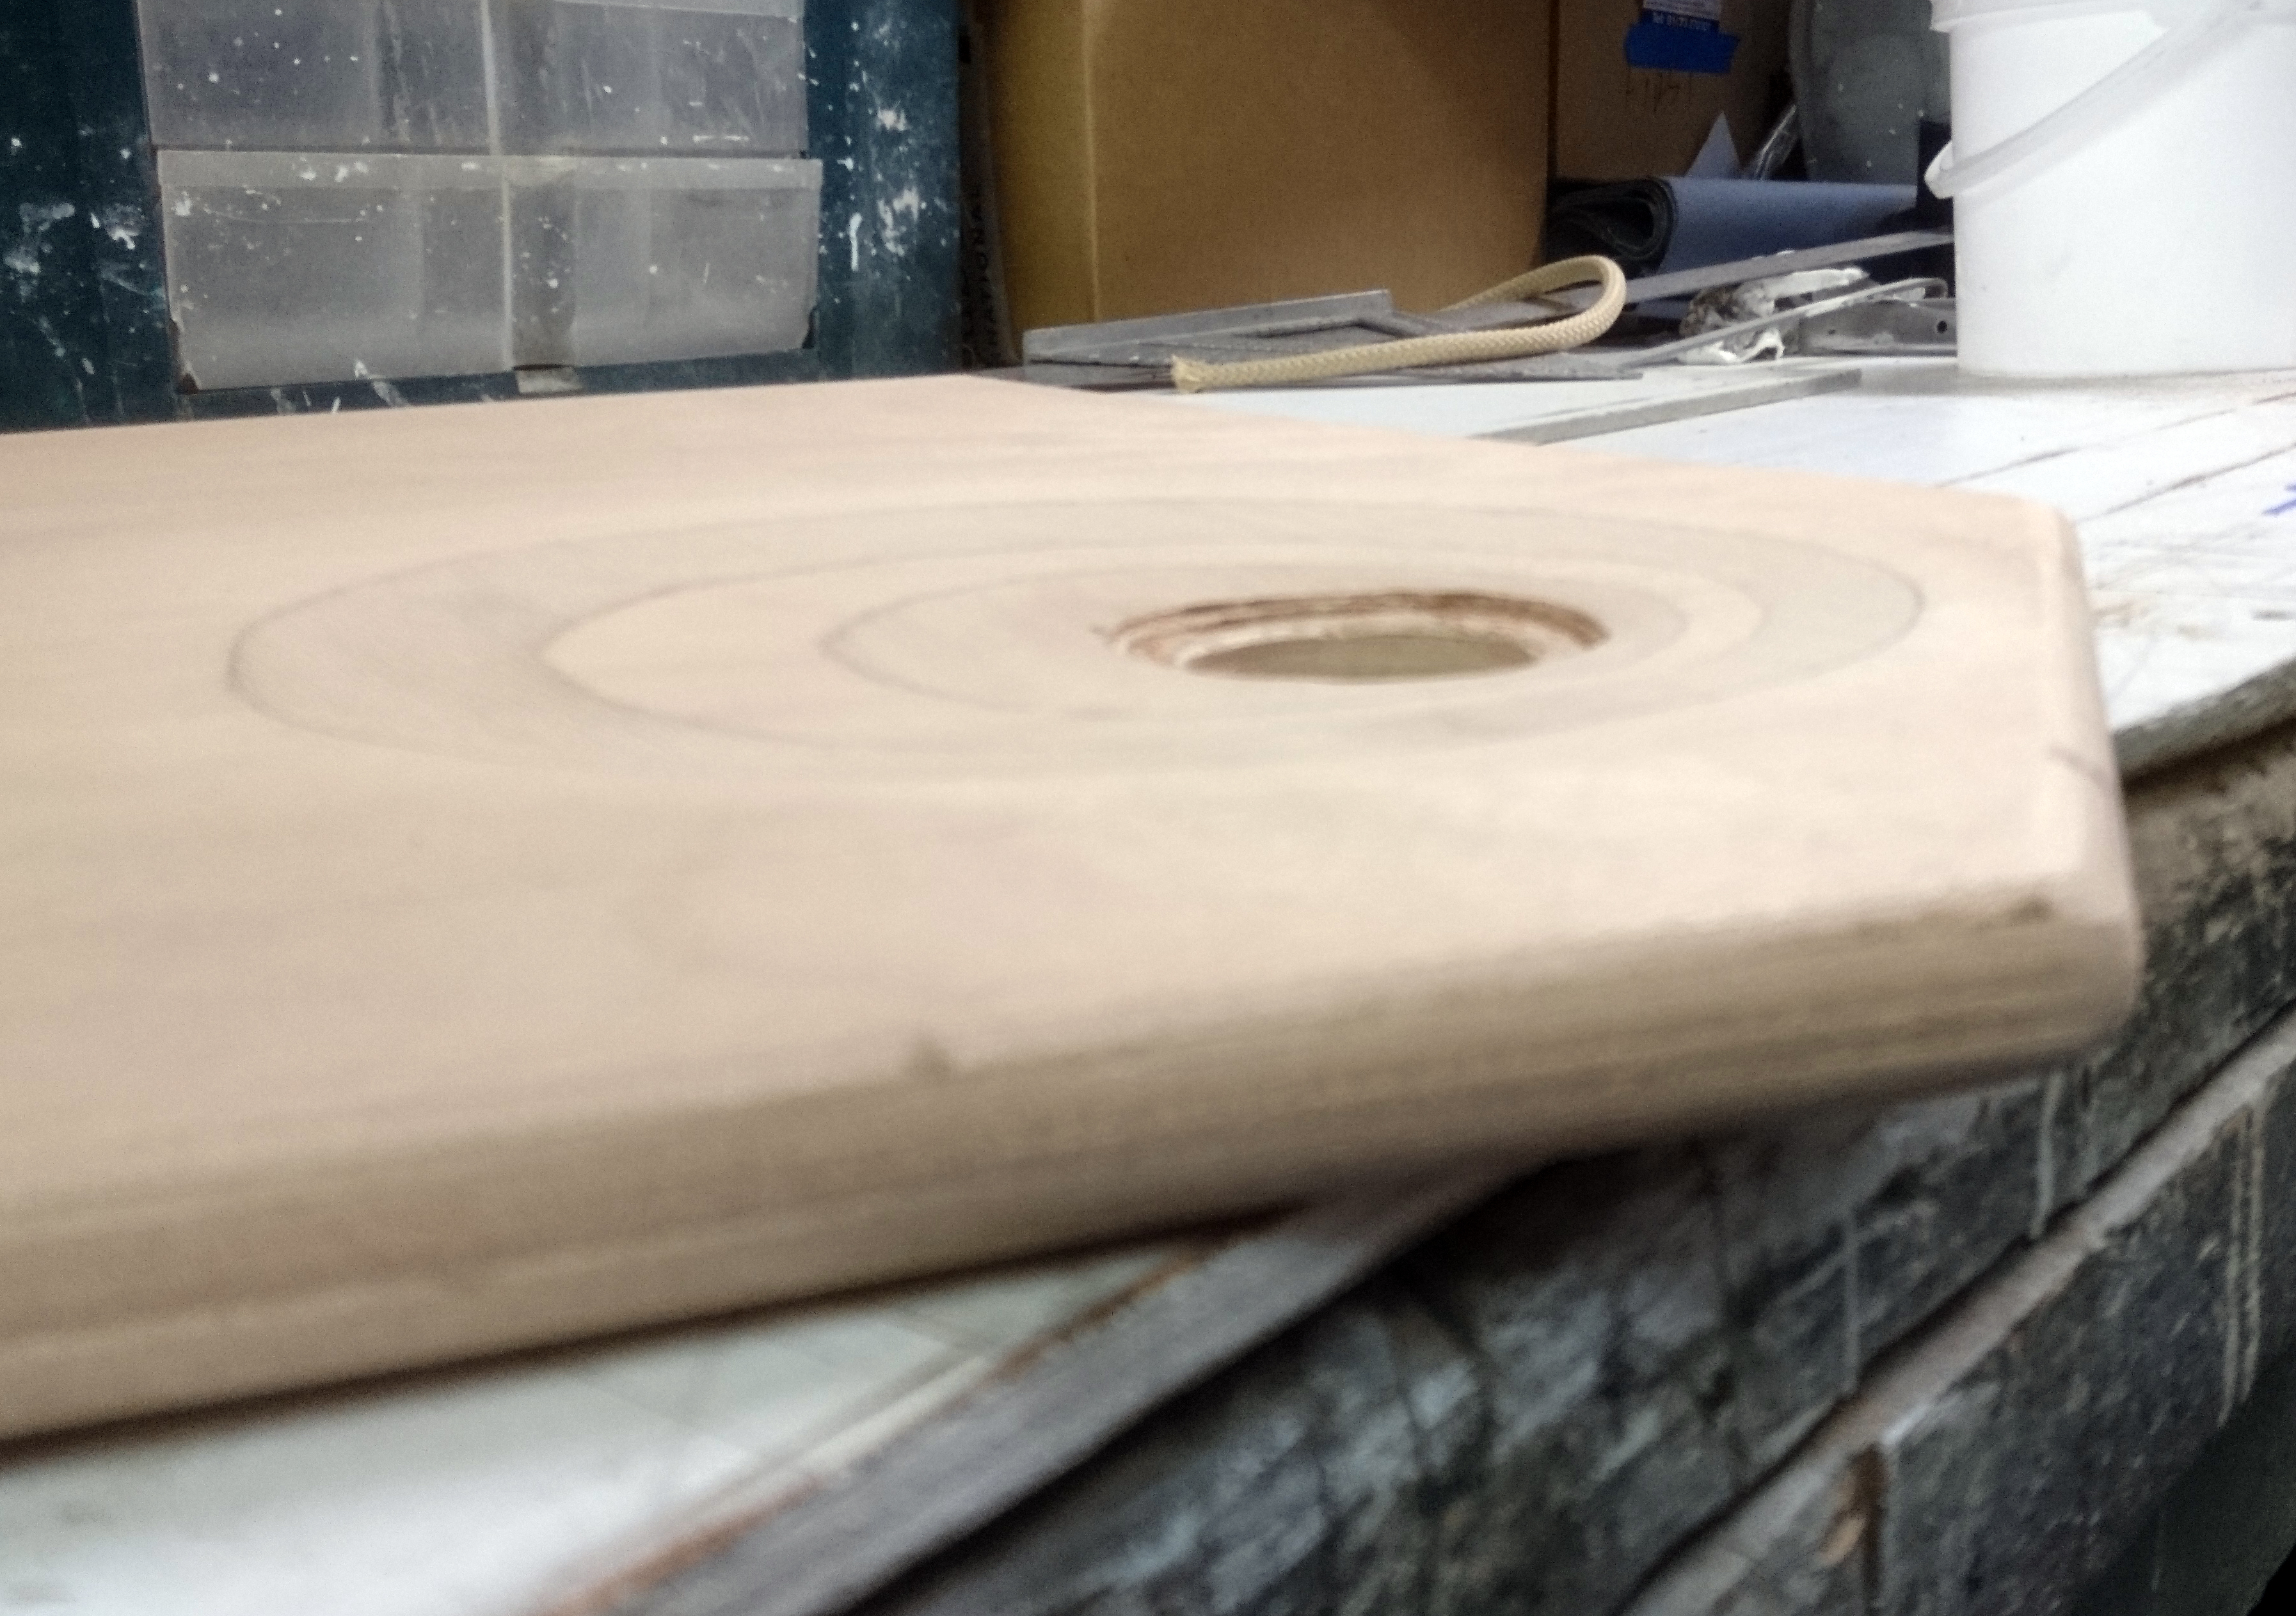
Radius the edges and corners to aid sheathing.
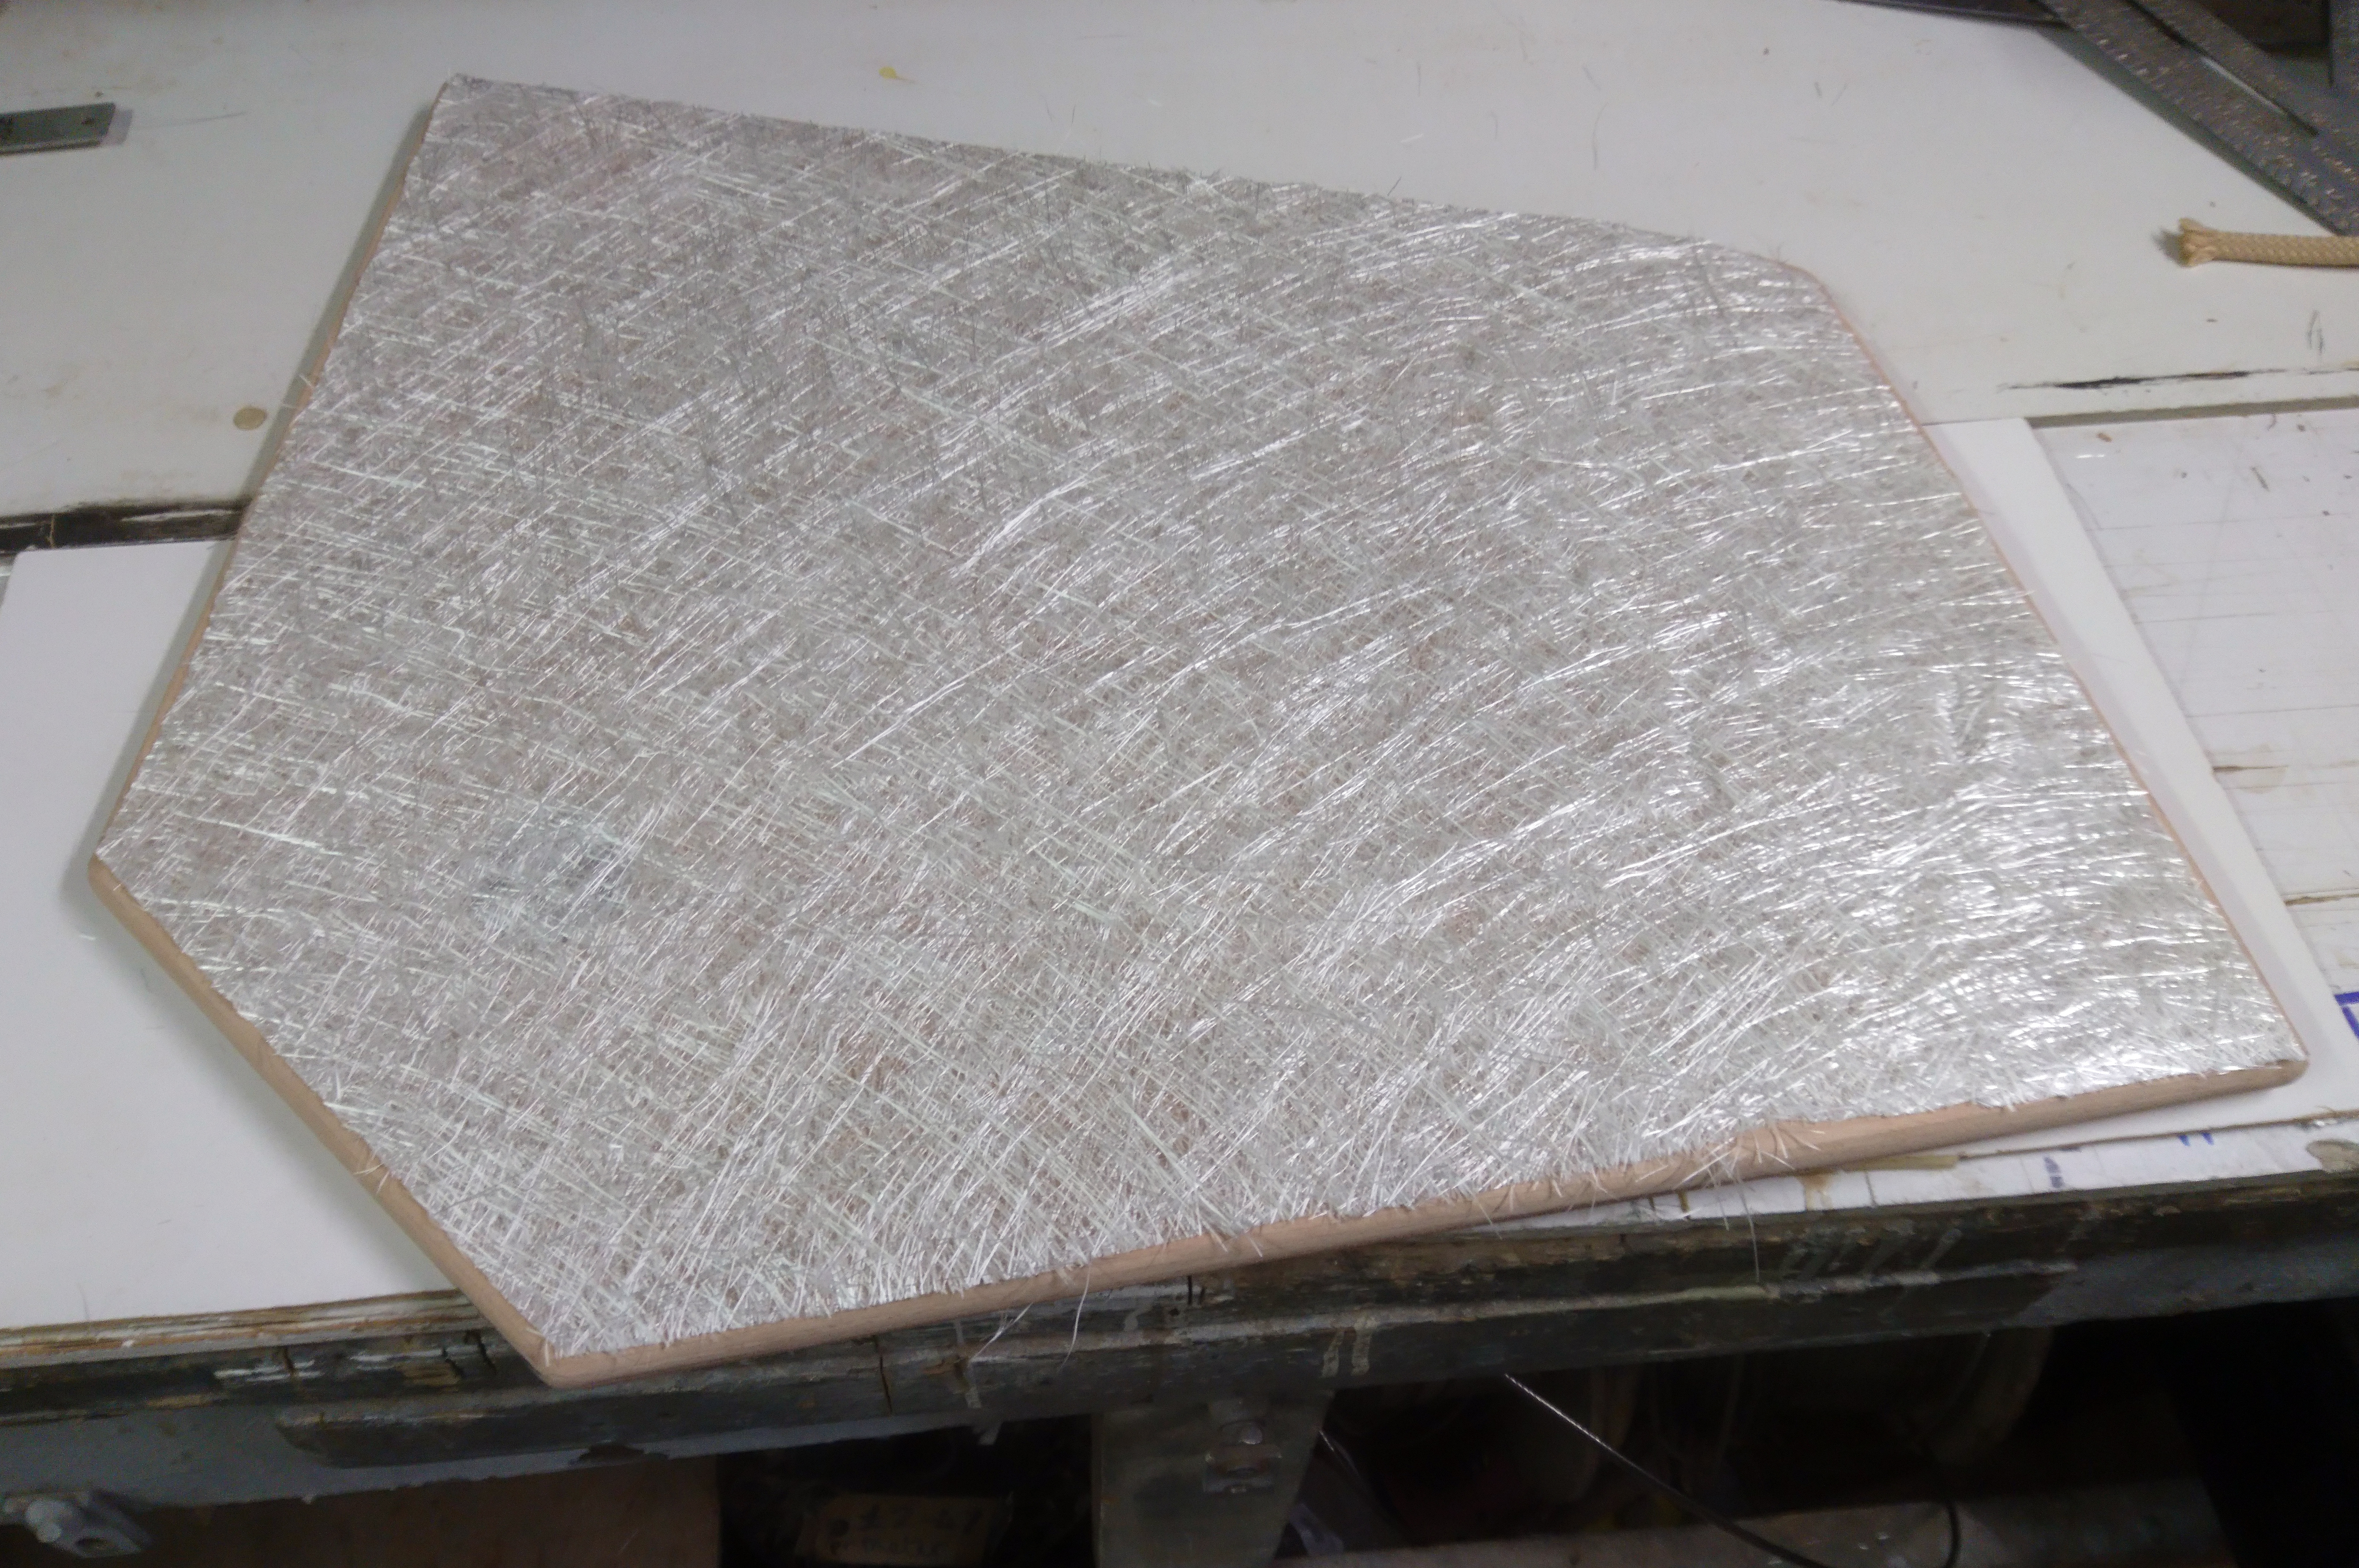
Cut out the glass before you start.
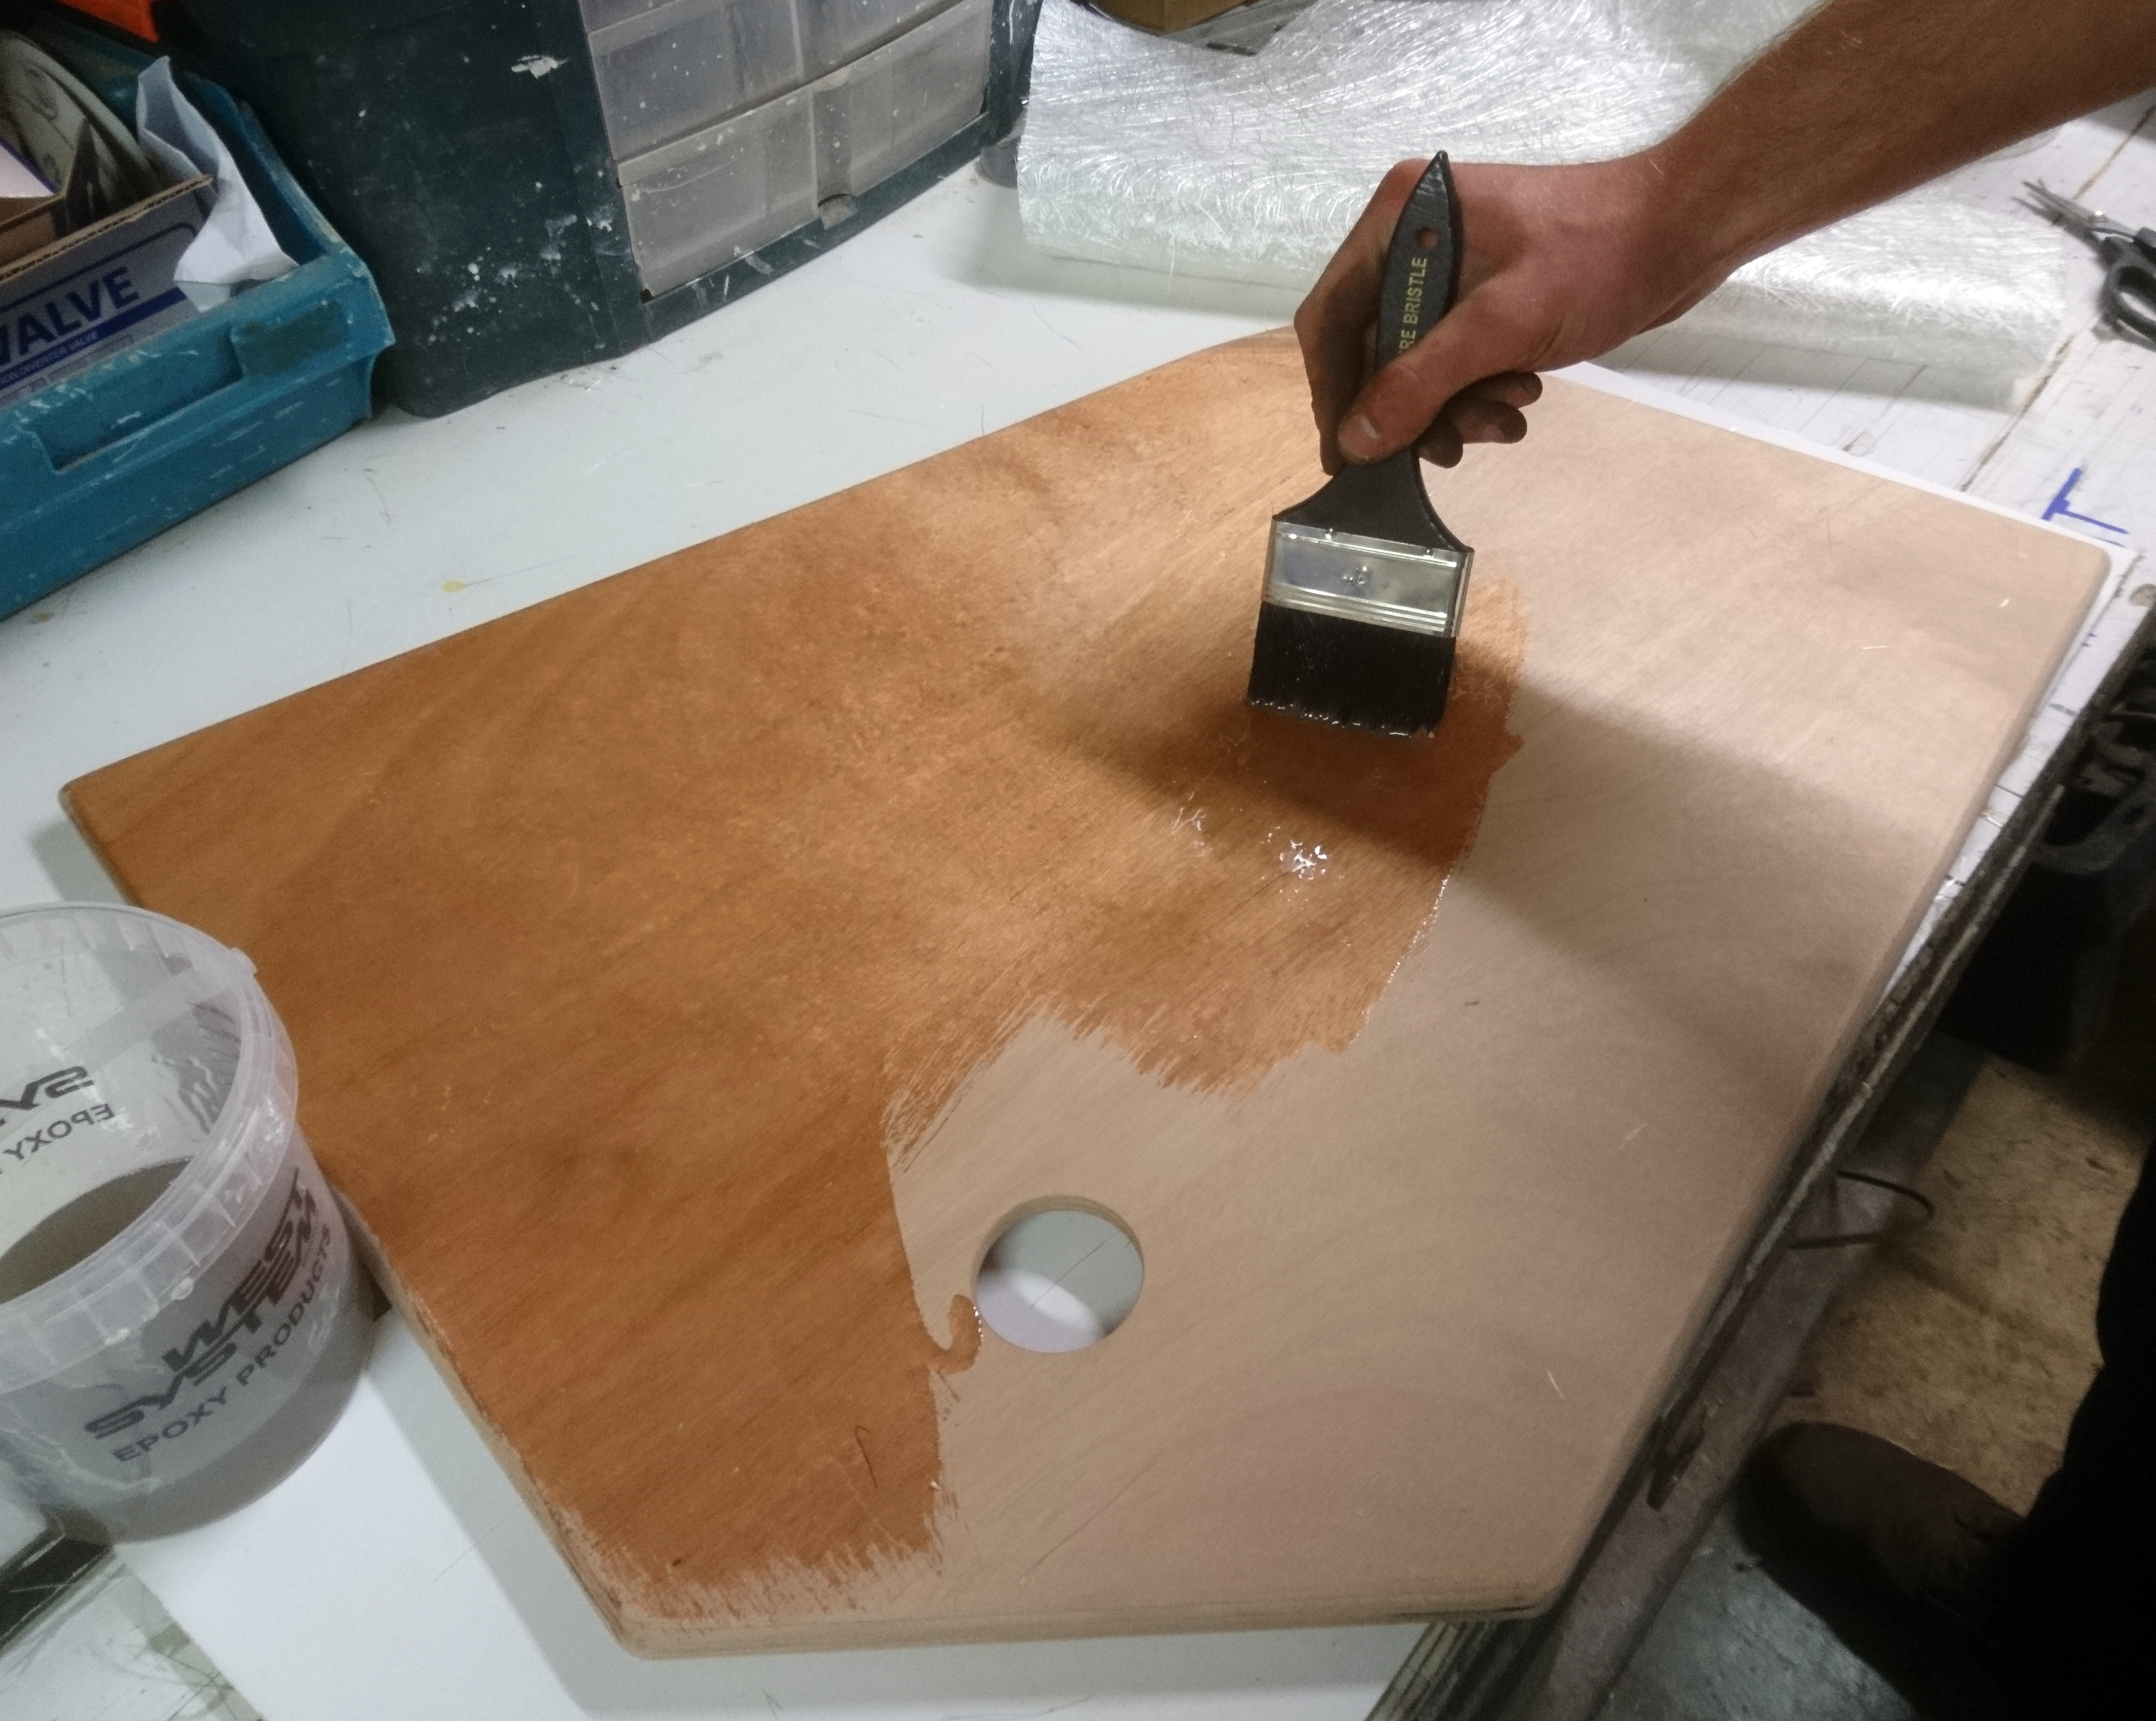
Paint on a coat of resin first.
Then lay the first layer of chopped strand mat and wet out with resin.
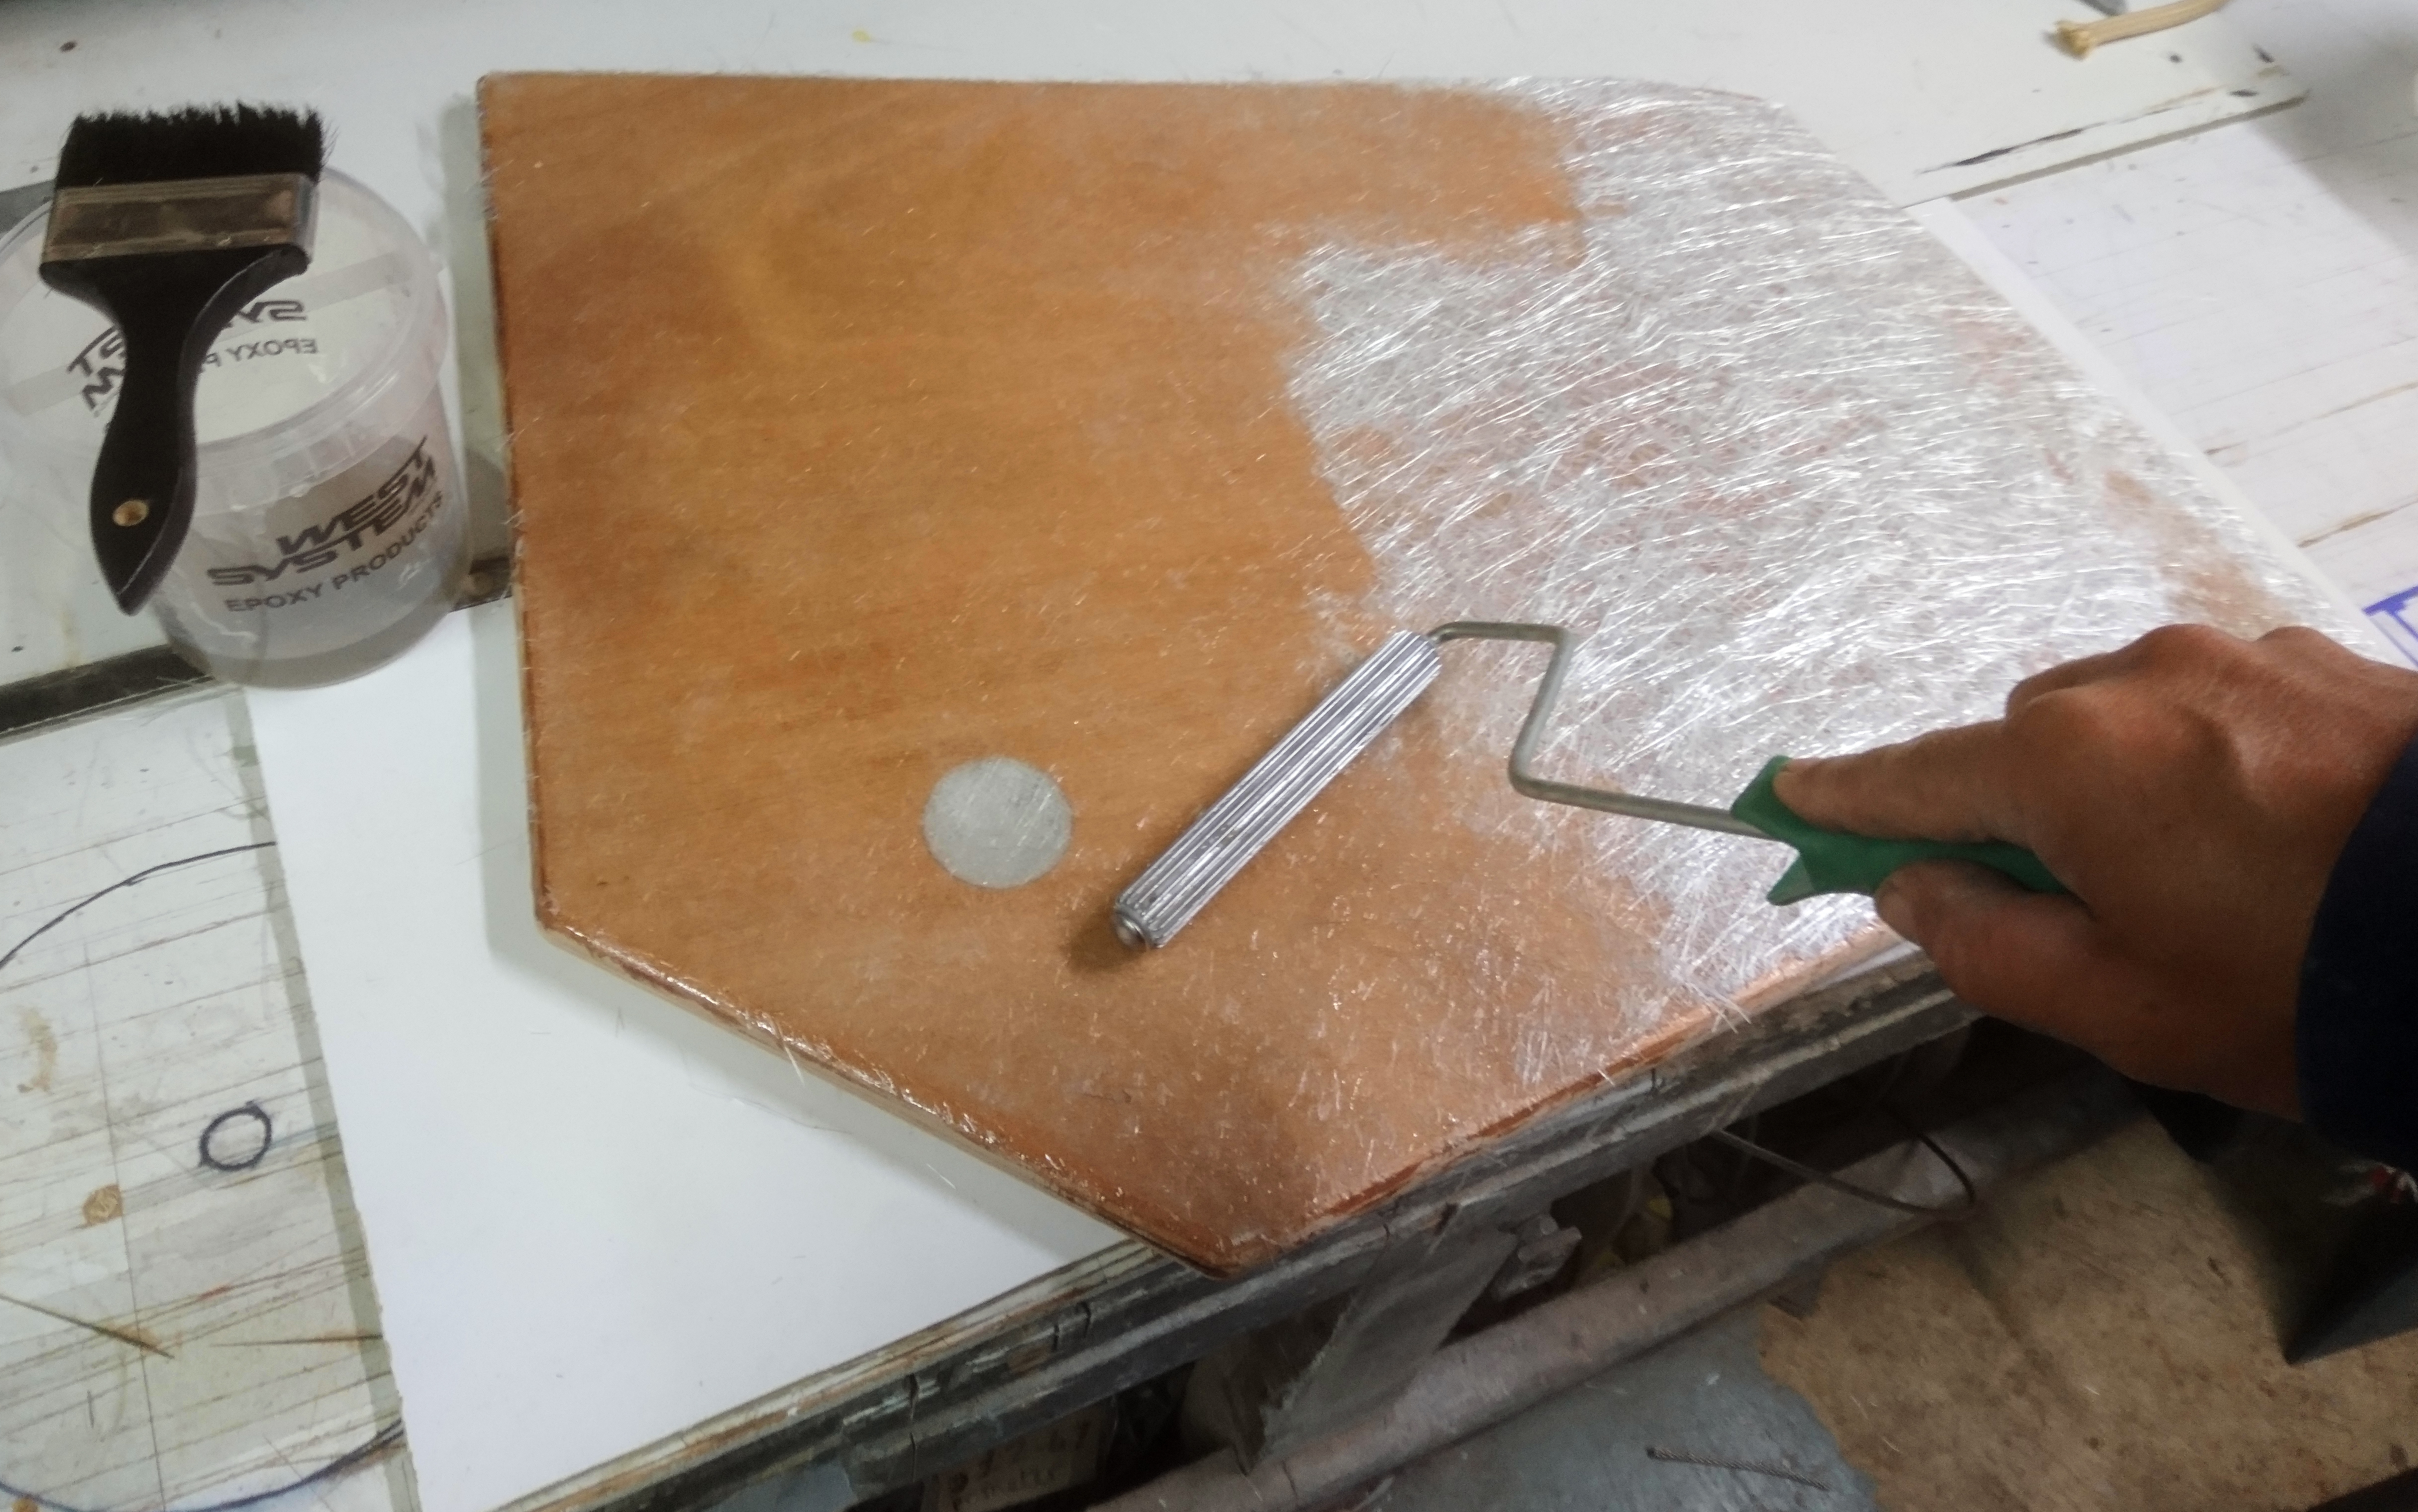
Use a roller to ensure there is no trapped air and is wetted out without using too much resin.
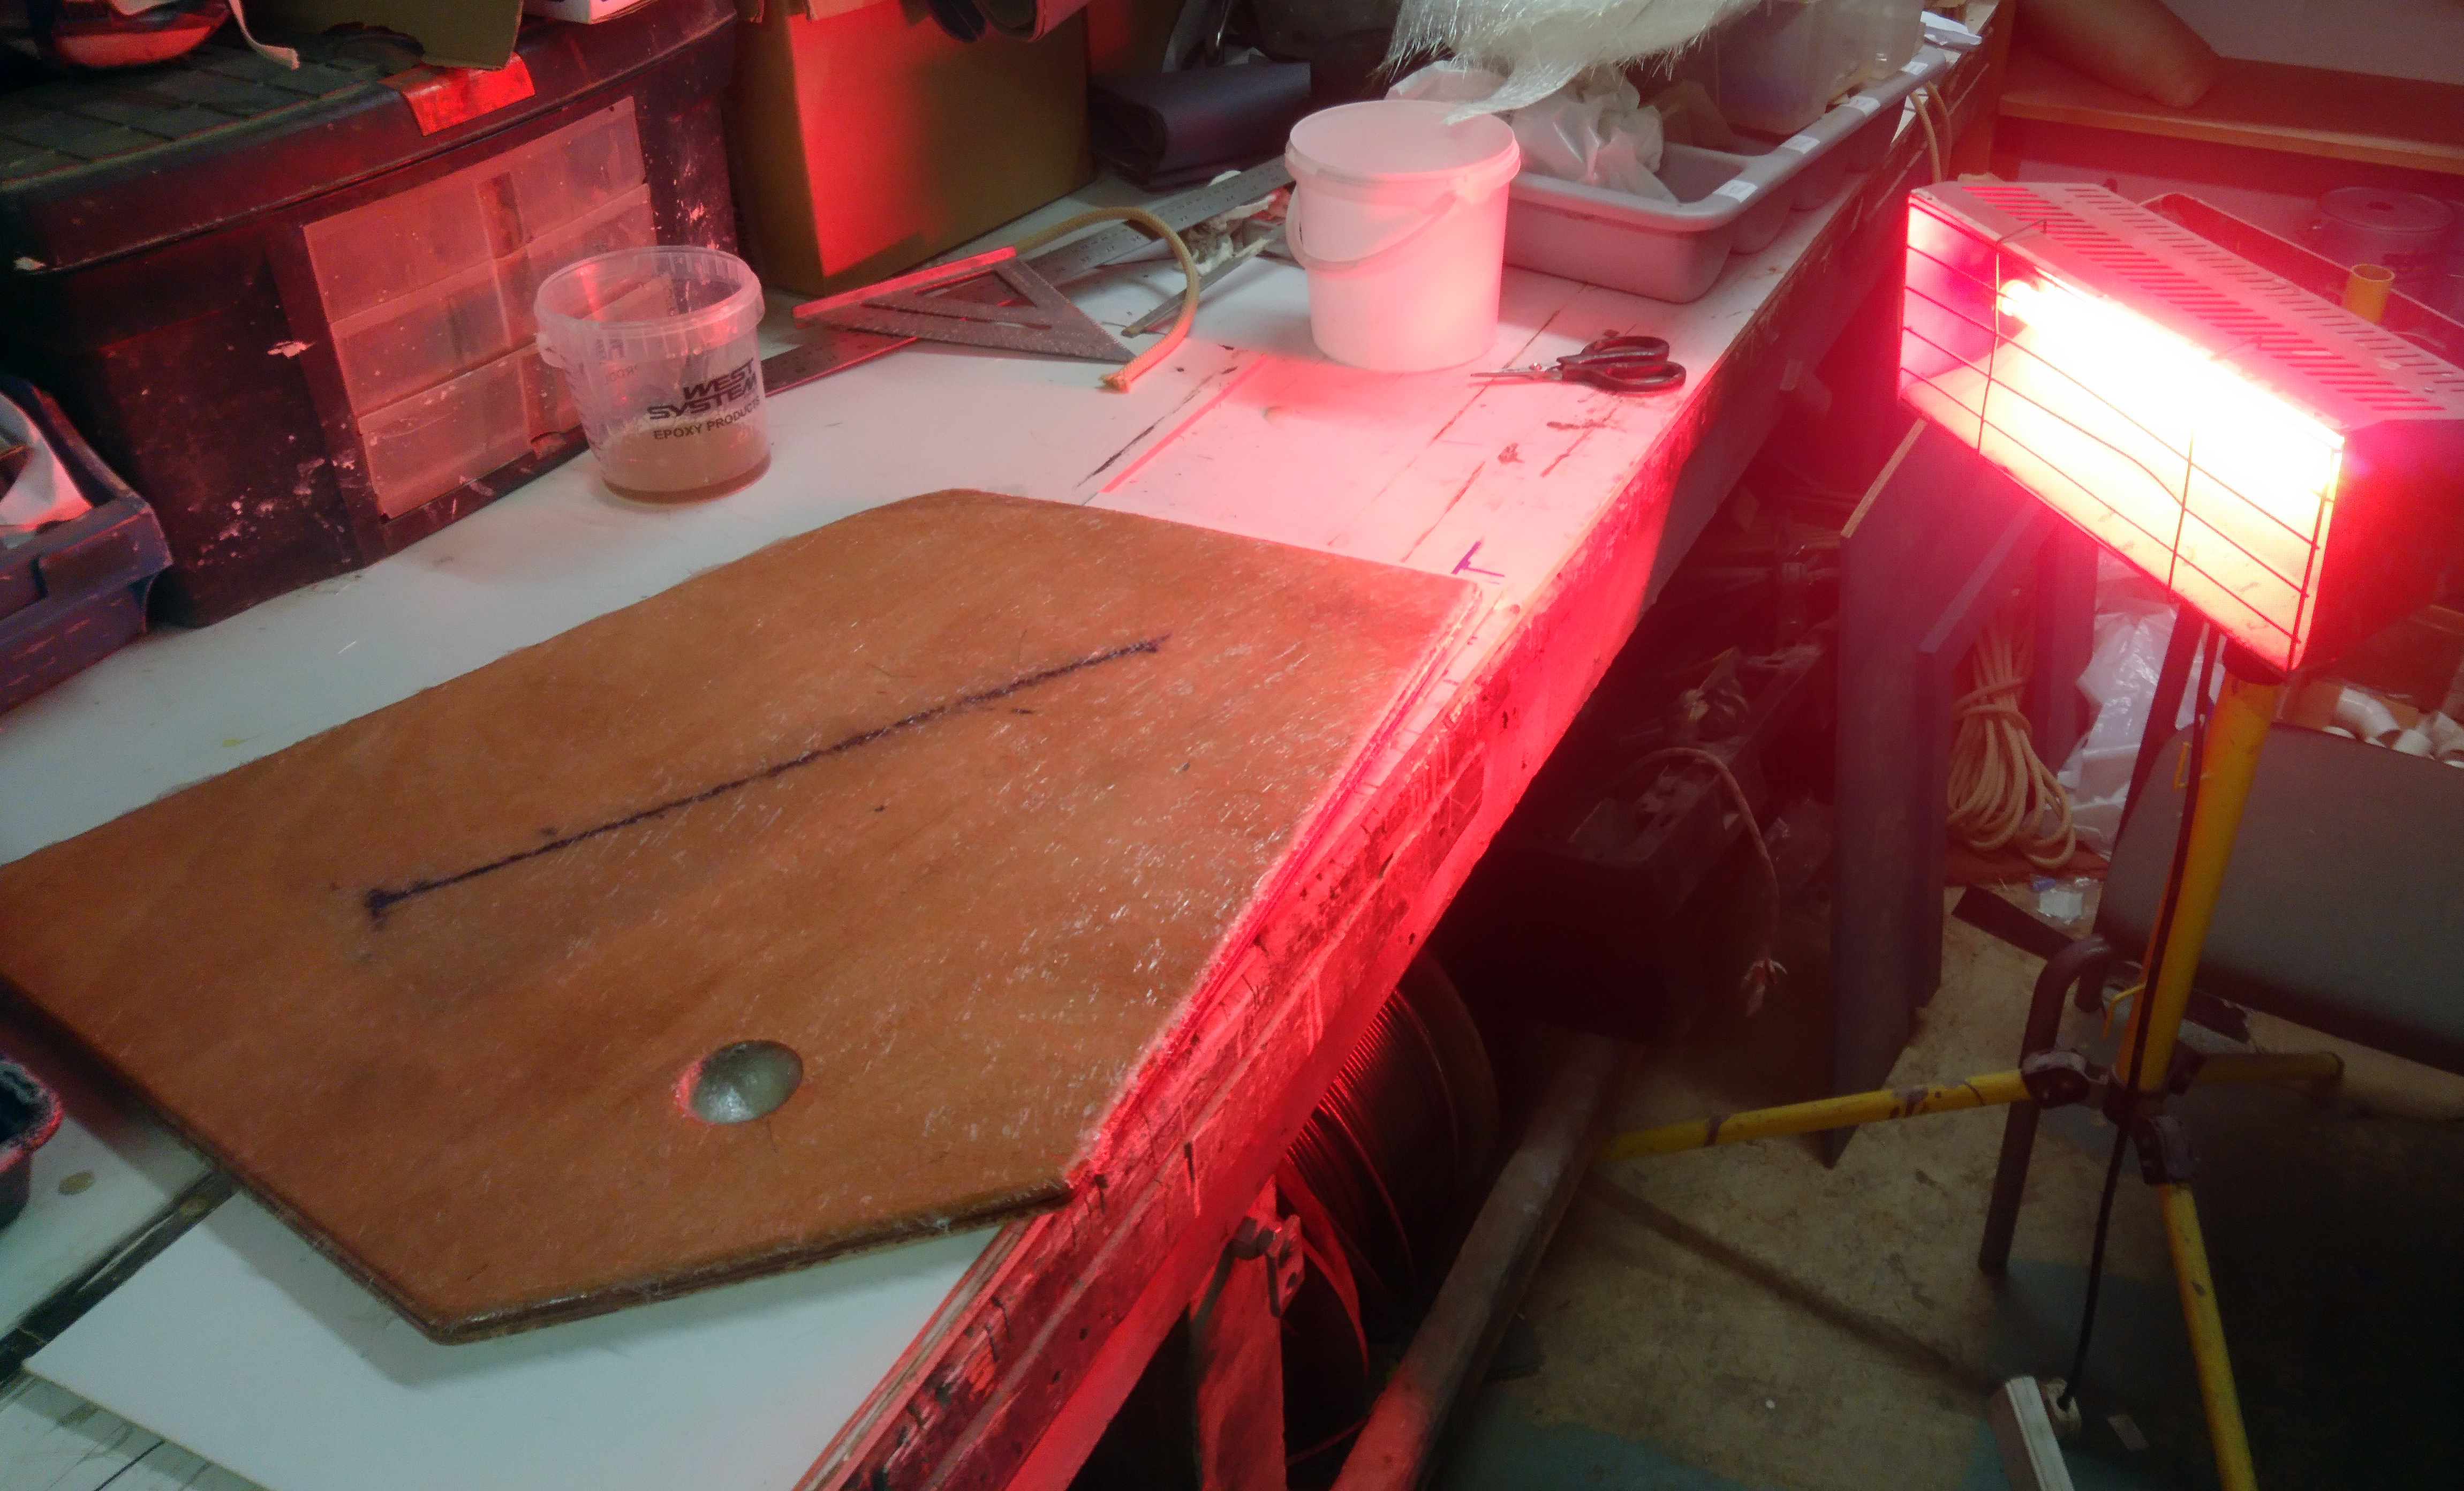
A UV lamp accelerates the curing process
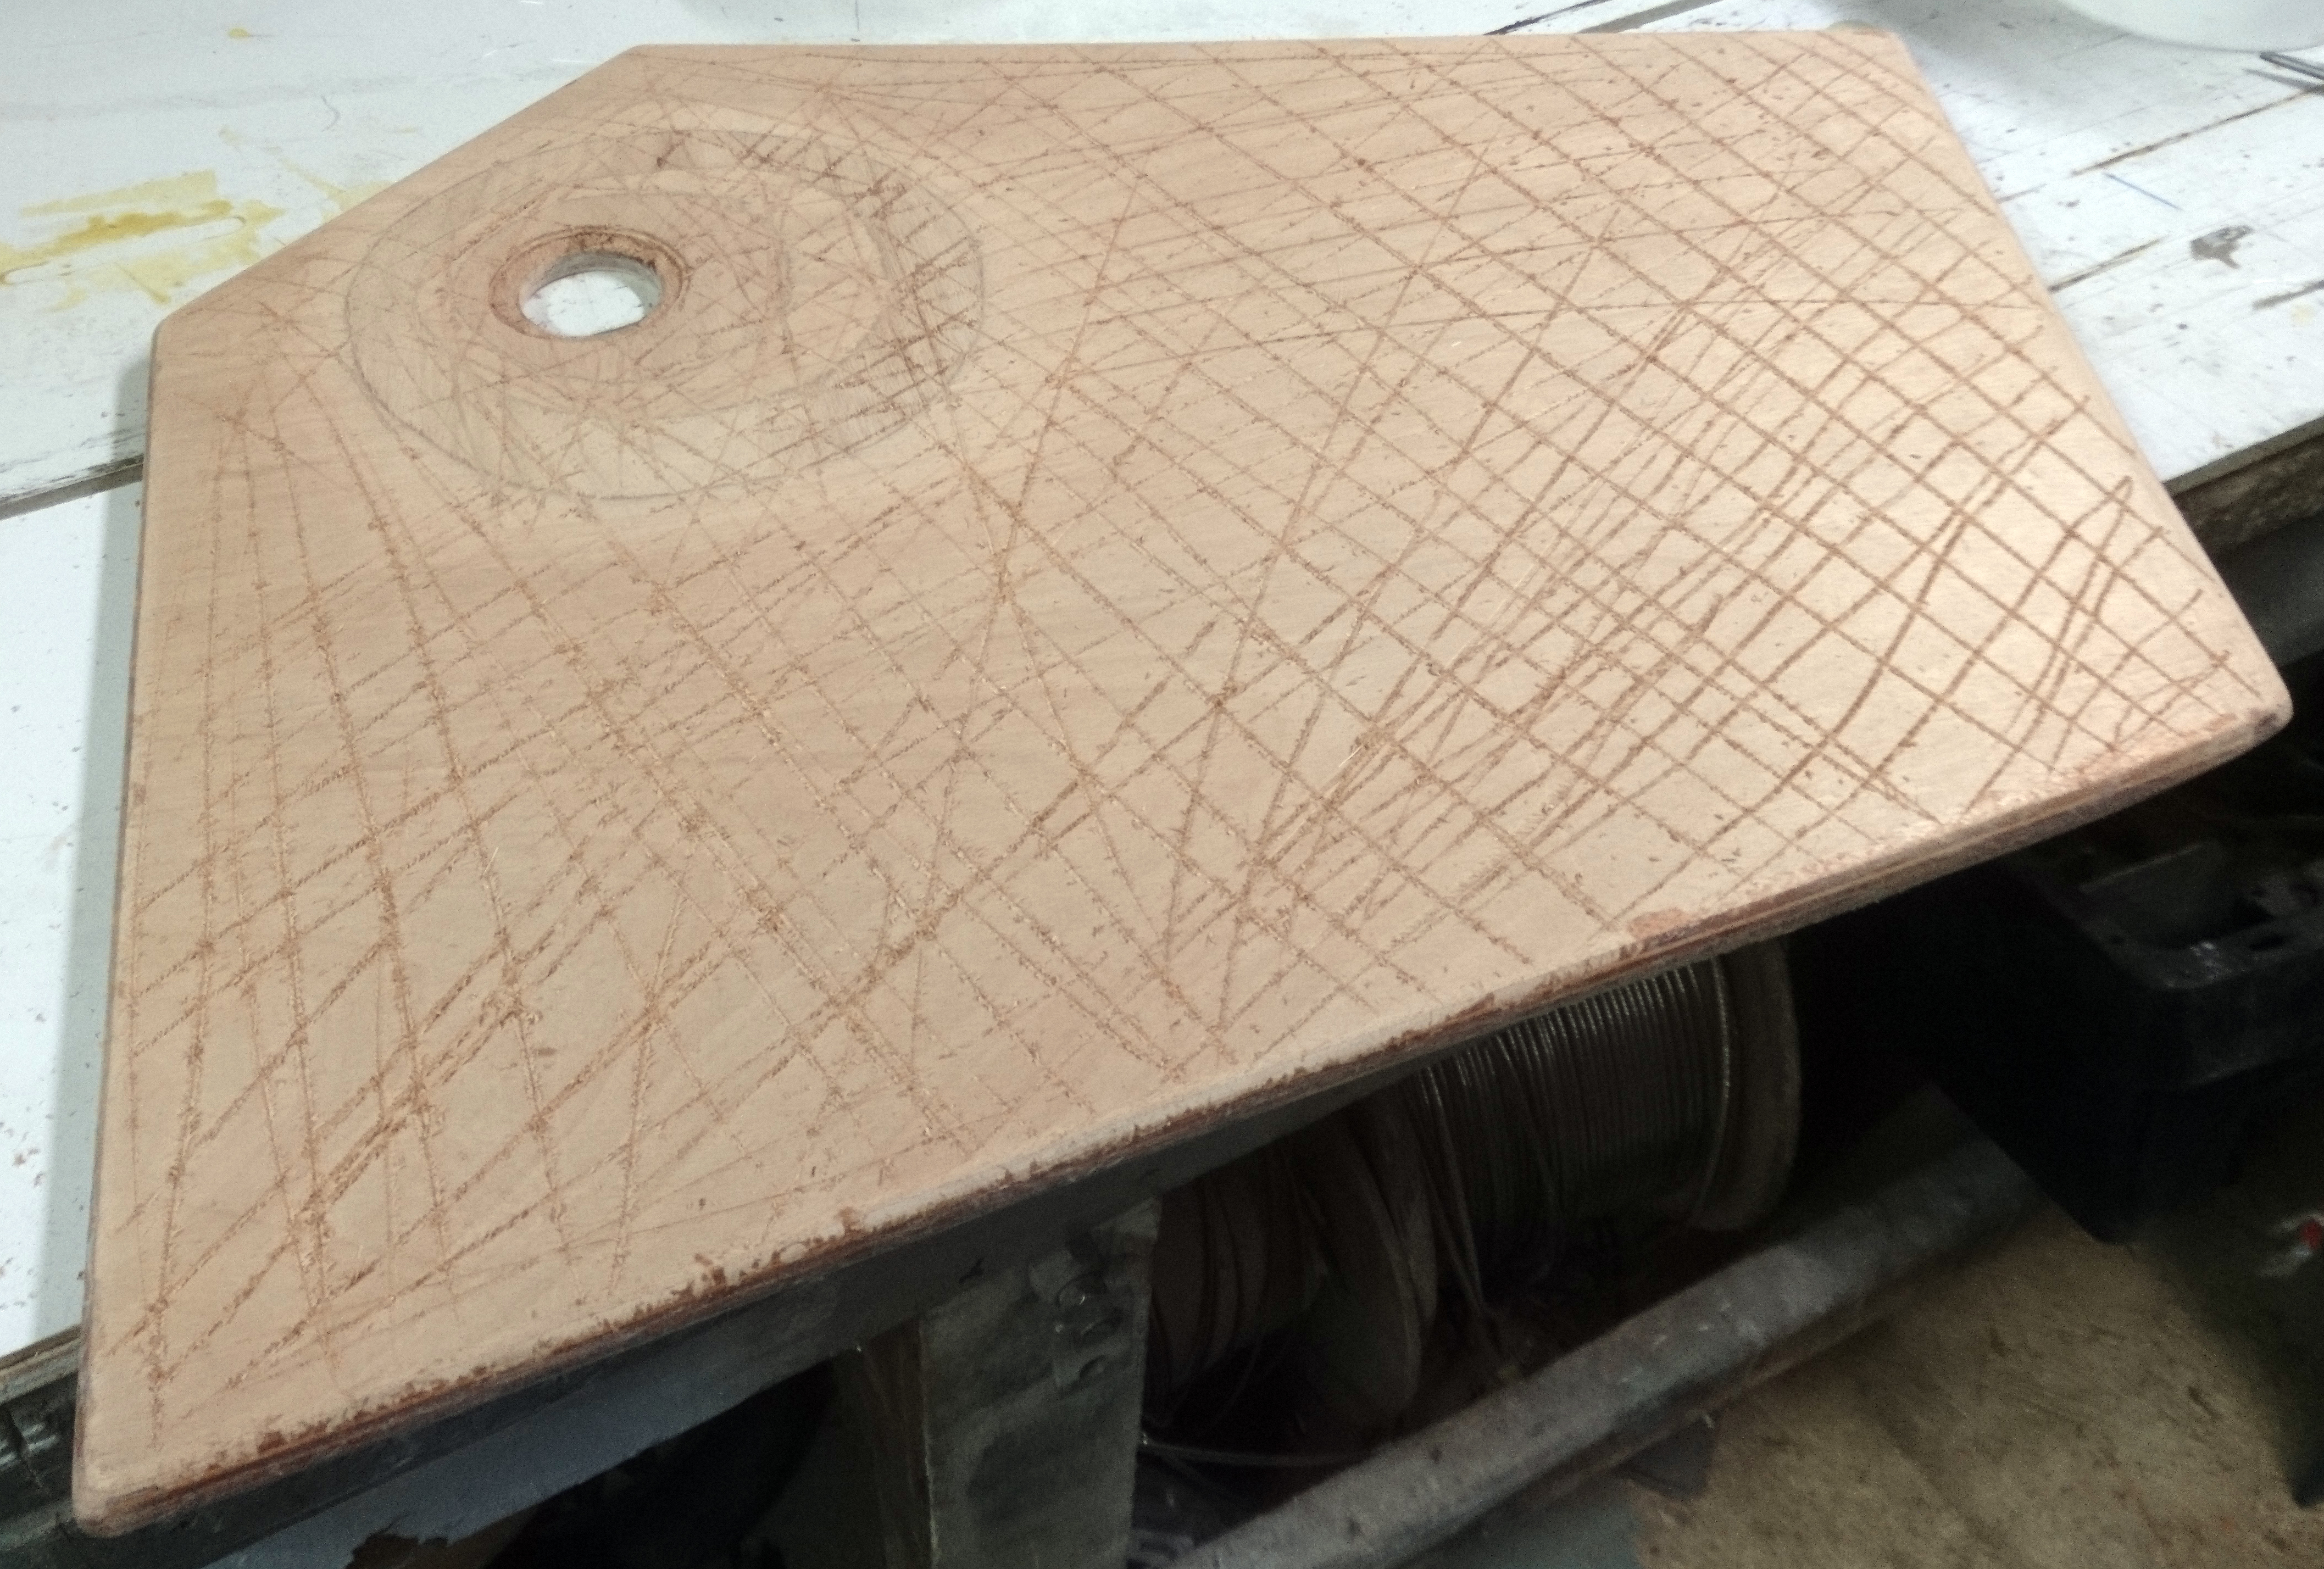
The top surface is heavily scored to increase the bonding strength.
After a layer of CSM a layer of woven cloth can be added.
This layer requires less resin as when you use the roller it will pull up surplus resin from the first layer.
Pulling the cloth down at the edges helps get a good edge seal.
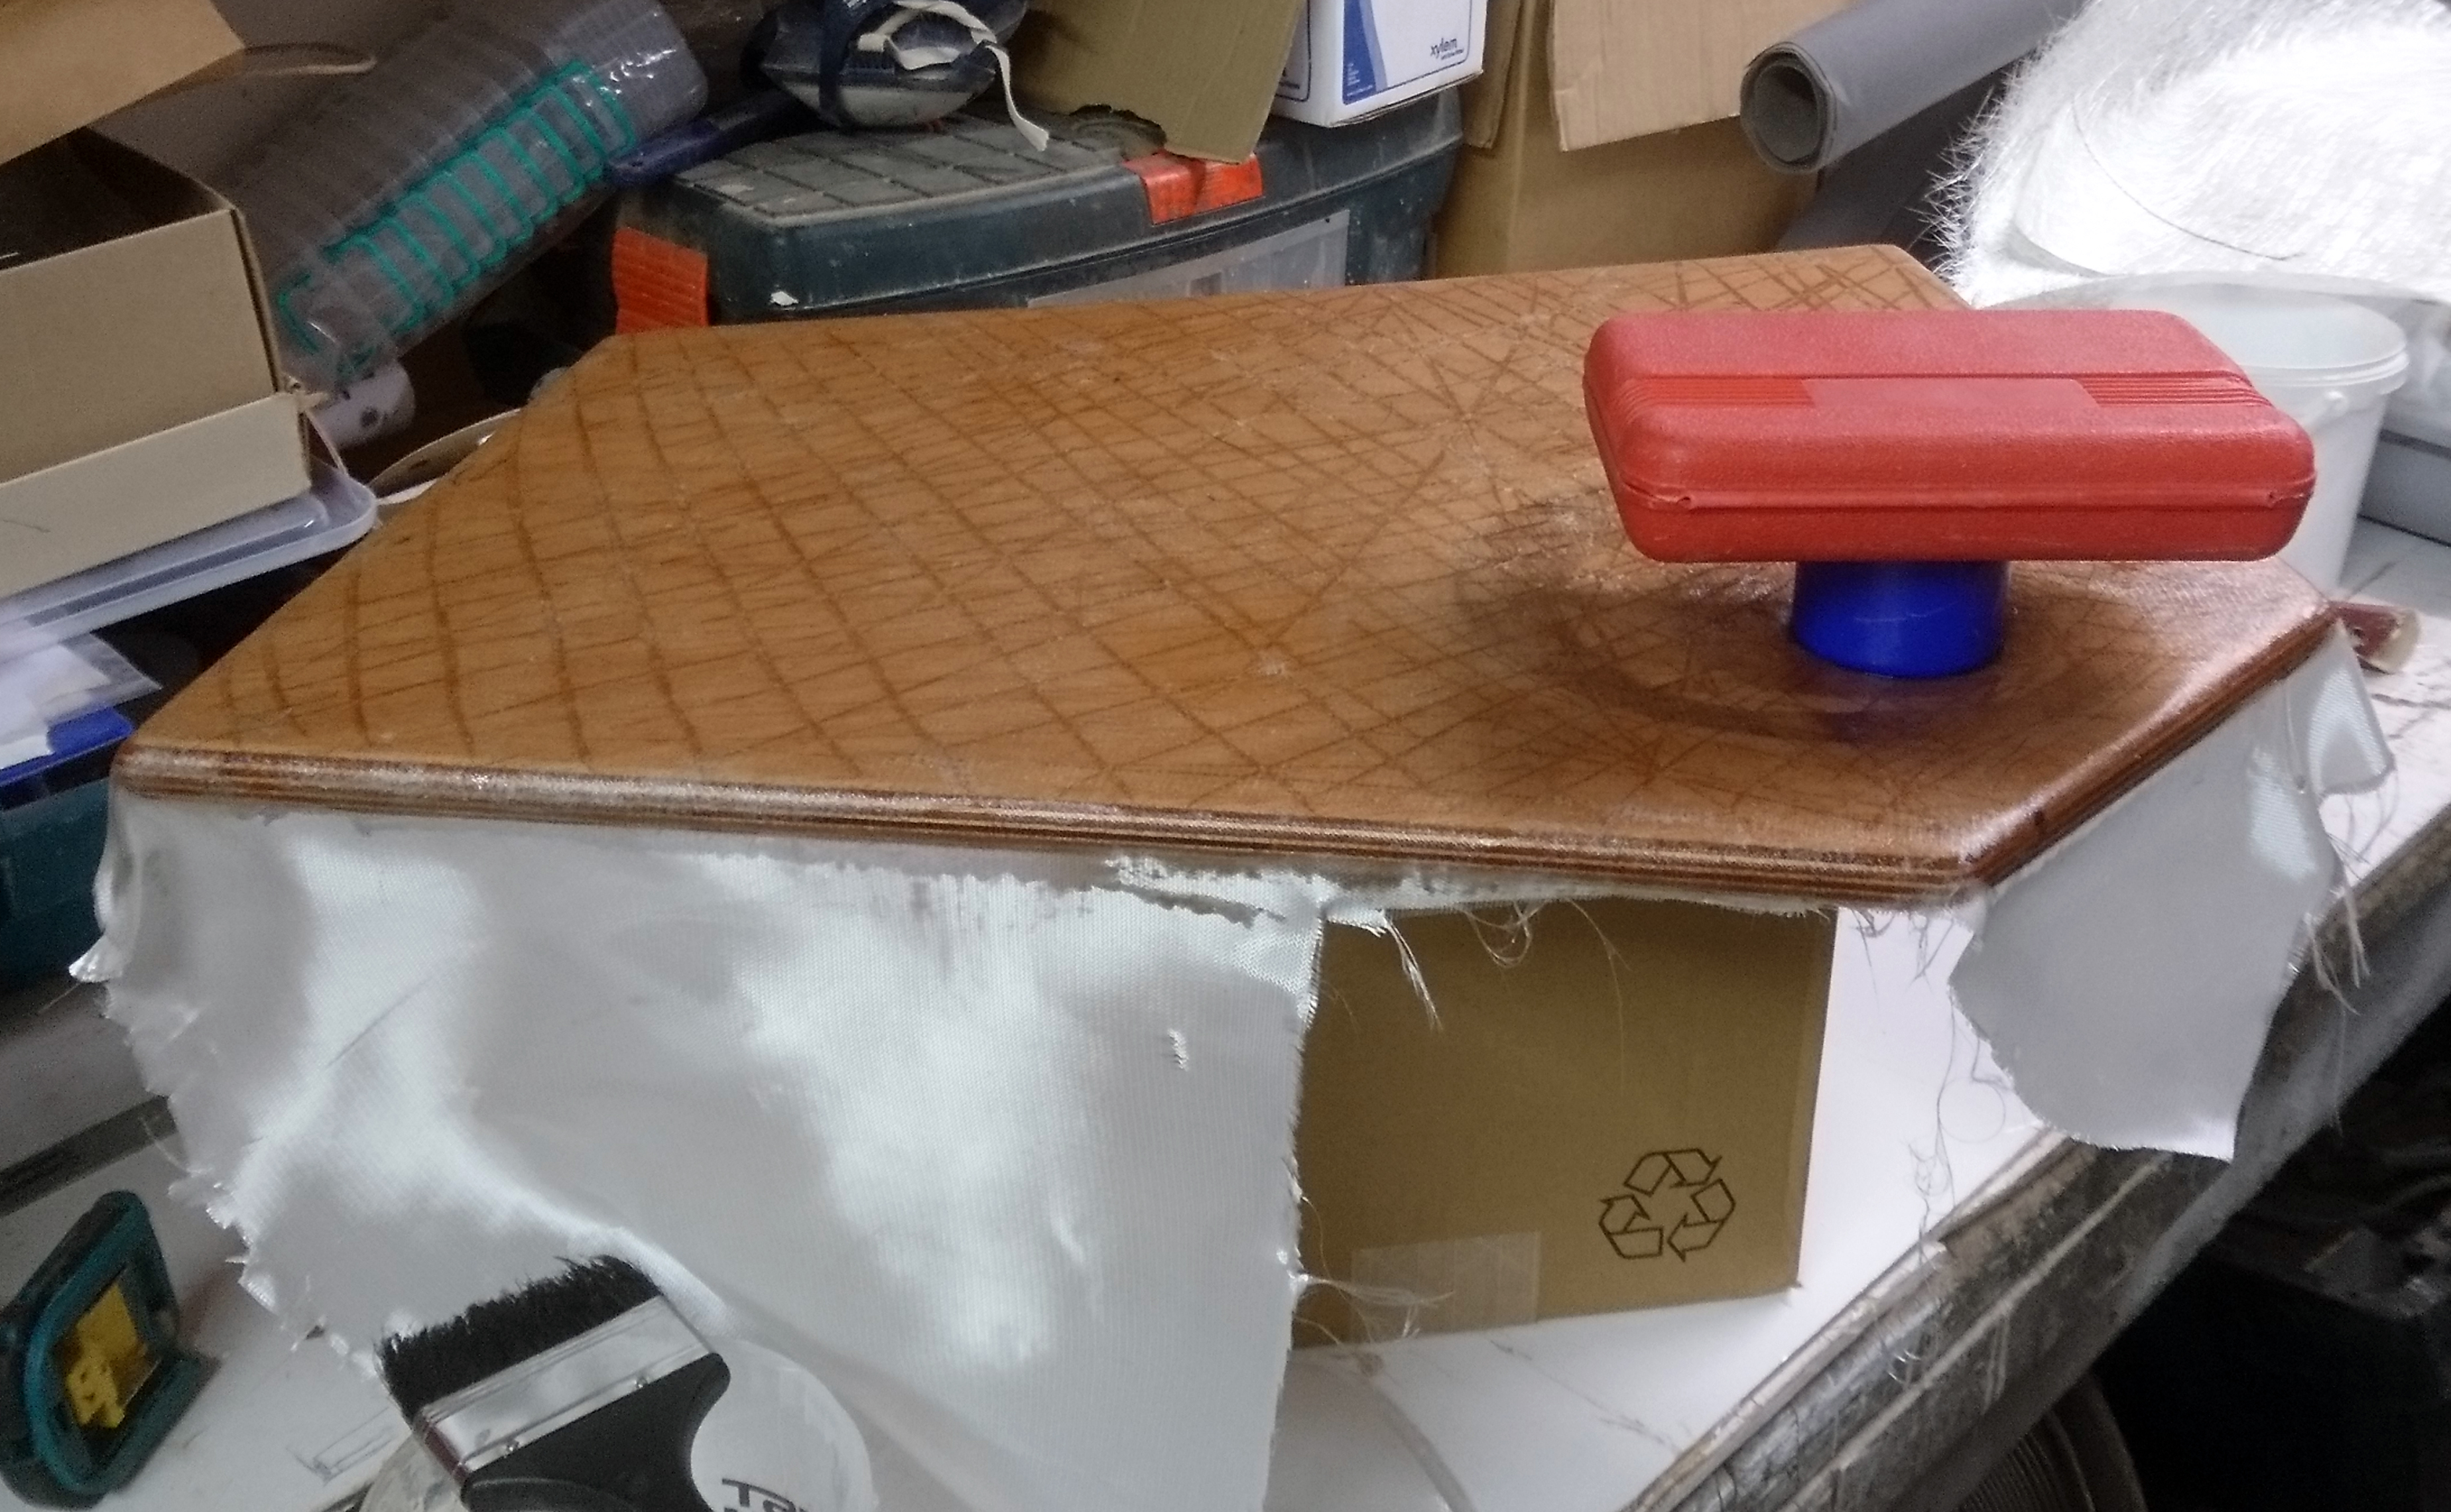
Using a suitable sized “thing” ensures we get a nice clean edge round the drain.
After trimming use 100mm wide tape to seal the edges of the base.
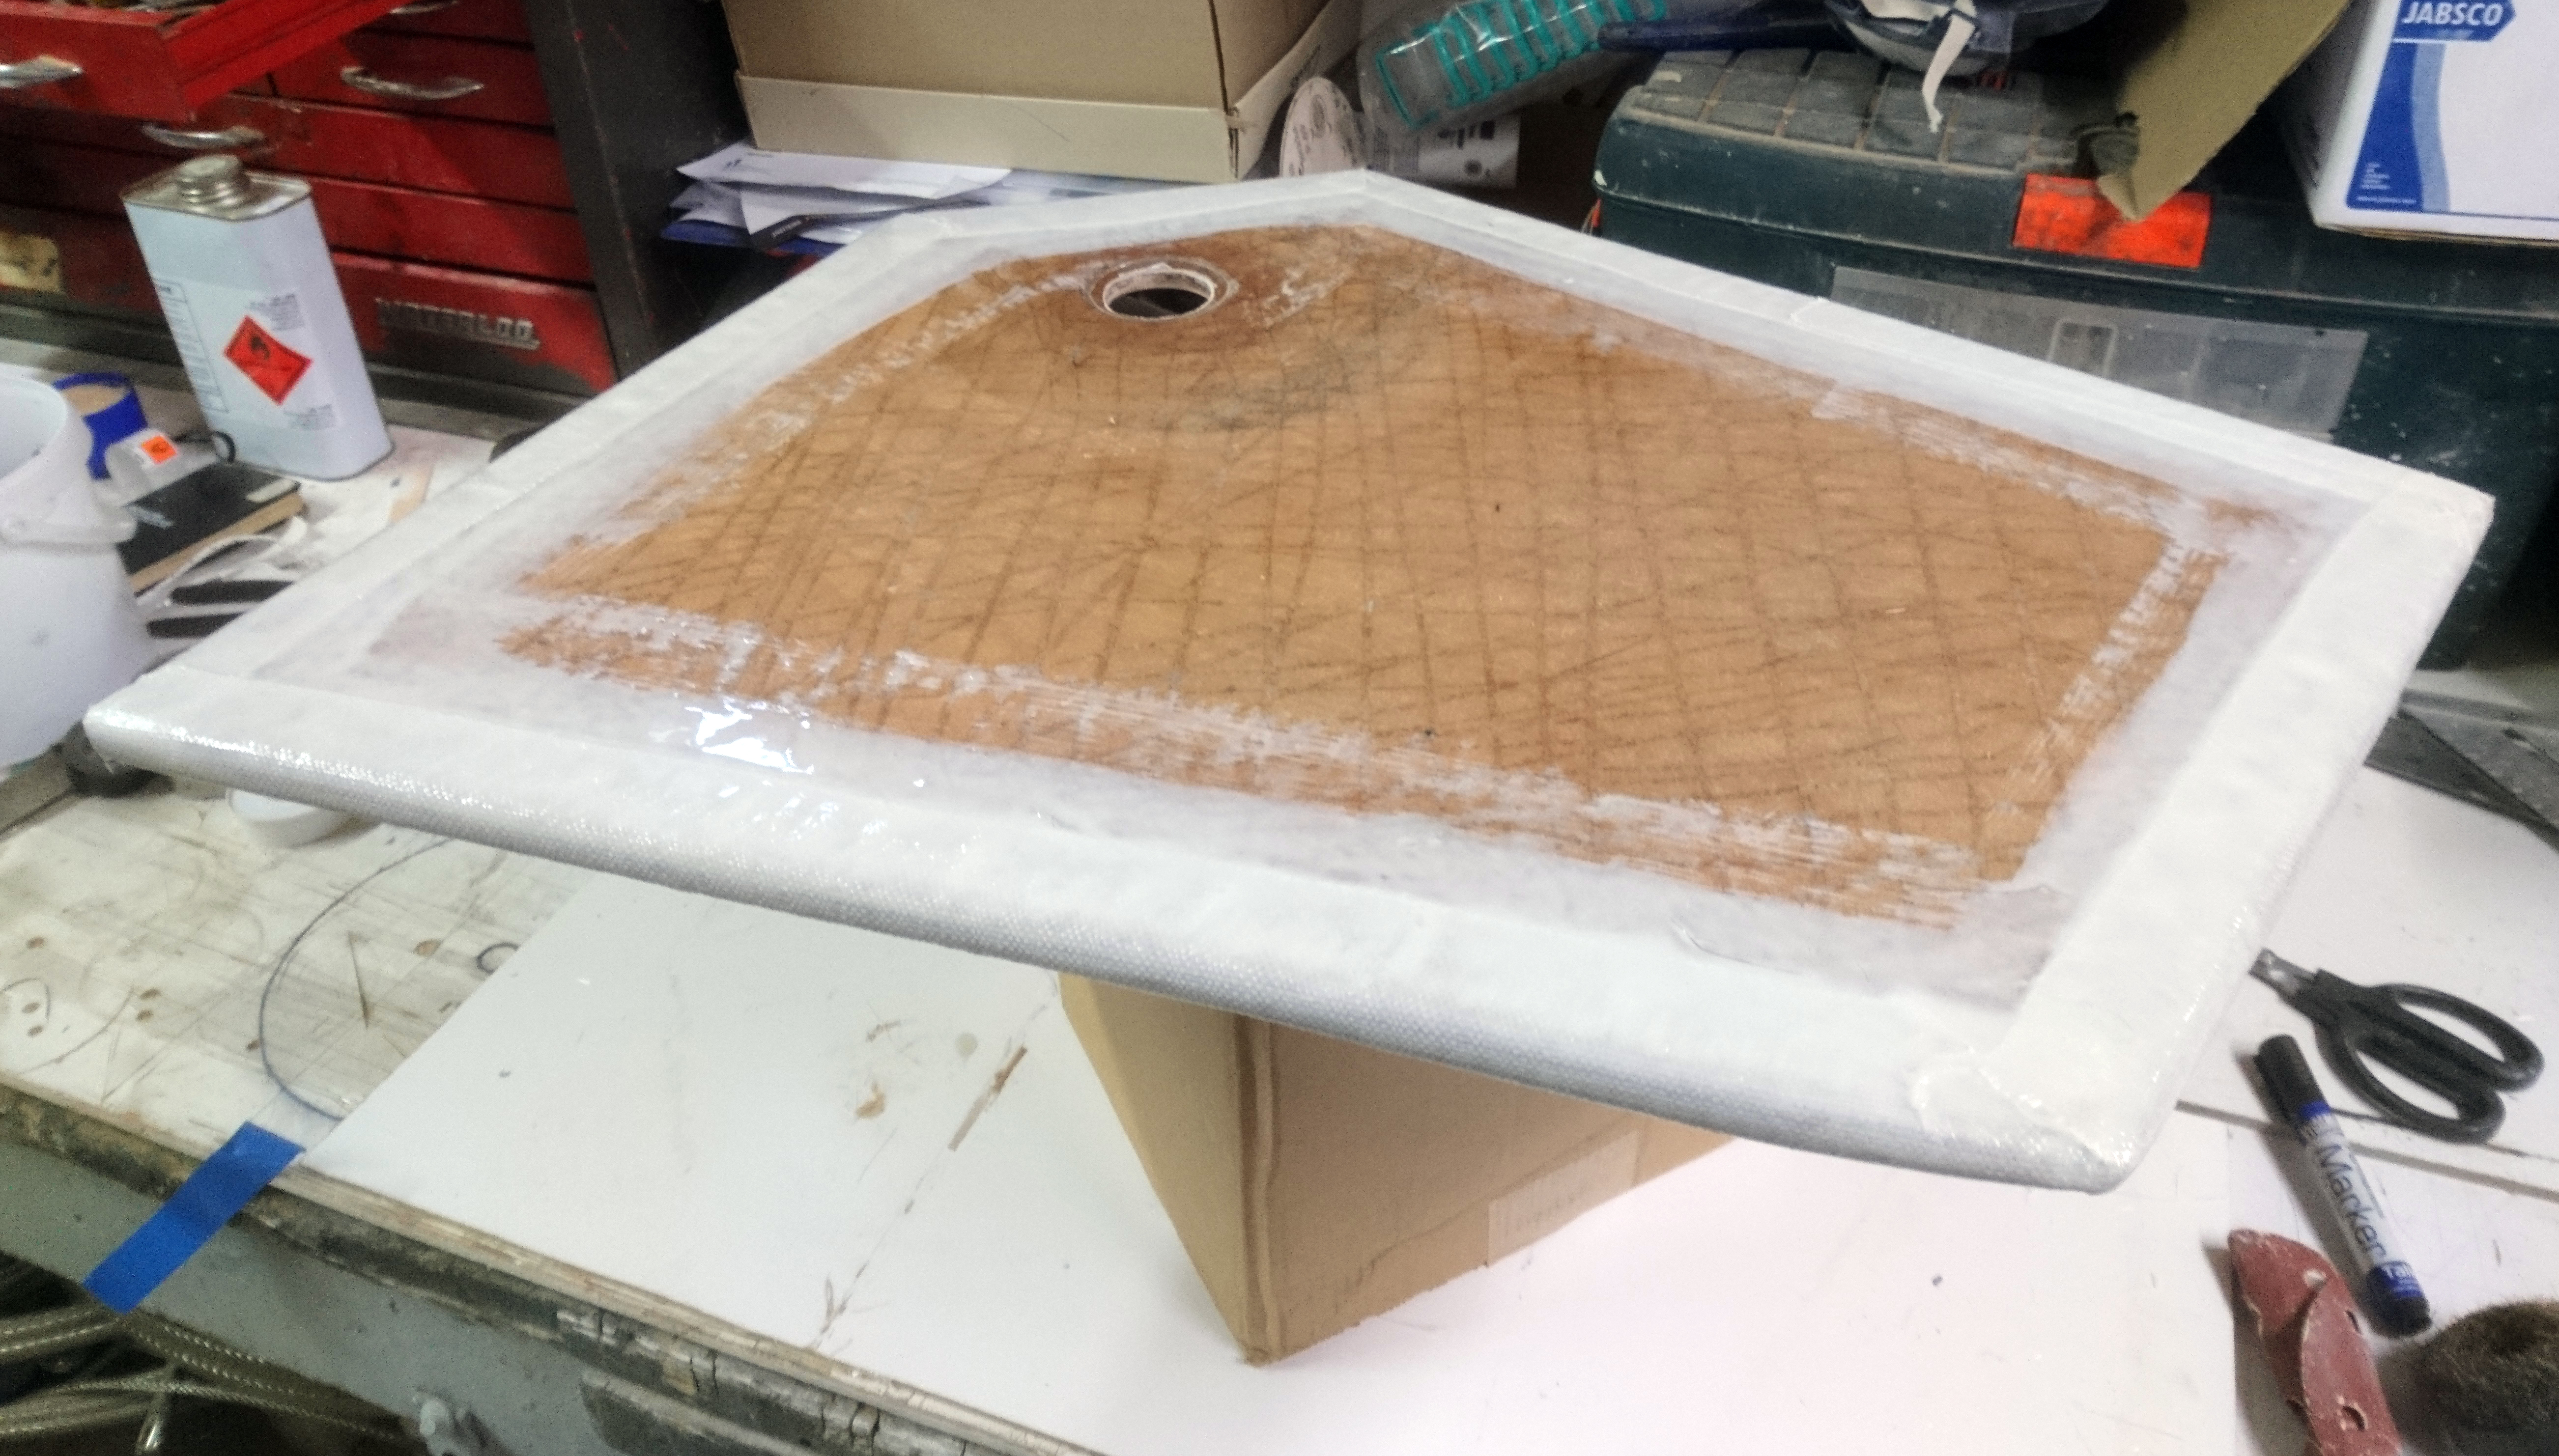
I used slightly pigmented resin for the edges to help distinguish between layers.
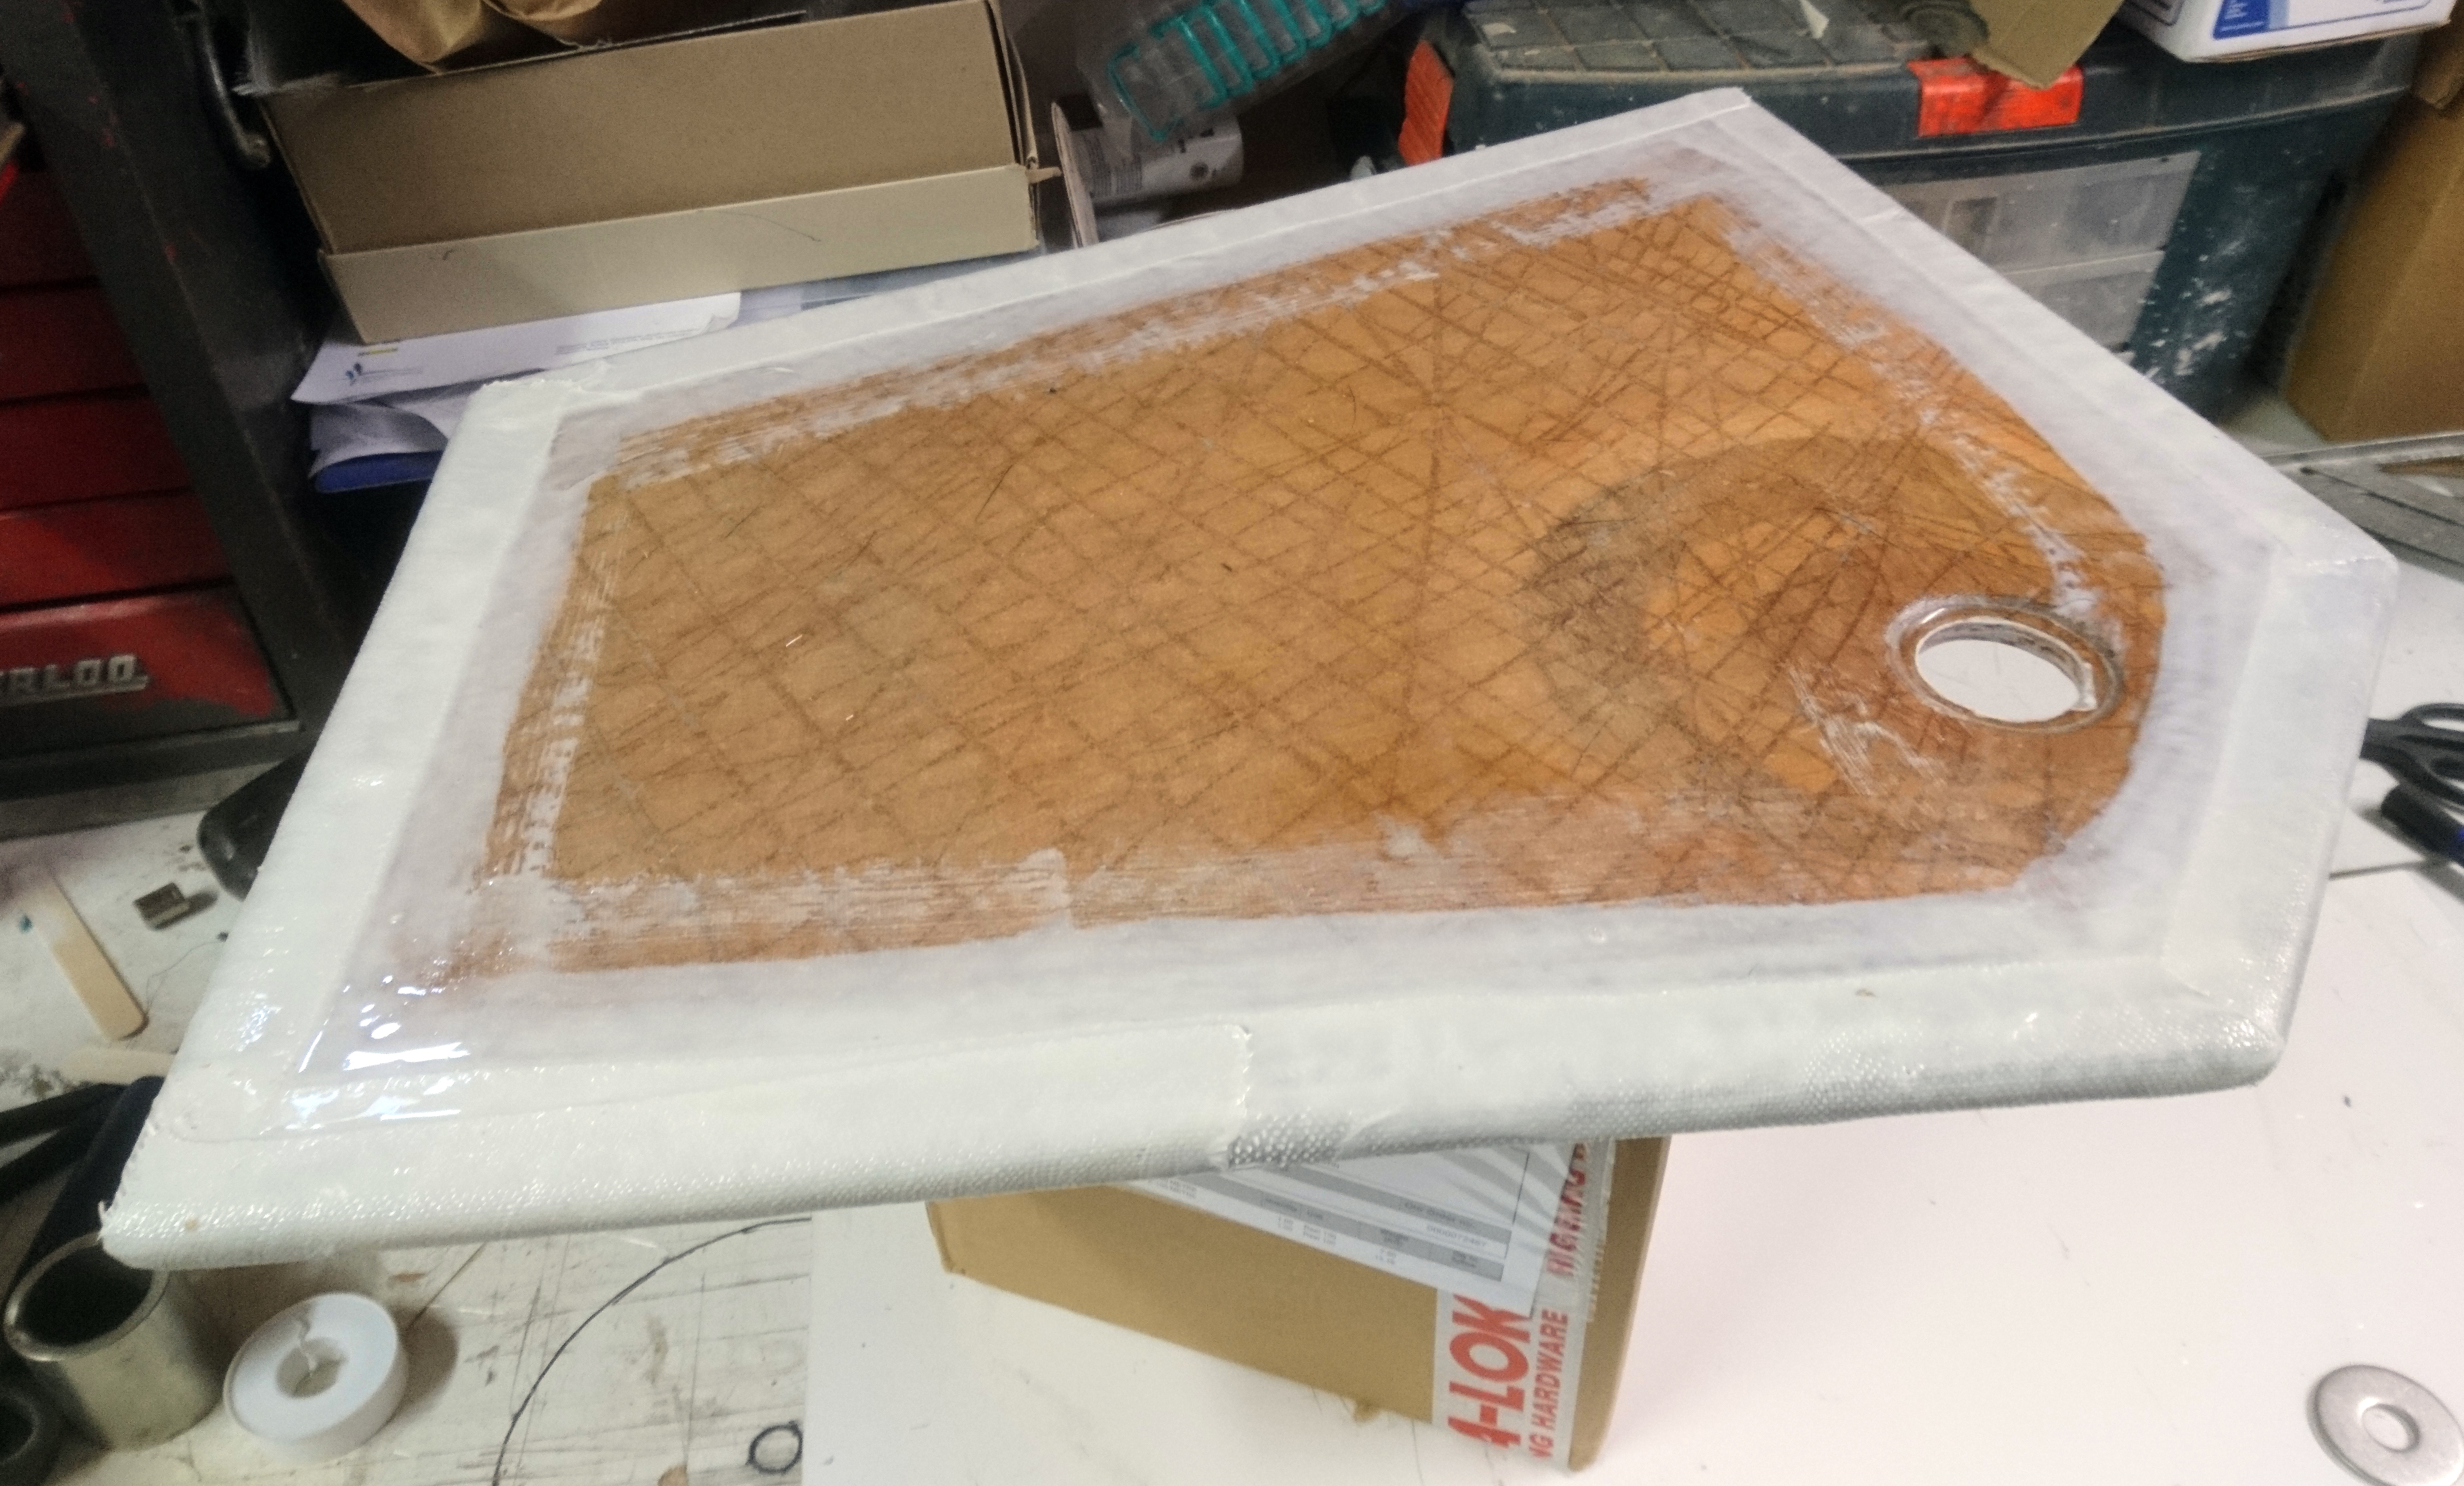
The edges and drain hole are roughly sanded smooth to remove sharp edges and stray fibres.
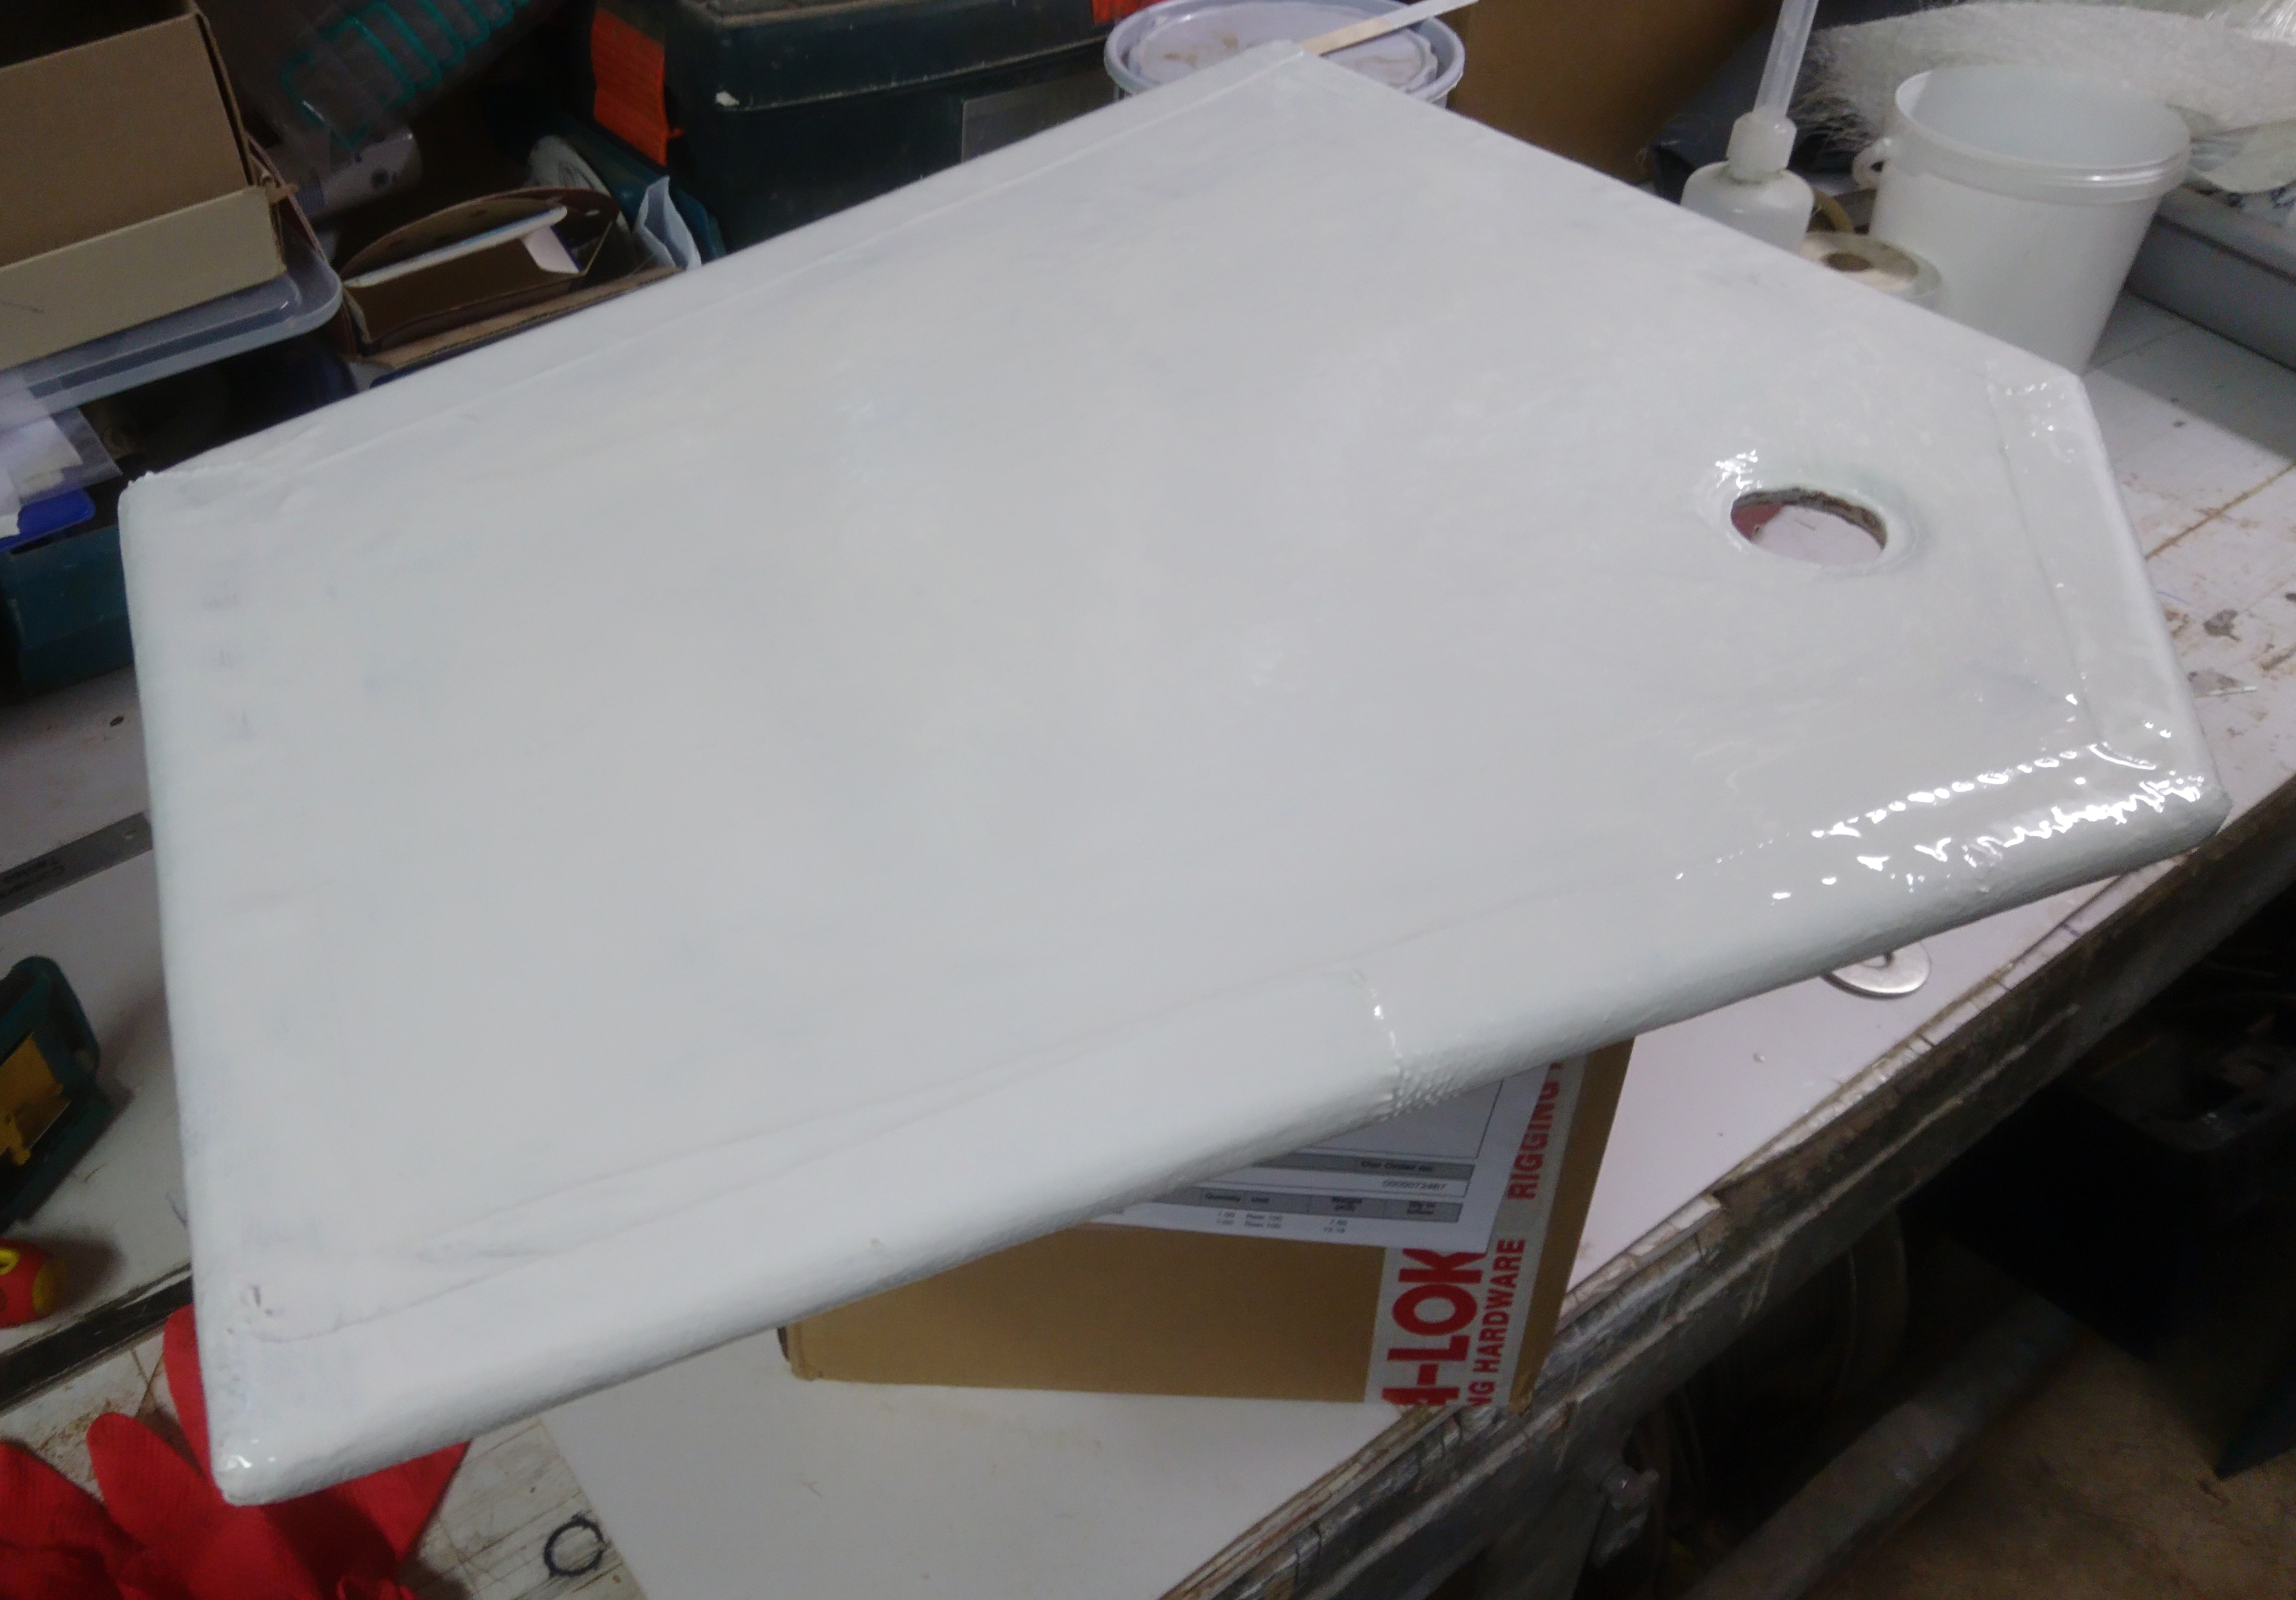
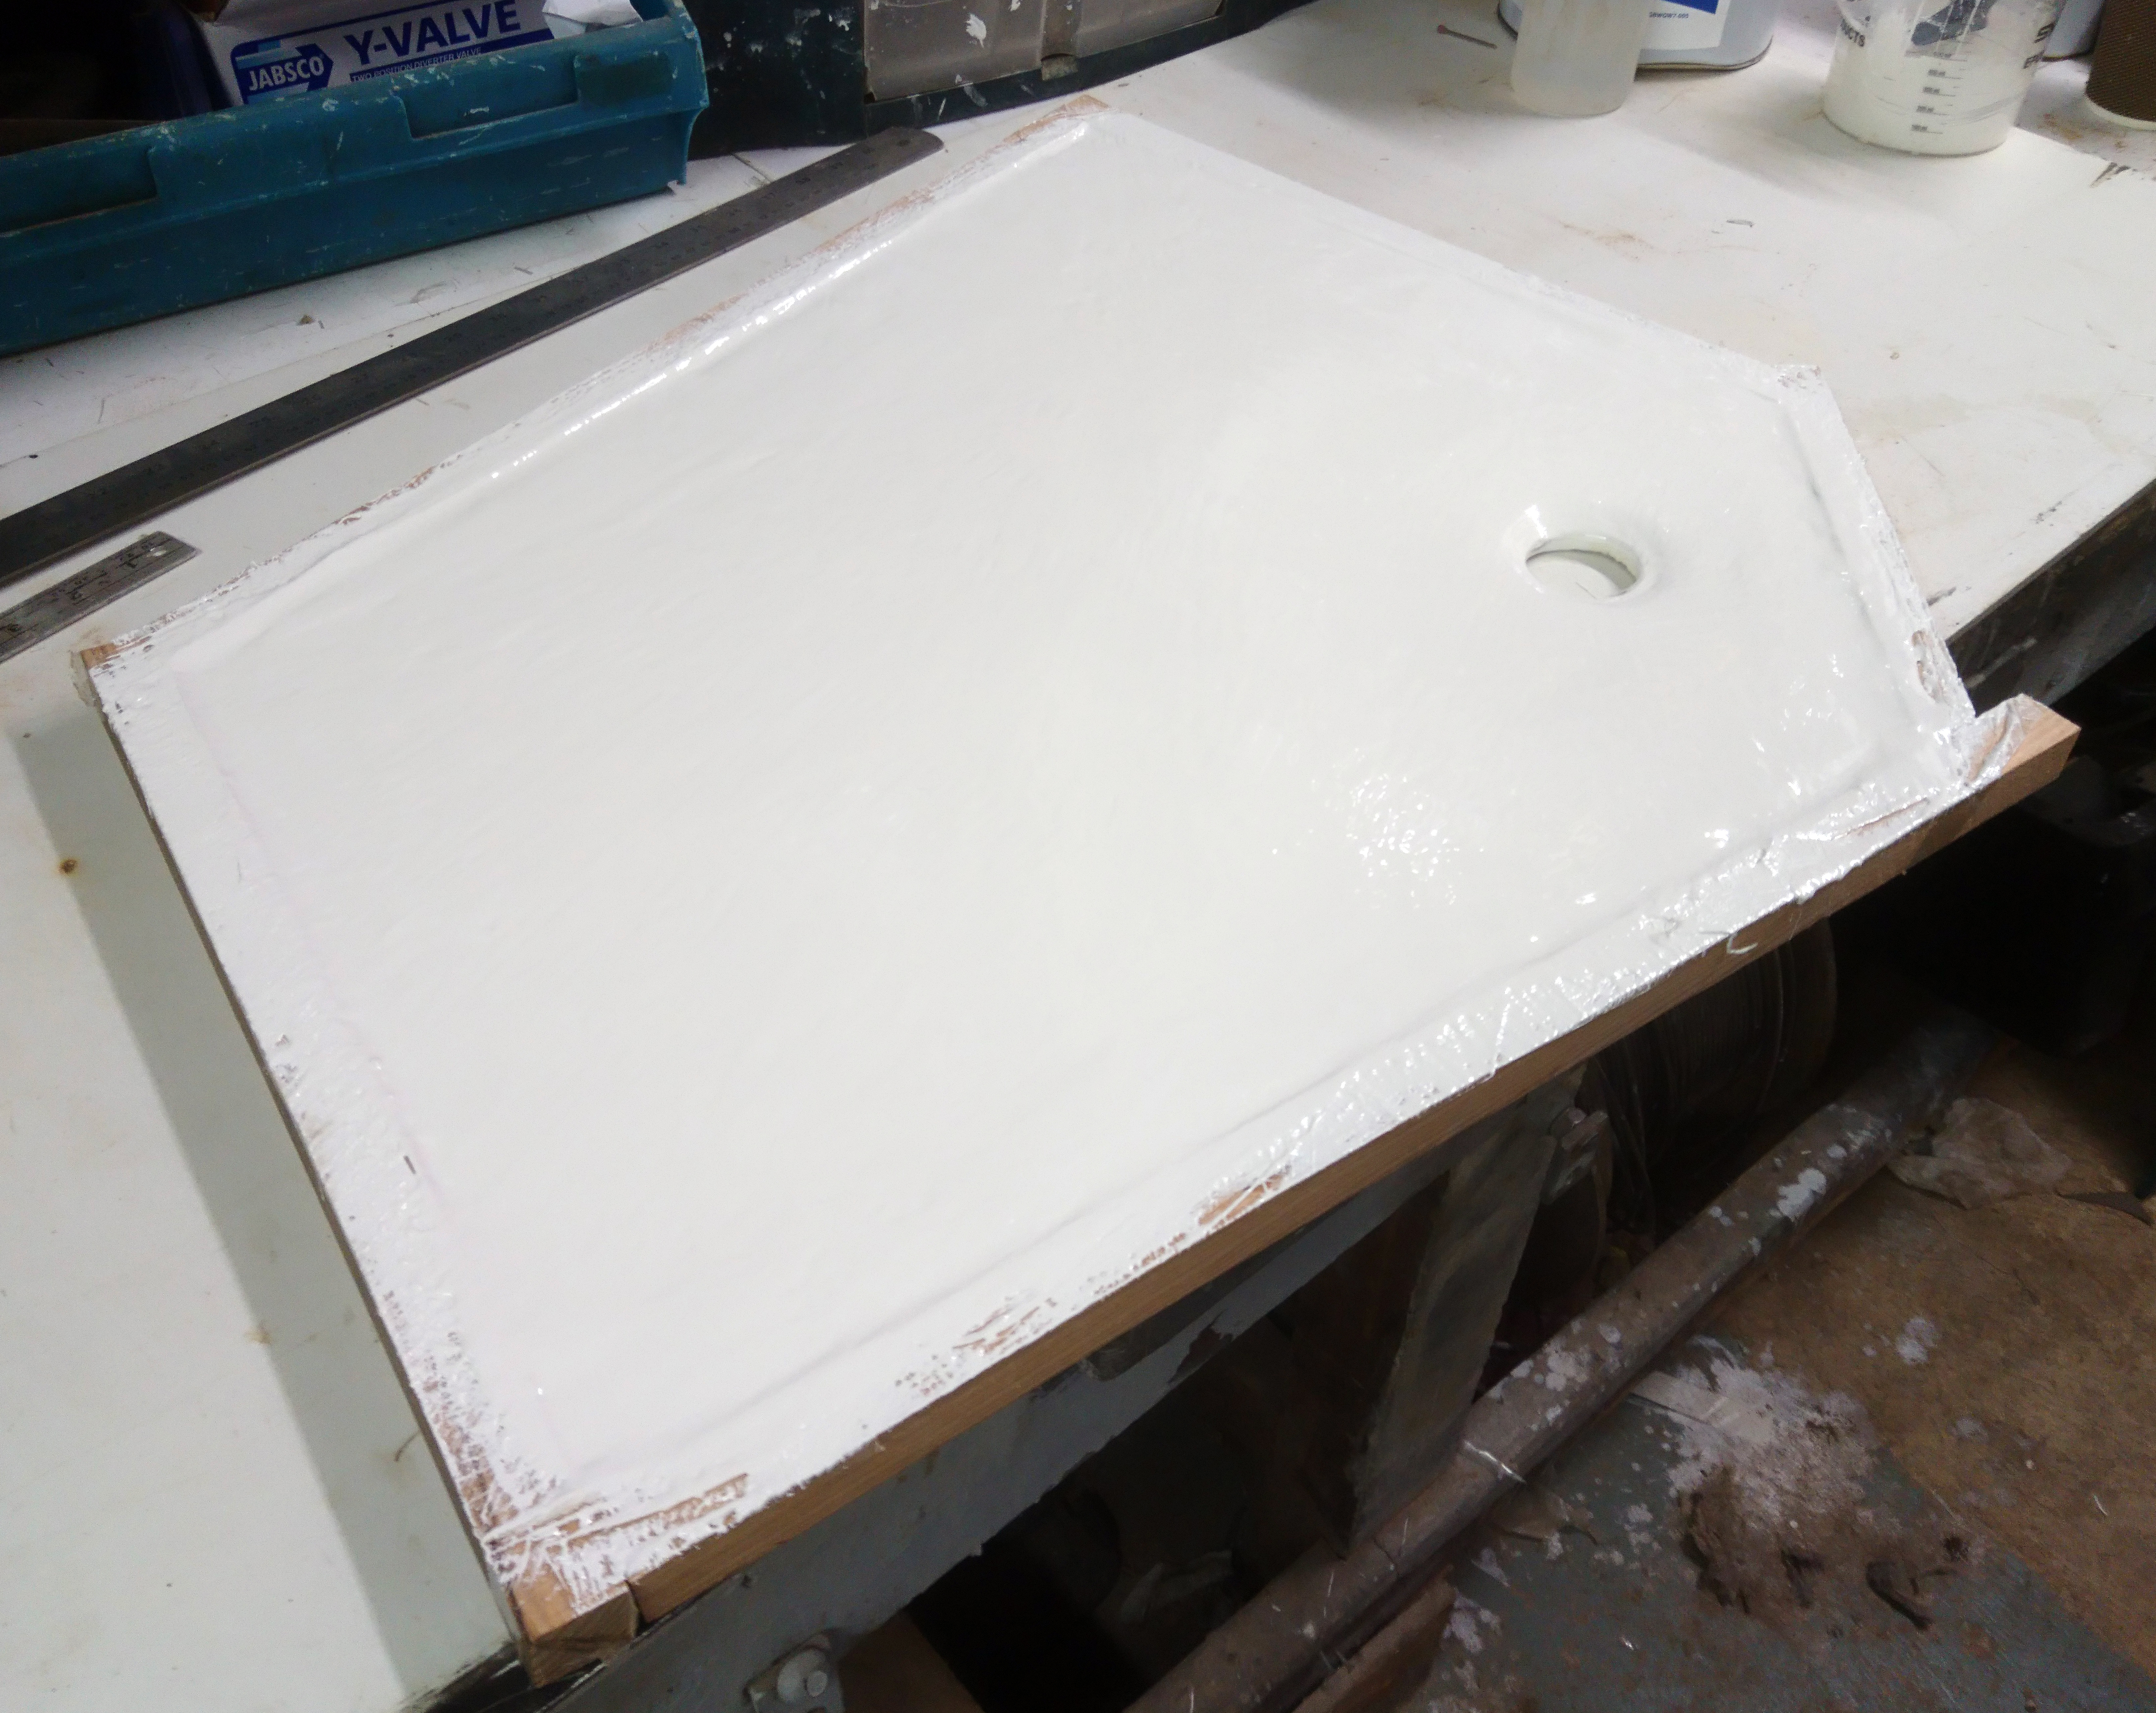
The first of four coats of white gelcoat are applied.
The final coat of gelcoat has wax in styrene added to act as an initial top coat.
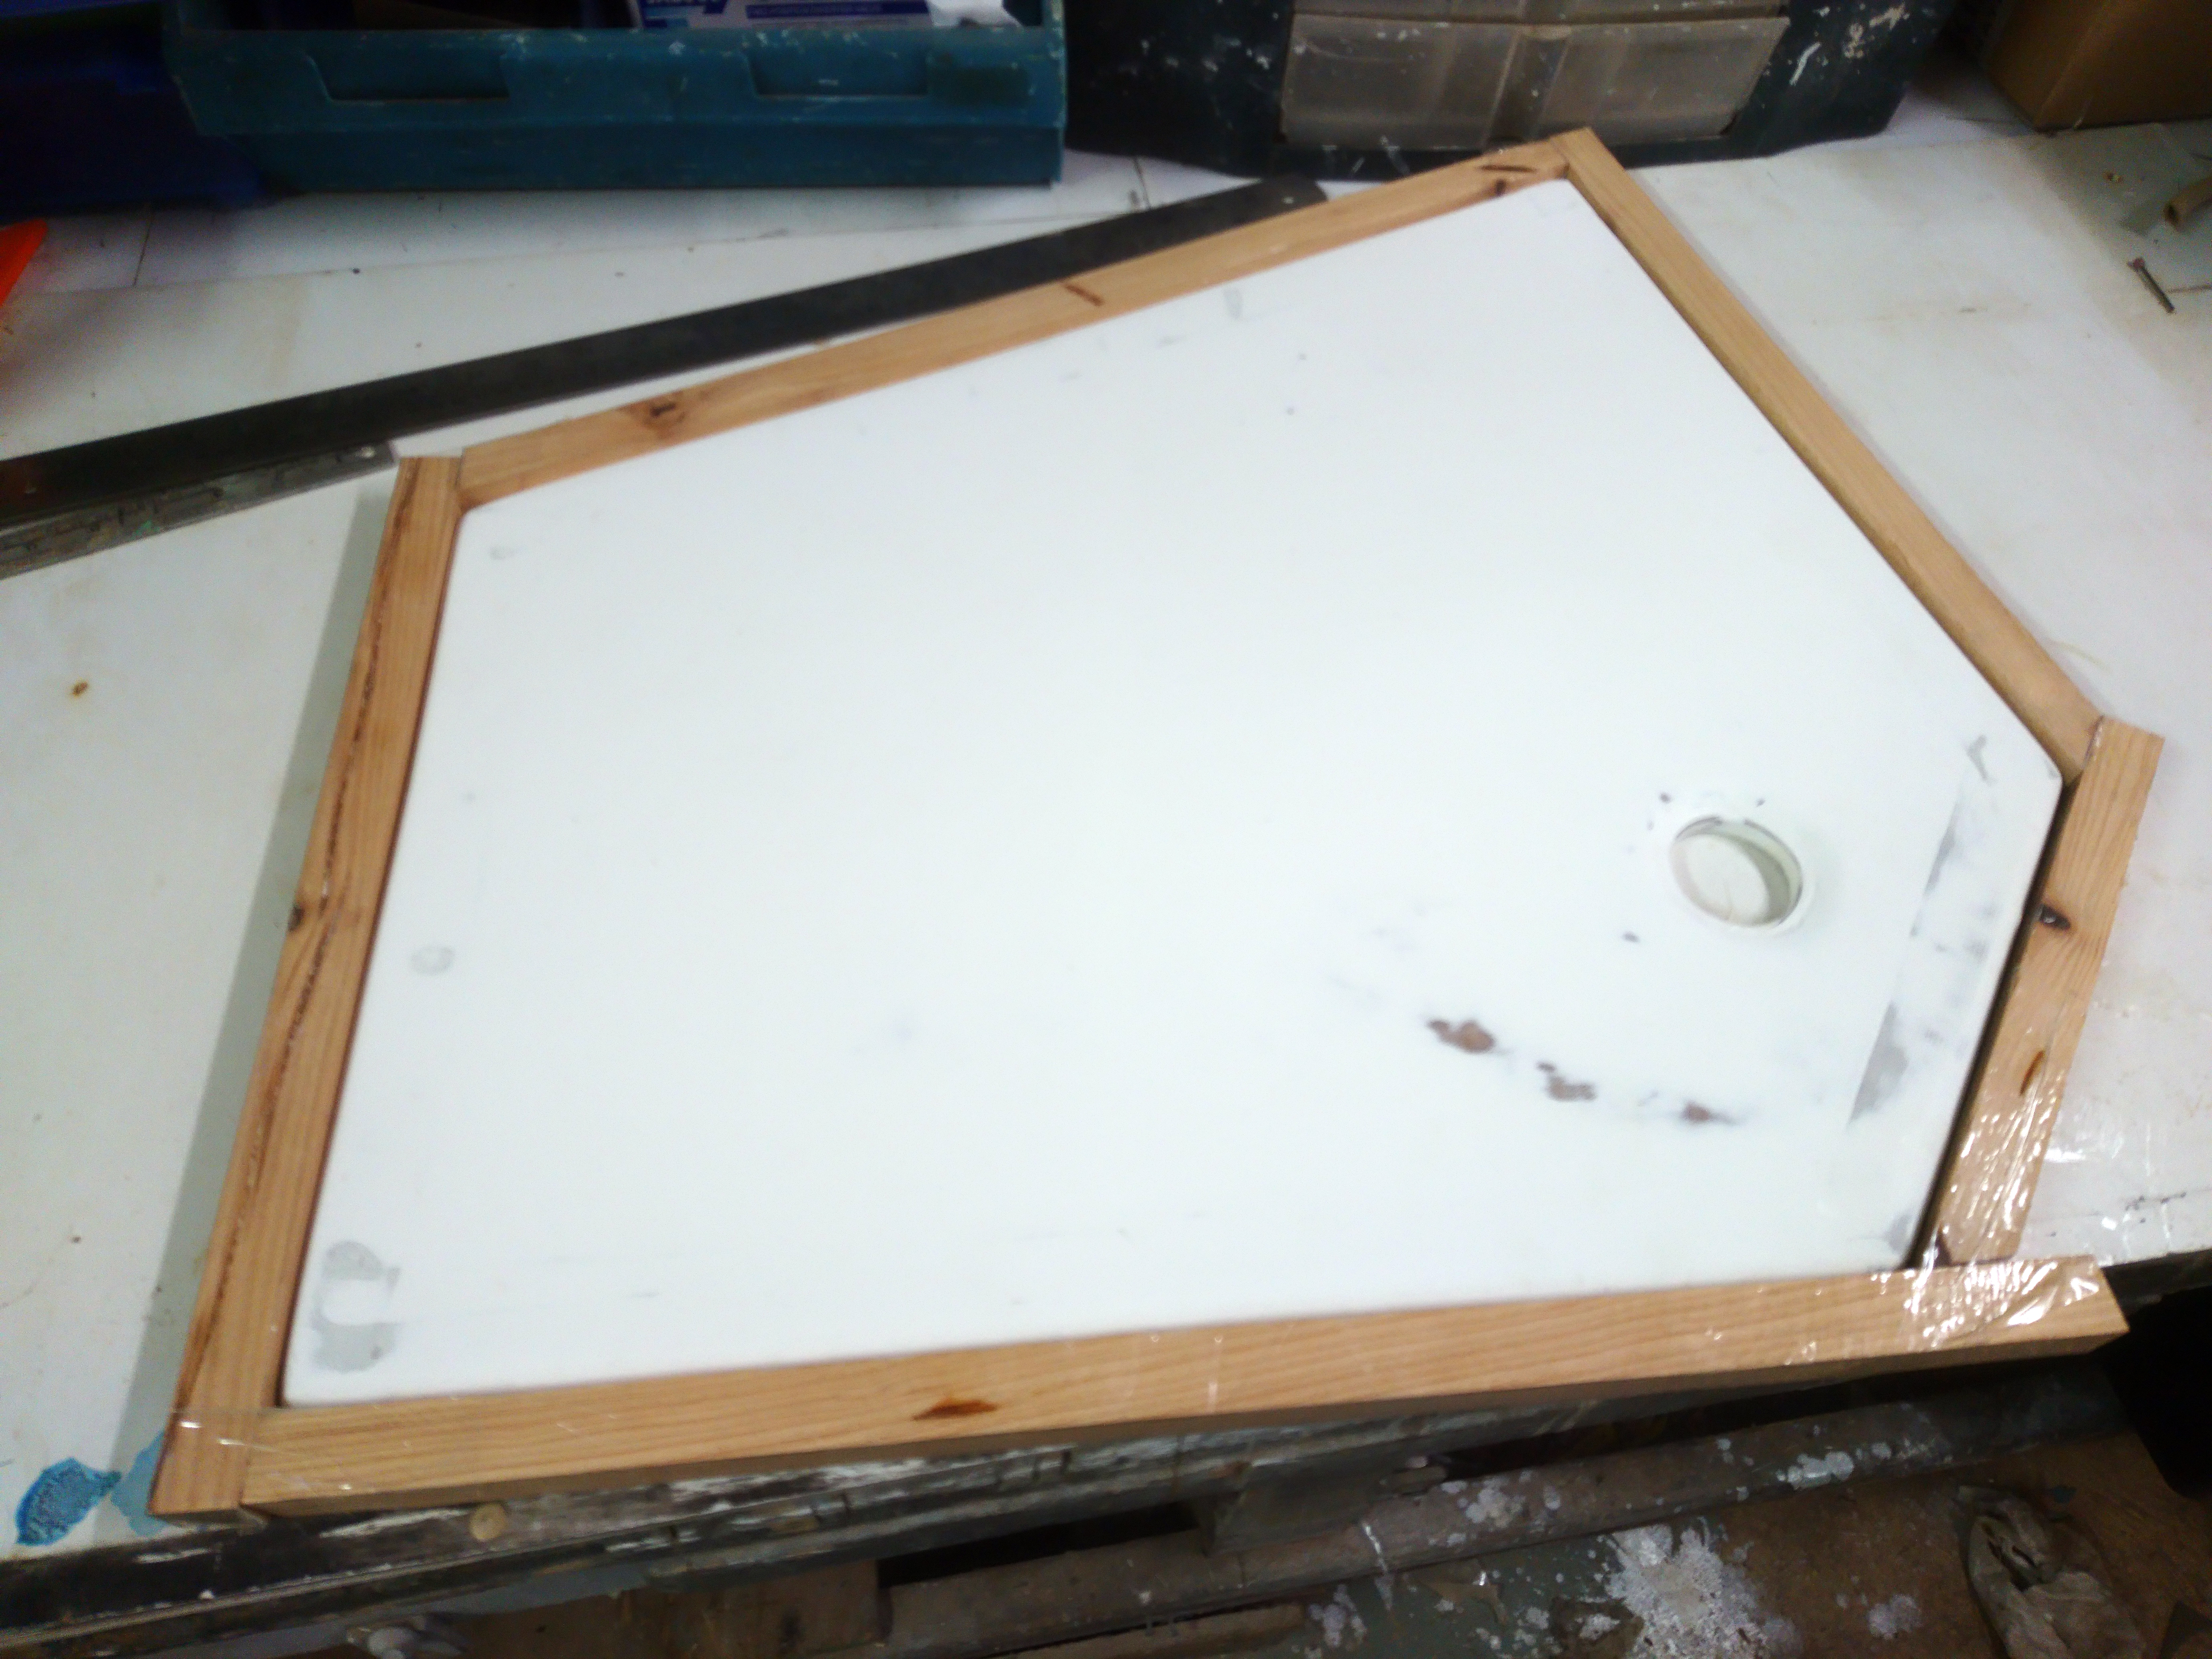
After a good sand with 100grit paper a wood frame with resin proof tape is assembled to allow a sharp edge to be added.
Another three coats of gelcoat followed by another top coat was added.
The bottom of the base also had four coats of gel and edges filled.
The wooden fram is then removed and the new square edge and be cleaned up as required.
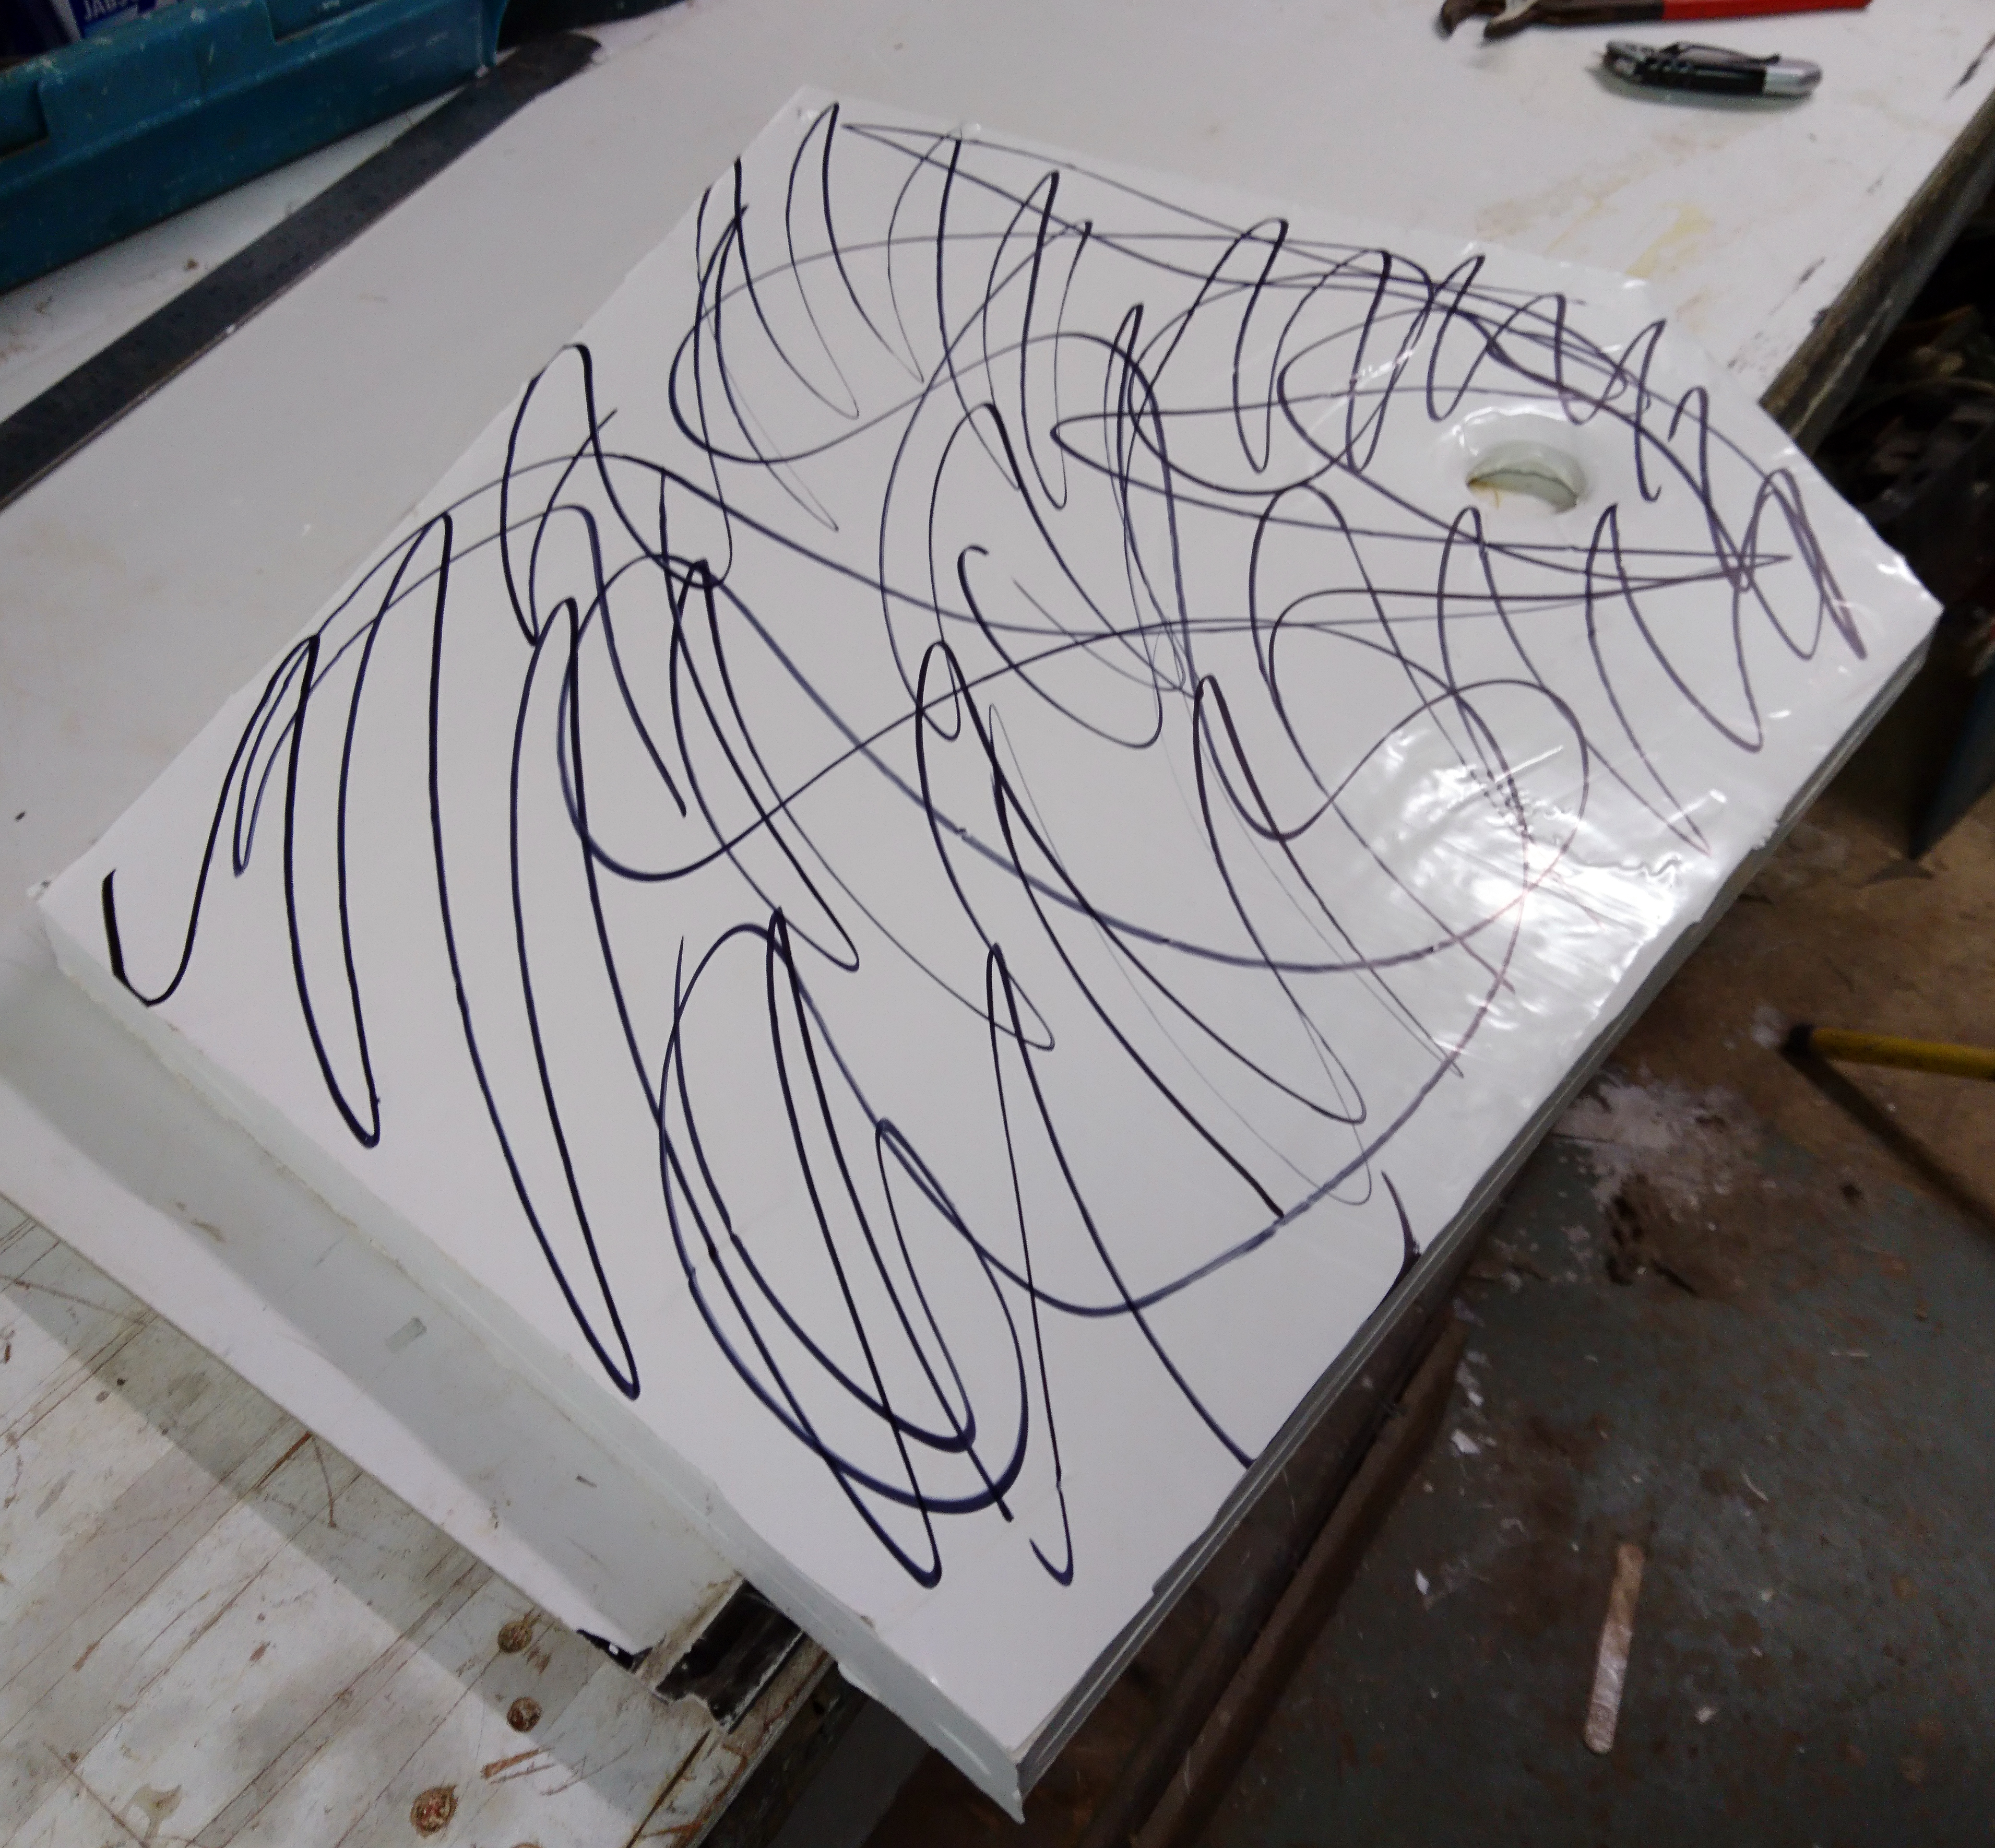
Making the base smooth and shiny starts with 240 grit.
Permanent marker shows low spots during sanding..
Rinse and repeat through 600, 1000, 1500 and 2000 grit and finish with cutting compound.
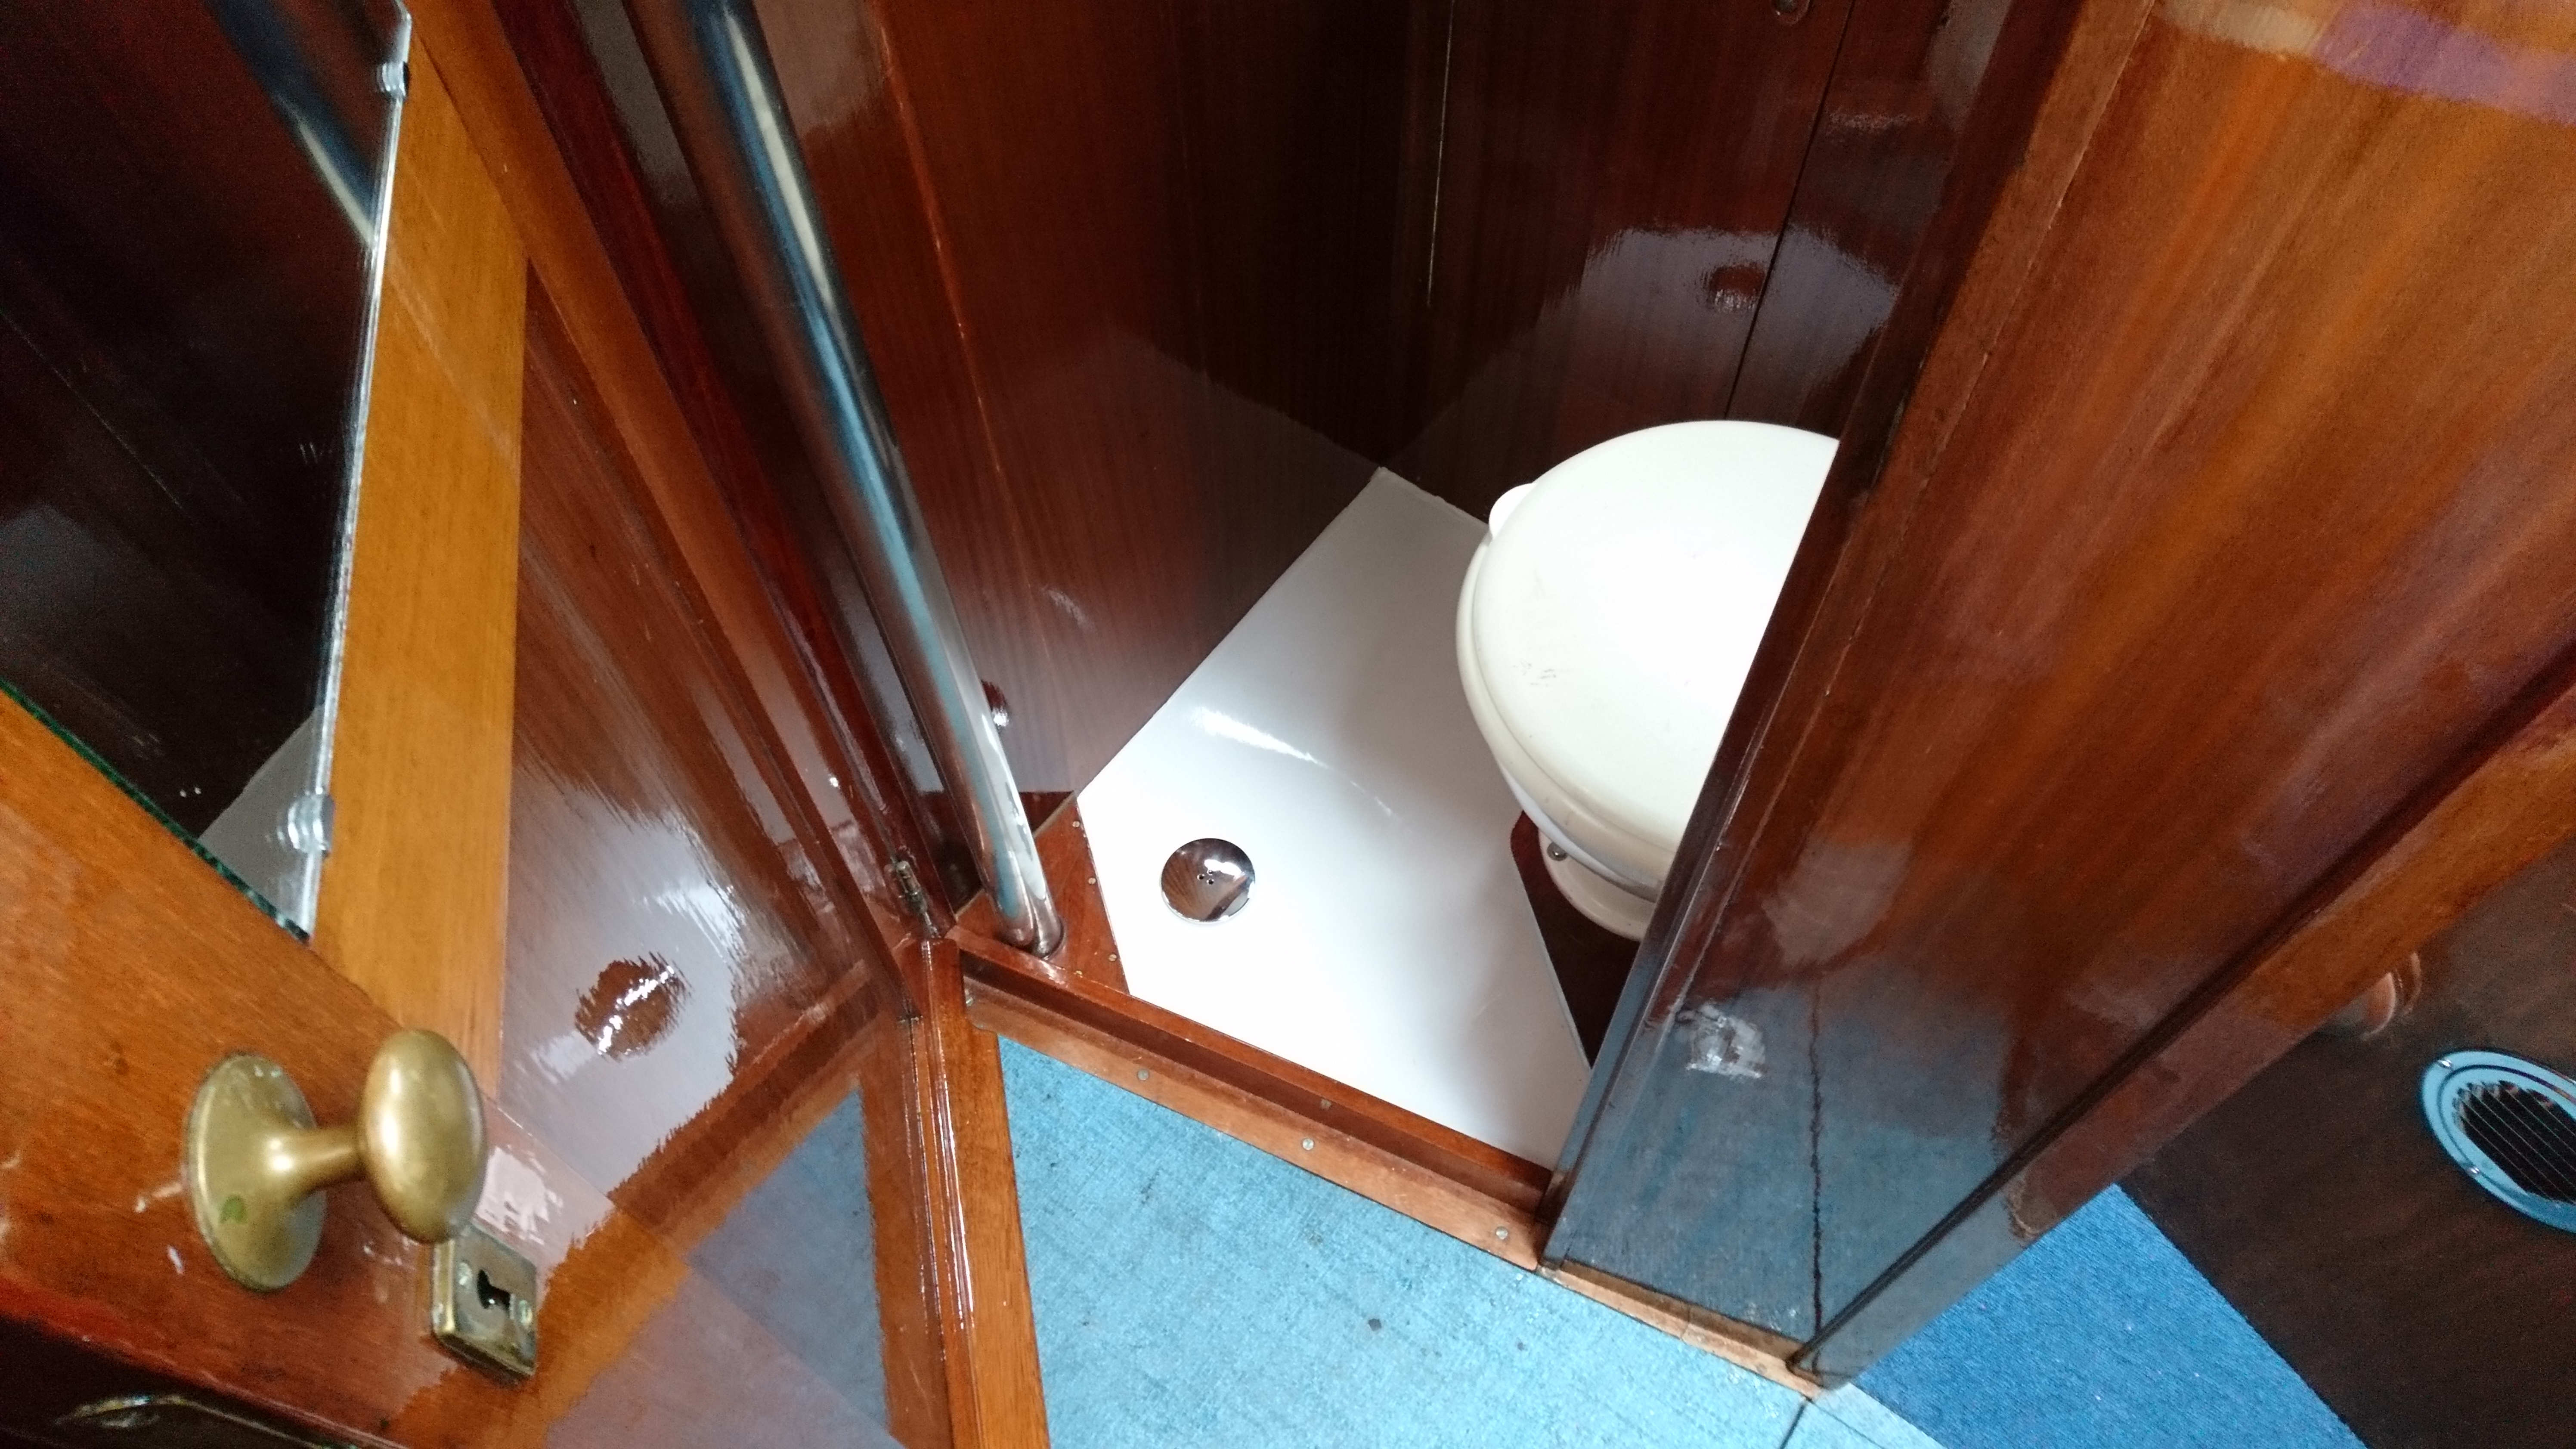
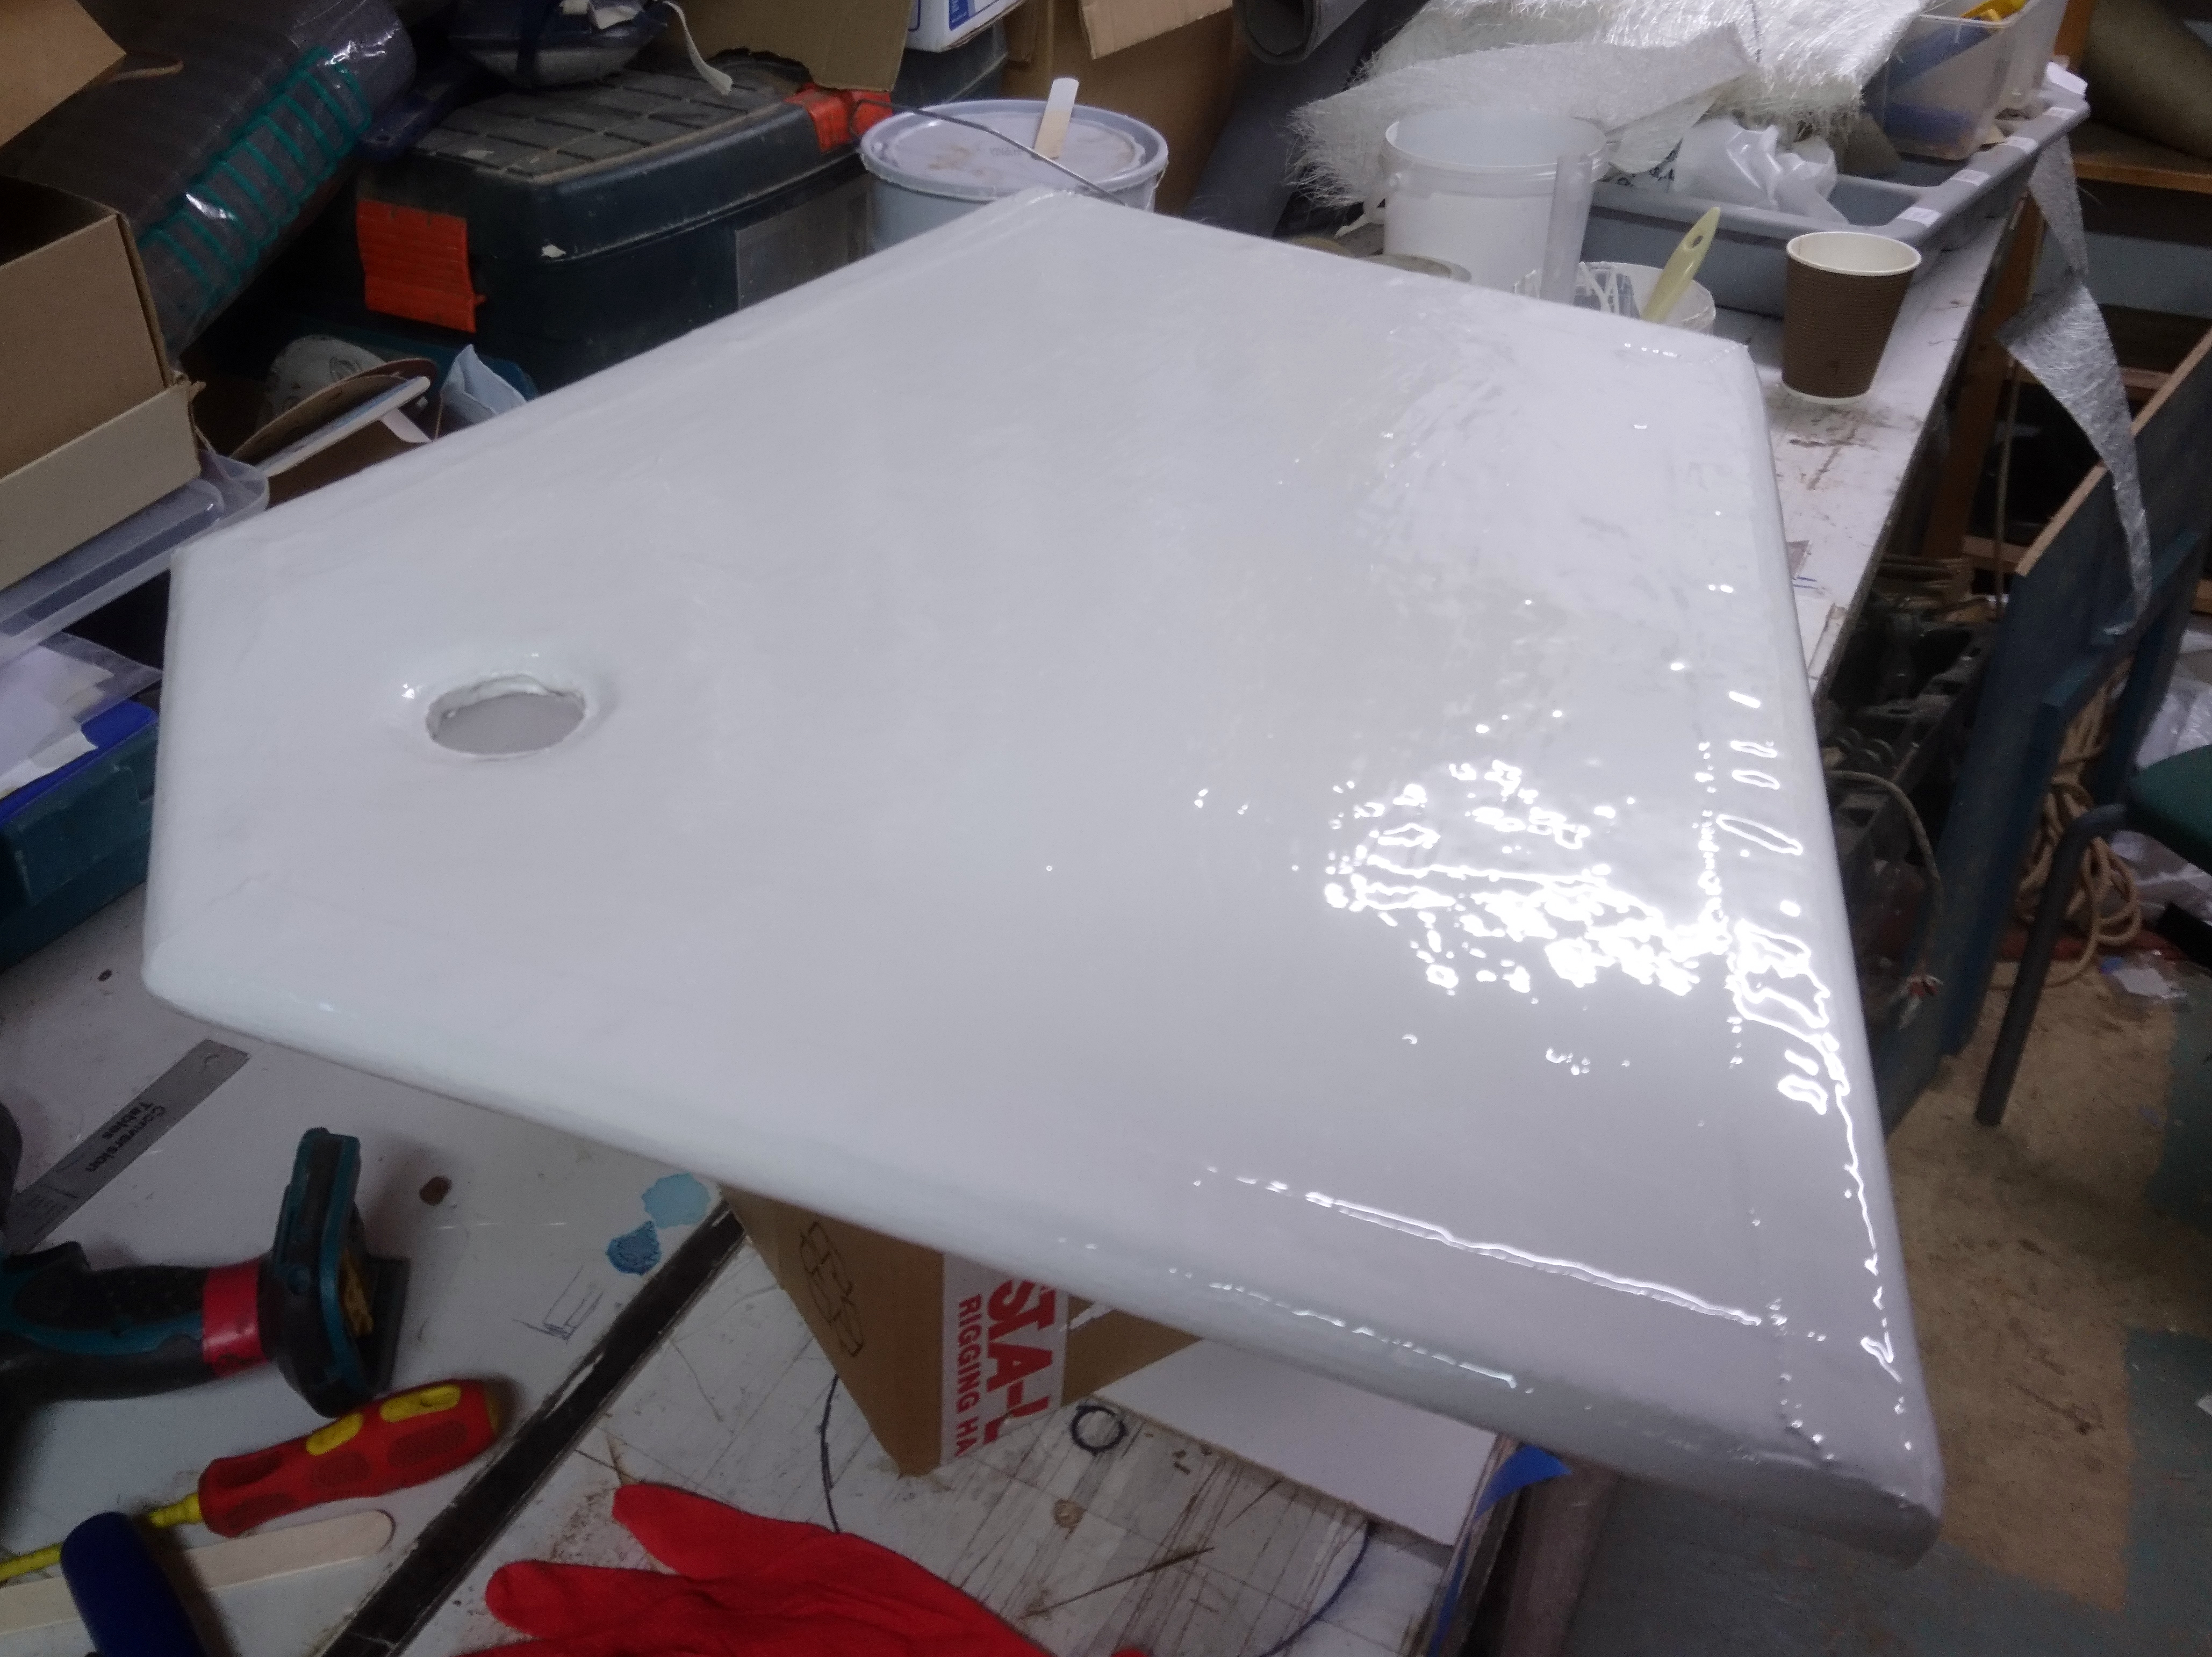
Shower base in position, plumbed in and looking very shiny.